3D Print Bed Adhesion:
Fix First-Layer Problems
Poor bed adhesion almost always comes down to settings — not glue sticks or spray. Whether your first layer is lifting, corners are curling, or your print detaches mid-job, the fix is specific to the filament you're using.
Quick Symptom Triage
| Symptom | Most likely cause | Where to start |
|---|---|---|
| First layer lifts completely off bed | Z offset too high, bed temp too low, or first layer speed too fast | Z offset and bed temperature |
| Corners and edges curl up | Cooling fan too aggressive, bed temp too low, no brim on sharp corners | Brim + bed temp for your material |
| Print sticks but detaches mid-print | Layers not fully fusing, enclosure needed (ABS/ASA), or fan hitting too early | First layer settings + cooling fan schedule |
Fix order: Z offset → bed temperature → first layer speed and temperature → brim or raft choice → bed surface match → adaptive mesh
First Layer Settings by Filament Material
Each filament material bonds to the print surface at a different temperature and requires its own speed and cooling approach for the first layer.
PLA
- • Speed: 25–40 mm/s
- • Nozzle: +5–10°C above normal
- • Bed: 55–65°C
- • Fan: Off for layers 1–3
PETG
- • Speed: 20–30 mm/s
- • Nozzle: 230–245°C
- • Bed: 70–85°C (Smooth PEI: 70–75°C)
- • Fan: Off or ≤10% for layers 1-5
ABS and ASA
- • Speed: 20–30 mm/s
- • Nozzle: 240–260°C
- • Bed: 100–110°C
- • Fan: Off for entire print
TPU
- • Speed: 15–25 mm/s
- • Nozzle: 220–235°C
- • Bed: 30–50°C
- • Fan: Minimal for first layer
Z Offset, Hot Leveling, and the Elephant Foot Fix
The Z offset is the single most impactful adhesion setting. Always level your bed and set Z offset with the printer at full printing temperature. Let the bed stabilize for 5 minutes before leveling.
Live Adjust Z
Lines look round/not bonding? Lower Z by 0.05 mm. Nozzle drags/clicking? Raise Z by 0.05 mm.
Elephant Foot Compensation
If the first layers spread too wide, go to Process → Quality → Elephant Foot Compensation and enter a small negative value, typically –0.1 to –0.2 mm.
Which Adhesion Helper to Use — and When
Skirt
A perimeter loop that primes the nozzle. Use by default for stable parts.
Brim
Concentric lines attached to the base. Use for small footprints or sharp corners.
Mouse Ears
Small circles at sharp corners. Adhesion without full brim cleanup.
Raft
Multi-layer base. Use for extreme warping or very uneven beds.
Matching Your Bed Surface to Your Filament
| Bed Surface | Works well with | Temperature range | Notes |
|---|---|---|---|
| PEI smooth | PLA, PETG, TPU | PLA 55–65°C; PETG 70–75°C; TPU 35–45°C | PETG can over-bond above 80°C |
| PEI textured | PLA, ABS, ASA, PETG | PLA 55–60°C; ABS/ASA 100–110°C; PETG 75–85°C | Preferred for ABS and ASA |
| Glass | PLA, PETG | PLA 60–65°C; PETG 75–80°C | Releases after full cool |
| Garolite / G10 | Nylon, PA, PC | Per material datasheet | For engineering materials |
When to Use Adaptive Bed Mesh
Adaptive bed mesh maps your surface and adjusts Z height in real time. It fixes warped beds and prints lifting in specific corners.
It does NOT fix:
- Globally high Z offset
- Incorrect temperatures
- Mid-print warping (layers 5+)
- Contaminated bed surface
First Layer Test and a Step-by-Step Checklist
- Heat bed to full temp and stabilize for 5 minutes.
- Run bed leveling/mesh routine at temperature.
- Set Z offset to ~0.1–0.15 mm gap (standard paper thickness).
- Print a single-layer 100mm x 100mm test square.
- Evaluate: Lower Z if lines are round; raise Z if nozzle drags.
- Increase bed temp by 5°C or add a brim if corners curl.
- Check cooling fan schedule if print detaches mid-job.
- Clean the bed with isopropyl alcohol before every session.
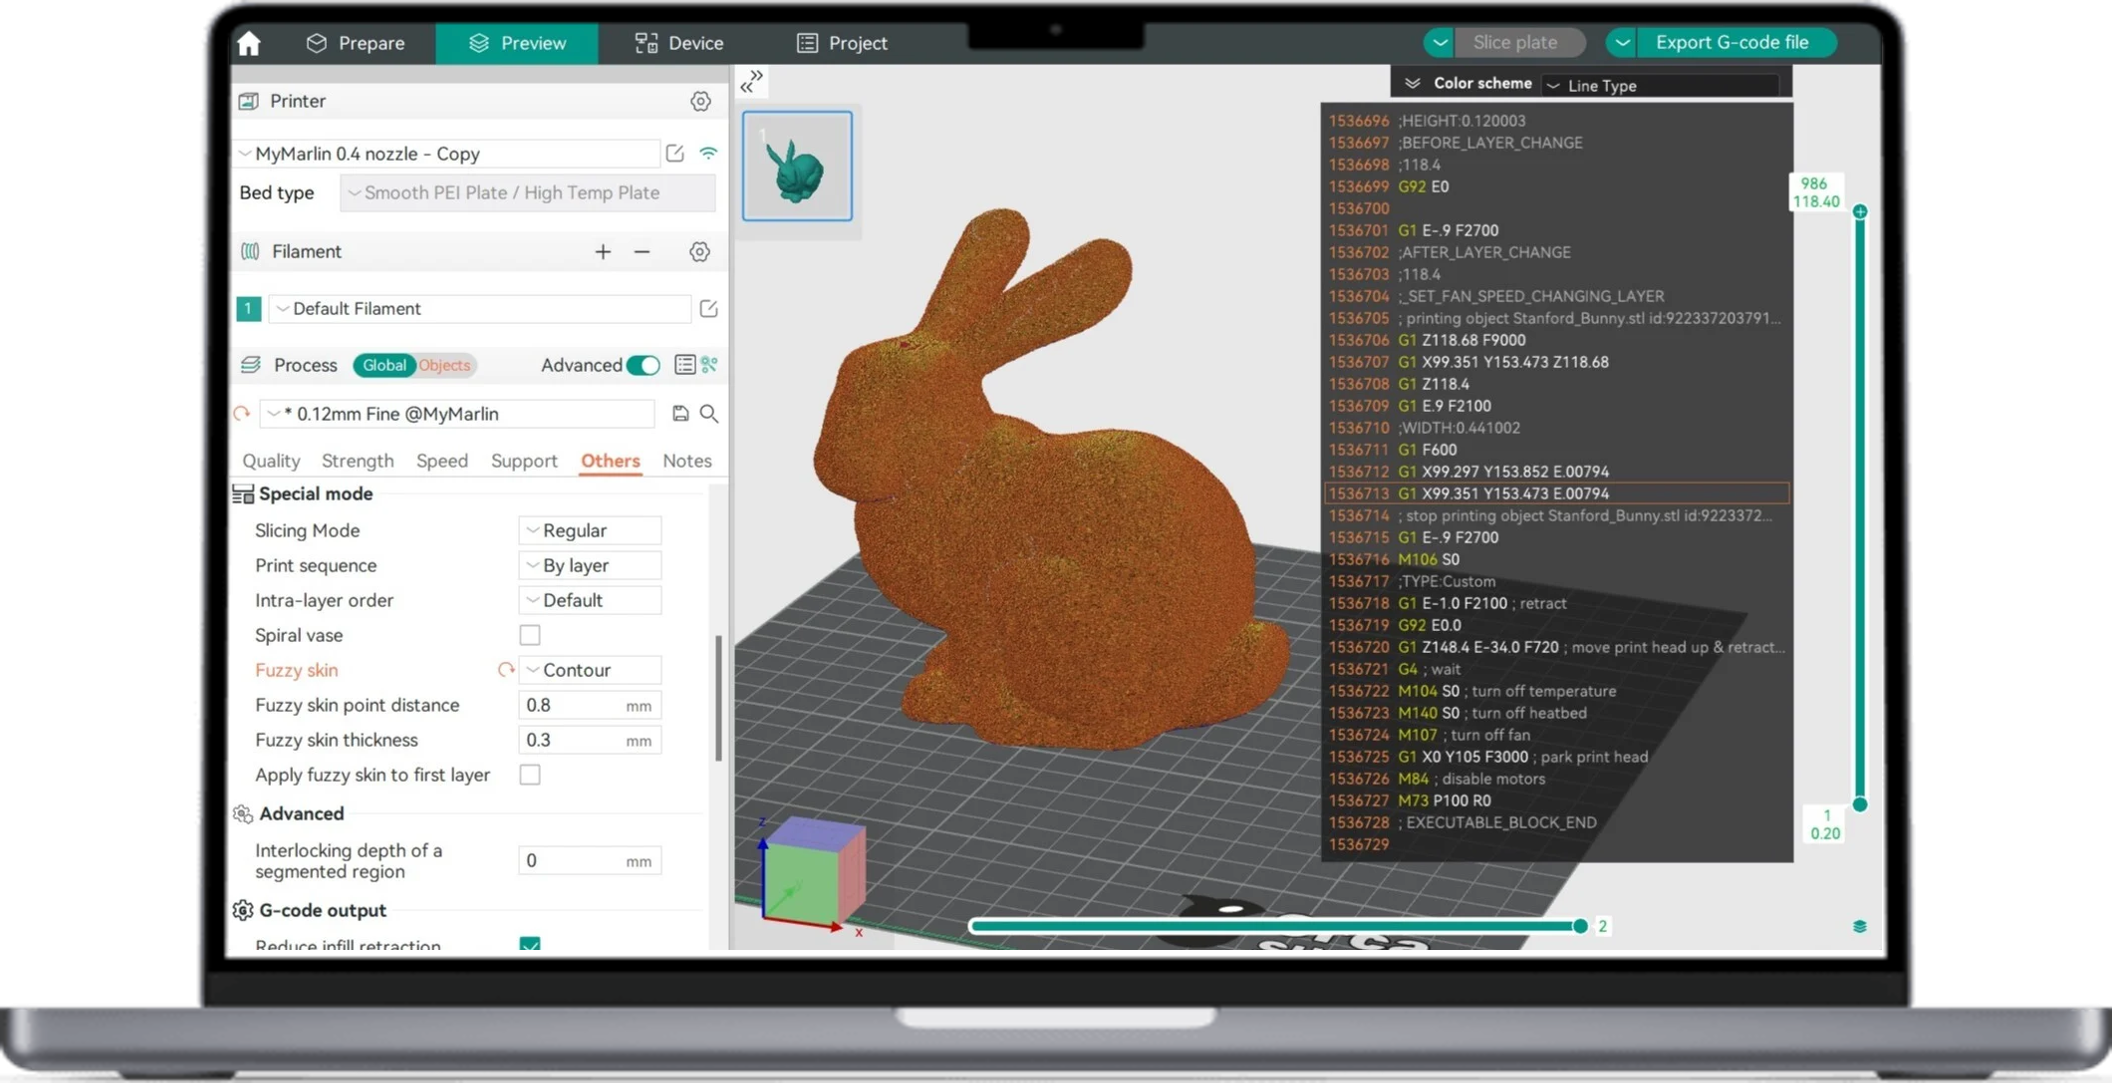
Use OrcaSlicer for Full Control Over First Layer Settings
Exposes every setting covered in this guide — per-filament profiles, elephant foot compensation, mouse ears, and adaptive mesh.
No ads · Free · Open-source · Windows and Linux