
Multi Material 3D Prints:
Plan Parts, Slots, and the Purge Tower
A multi-material print uses more than one filament in a single job. Decide which part gets which material, map each material to a physical slot, and plan where the purge tower goes.
Five decisions to make before you slice
Material Zonation
Which part or region uses which material.
Slot Mapping
Which physical slot or extruder holds each material.
Transition Frequency
Which material pairs change most often.
Tower Placement
Where the purge tower sits on the plate.
Flush Calibration
How much flush volume each change needs.
Split the model into material zones
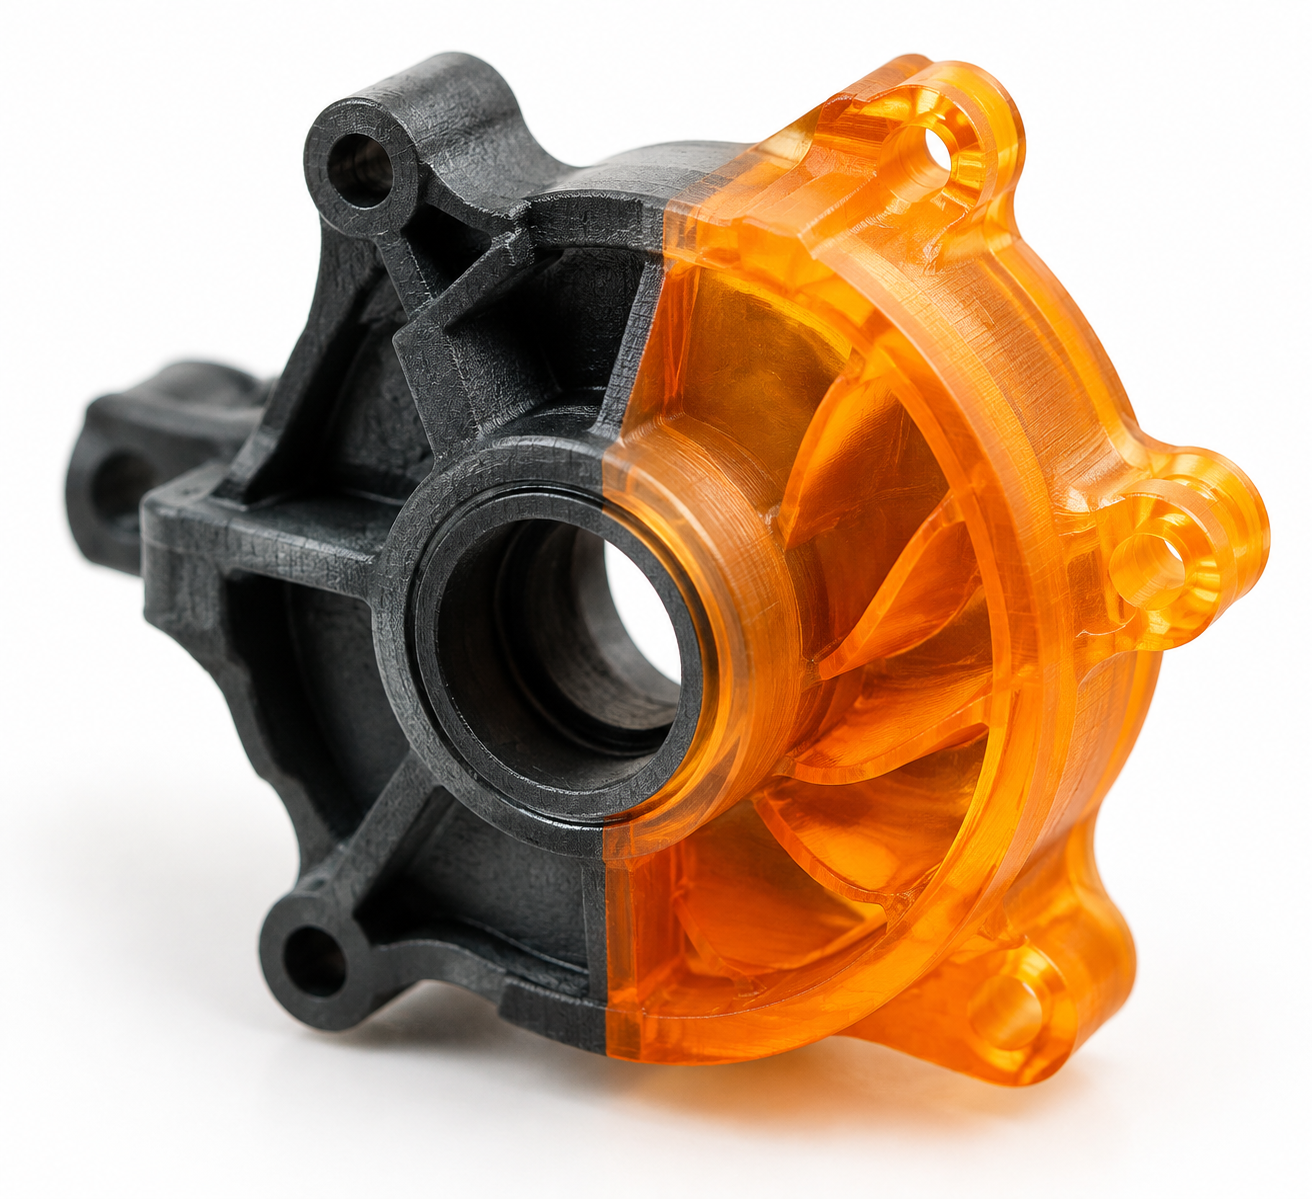
Look at the model and mark each region that needs a different material. Keep the number of changes low. Each change adds a purge, so a model with many small color islands produces the most waste. If two regions can share a material, use one material.
Write the plan on paper before you open the slicer: part name, material, and the reason for that material.
Match each material to a physical slot
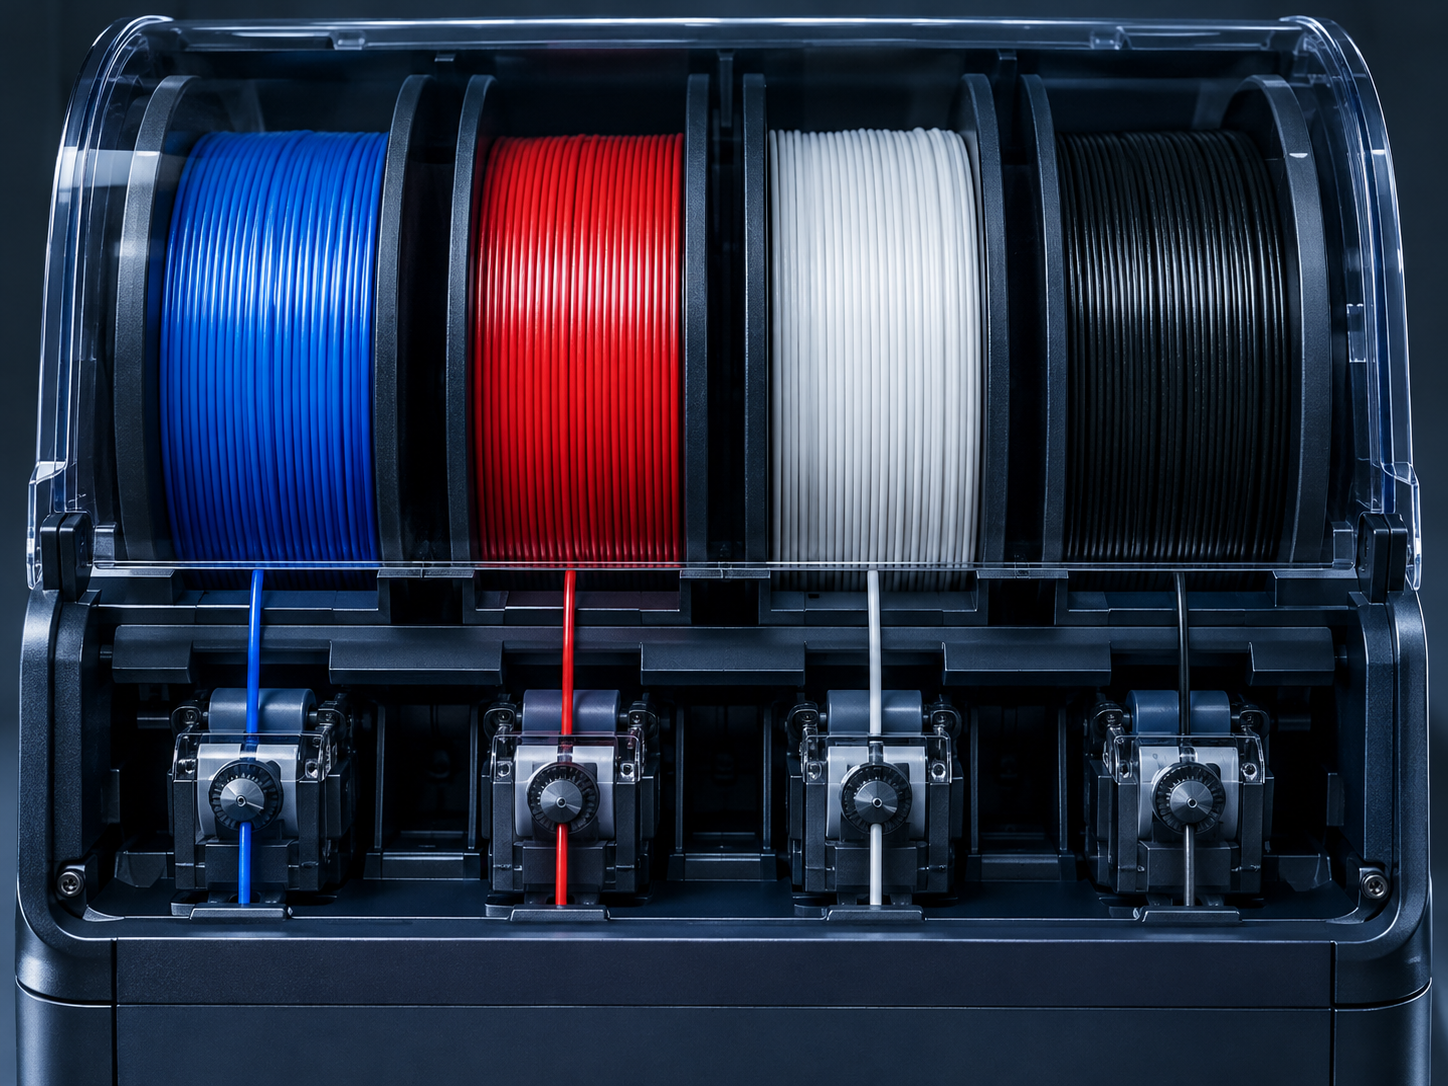
In OrcaSlicer, every filament you use needs a slot that matches the spool's real position on your machine. For Bambu AMS setups, load each spool into its AMS slot and set the same slot in the filament mapping. For Prusa MMU3, BoxTurtle, Tradrack, or another multi-extruder setup, assign each filament to the logical extruder that the hardware uses.
Check the mapping against the physical machine before printing. A mismatch sends the wrong material to a part.
Assign each material to its part
In the object list, set the filament for each part or modifier. Confirm the assignment in the preview before you slice: each colored region should show the material you planned in Step 1.
Set up rigid and flexible combinations
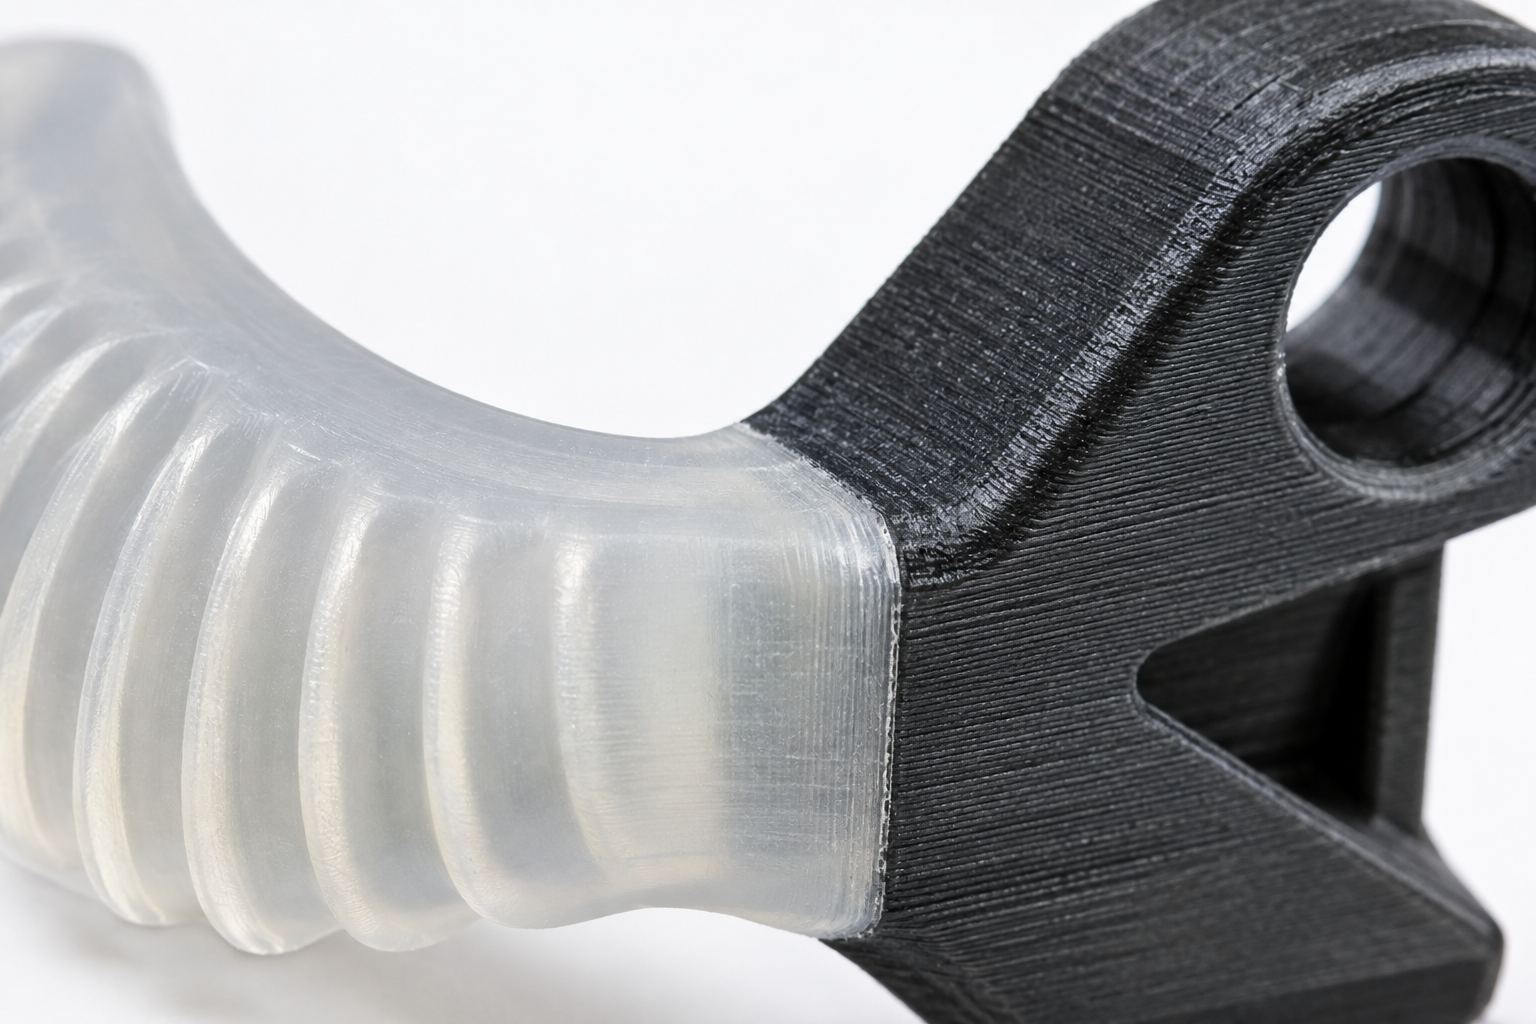
A flexible material such as TPU next to a rigid material such as PLA or PETG needs different handling from a rigid pair. Use these checks:
- Print the flexible section slower than the rigid section, and confirm the speed in the preview for that region.
- Review retraction for the flexible material in its filament profile. Flexible filament needs a gentler retraction setting than rigid filament.
- Keep the transition between materials on a surface that can handle a small seam, not on a thin, load-bearing feature.
- Run a short test print of the pair before you commit to the full job.
Each filament keeps its own profile. Use the profile for each material so the flow and retraction values stay with that spool.
Place the purge tower and cut waste
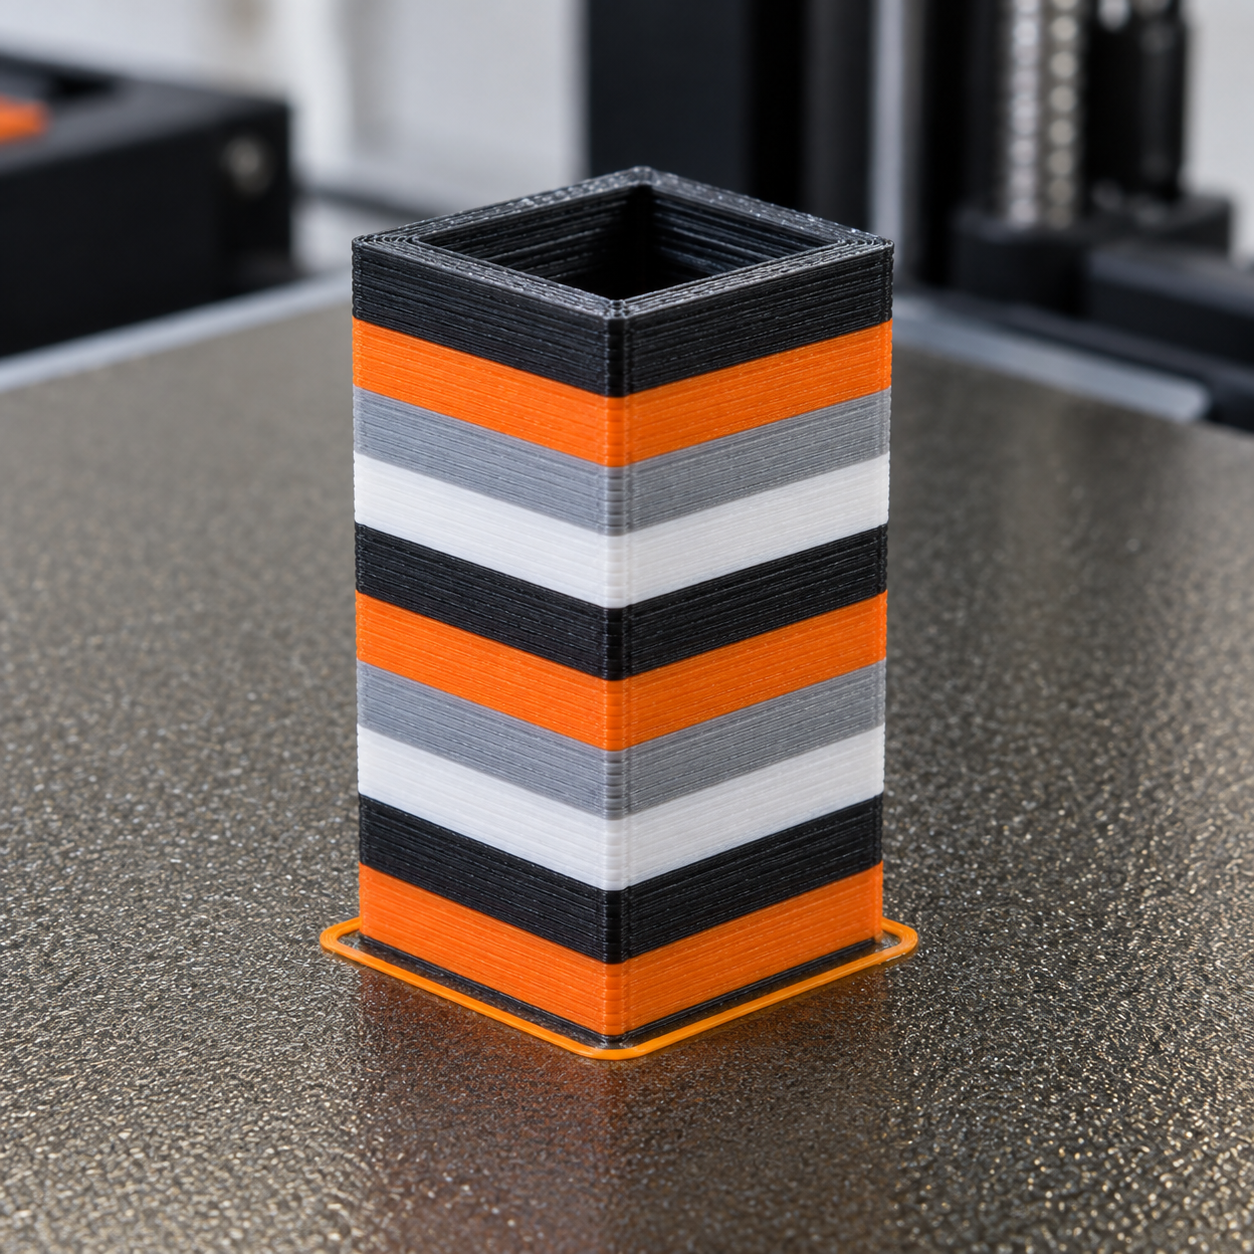
The purge (wipe) tower is where the nozzle clears the old material after each change. Place it in a clear corner of the plate, away from the parts, so that the tower does not block the print or get hit by a moving part.
More changes need a bigger tower. Two options in OrcaSlicer reduce waste on long jobs:
- Wipe into infill sends purge material into the infill of the part.
- Wipe into object sends purge material into the object itself.
Preview the layers after you place the tower. Check that the tower has enough room to hold the purge on every layer where a change happens.
Calibrate flush volume for each material pair
Flush volume is the amount of material pushed through the nozzle to clear the old color or material after a change. Each material pair can need a different value, so calibrate them one at a time.
- Start from the slicer's default flush value for the pair.
- Print a small test piece that switches from one material to the other, with a clear contrast between the two colors.
- Inspect the first layers after the change. If the old color shows in the new material, raise the flush value by a small step and print again.
- When the new material is clean, lower the flush value one step at a time. Stop one step above the last value that showed color bleed.
- Record the final value in the filament profile for that pair.
Judgment rule
Accept a value when the change area shows no visible contamination from the previous material. Choose the lowest value that passes, because a lower value means less waste.
The right value depends on your printer, nozzle, filament, and color contrast. Test each pair on your own machine.
Use one extruder: change color by hand with M600
If your printer has one extruder and no multi-material unit, you can still change material during a print. Use these steps:
- Choose the layer height where the color should change, and make sure the new material is ready beside the printer.
- In OrcaSlicer, add an M600 color change at that layer using the custom G-code option for layer changes.
- When the print pauses at that layer, change the filament, purge the old material until the new color comes through, and resume.
- Check the first layers after the change. Confirm that the new color starts clean.
This method puts a pause at every change, so plan the number of changes. It takes more attention than a multi-material system, but it needs no extra hardware.
Check the setup before you print
Estimate purge waste before you print
After you set the flush values, the flush waste calculator estimates how much material each change will purge. Use it to compare plans, such as fewer color changes or a smaller purge per change, before you slice.
The calculator estimates waste; it does not replace the test print in Step 6.
Material guides for multi-material setups
Frequently asked questions
Do I need a multi-material printer to make a multi-color print?
No. A single-extruder printer can change color at a chosen layer with an M600 pause, as described in the single-extruder section. A multi-material system changes material automatically and is faster to run.
Why does the old color show in my new material?
The flush volume for that material pair is too low. Raise it in small steps, print a test piece, and check the first layers after each change.
Can I print a flexible material next to a rigid one?
Yes. Use a slower speed for the flexible section, a gentler retraction setting for the flexible profile, and a test print of the pair first.
Where should the purge tower go?
In a clear corner of the plate, away from the parts, with enough room for the purge on every layer where a change happens.
How do I reduce purge waste on a long print?
Reduce the number of material changes first. Then use wipe into infill or wipe into object, and calibrate each pair's flush volume to the lowest value that shows no bleed.