How to Print Faster
Without Ruining Quality
Faster printing is not one slider. Speed, acceleration, layer height, and flow all push on the same hotend and frame. Change them in the right order, test after each change, and keep the time savings without ringing, rough walls, or weak layers.
The Speed Tuning Ladder
Layer Height
Check layer lines and part strength
Print Speed
Check under-extrusion and bonding
Acceleration
Check ringing after corners
Outer-Wall Speed
Check surface finish and accuracy
Know the limits before you raise speed
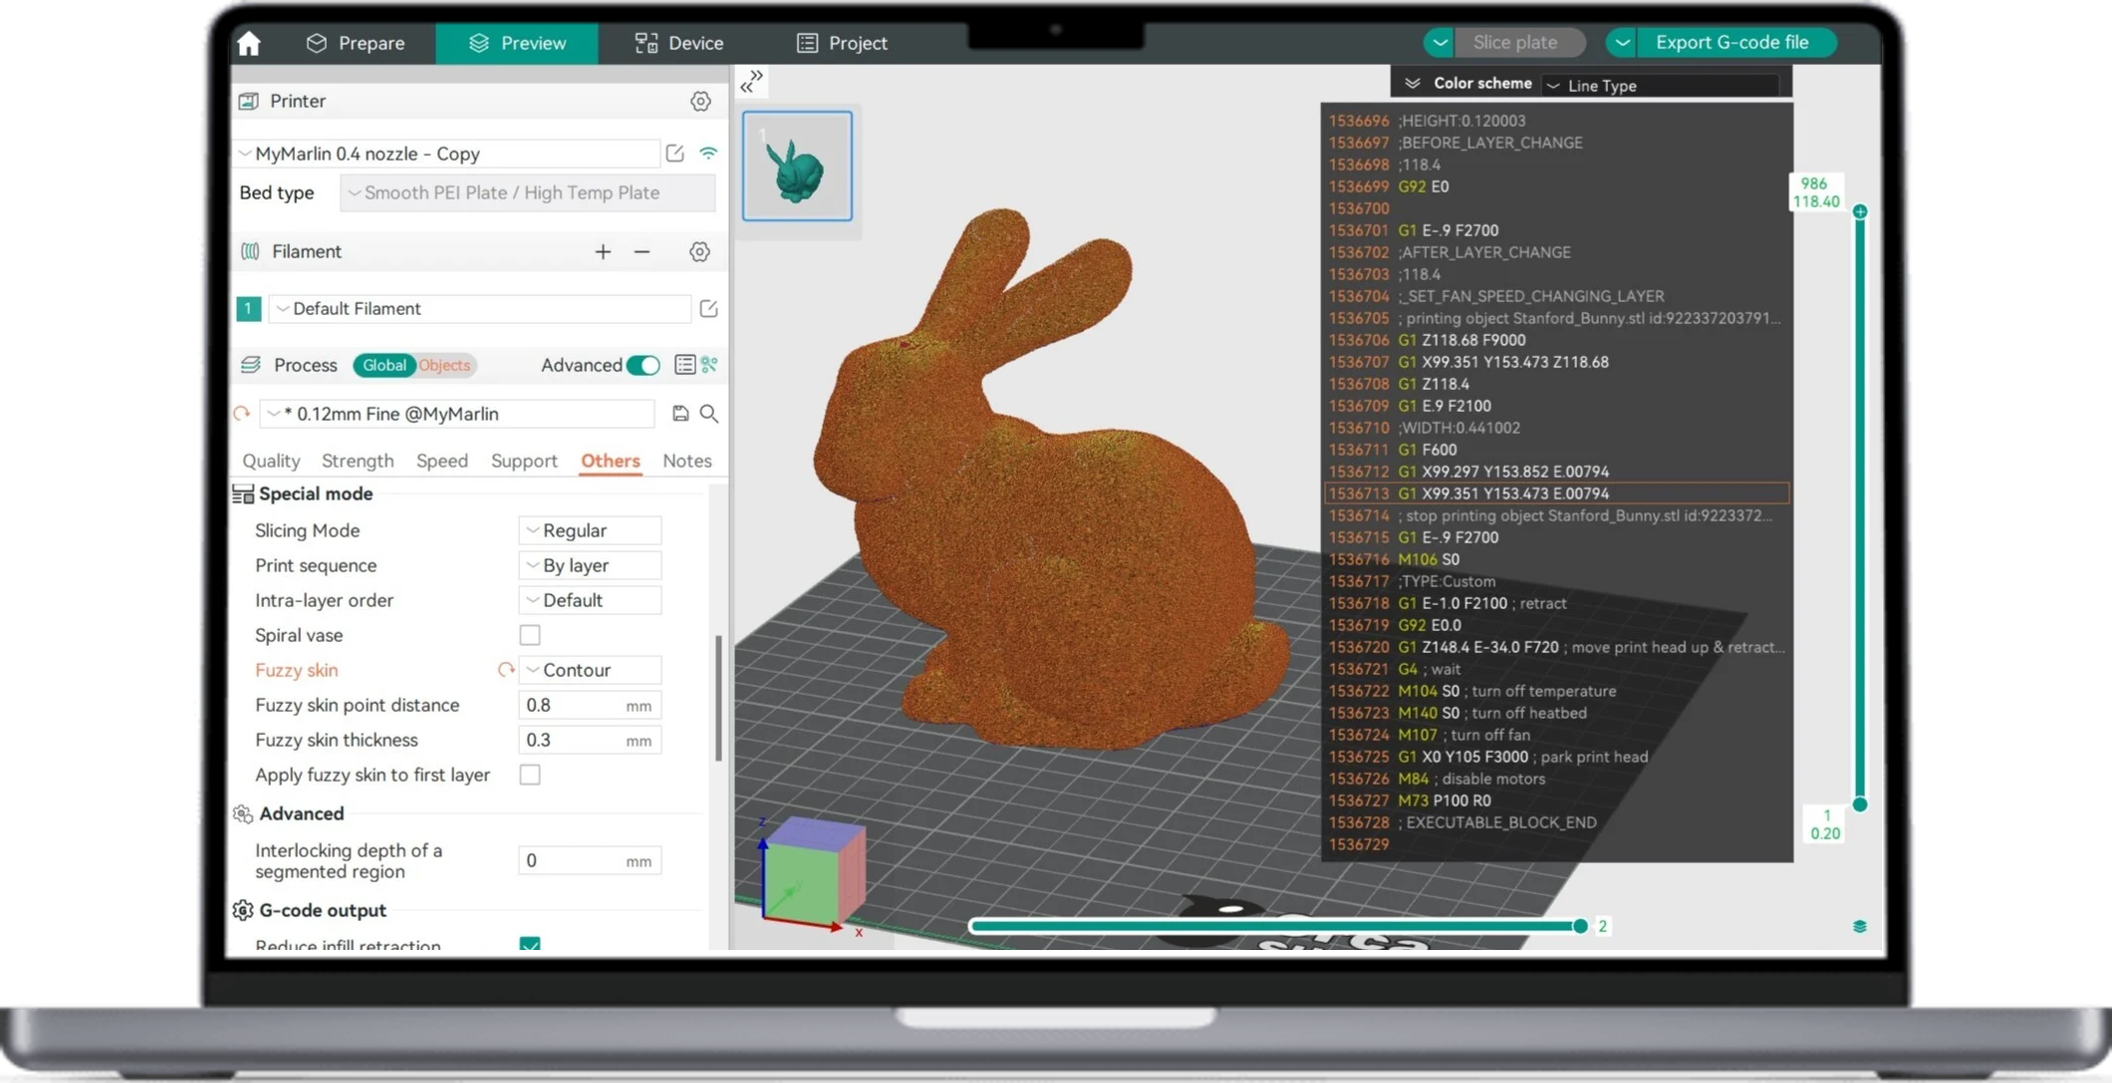
Every print setting pushes against three limits: how fast the hotend can melt filament, how hard the printer can accelerate without ringing, and how much outer surface quality your part needs. Find out which one is the bottleneck before you change anything. Raising a setting that is not the limit only adds noise to your test results.
- ●Hotend flow limit: The most filament the hotend can melt each second (Max Volumetric Speed).
- ●Frame and motion limit: How much acceleration the printer handles before corners ring (Cornering / Junction Deviation and VFA / Input Shaping).
- ●Material limit: How hot and fast the filament can bond. Keep these in your filament profile.
Callout: Start from a print you already trust. Save its profile, then change one setting at a time.
Raise layer height for the biggest early time saving
Layer height changes the number of passes a part needs more than any other setting. Going from 0.12 mm to 0.20 mm reduces layer count by about 40%, and print time falls with it. Functional parts often print well from 0.16 to 0.28 mm.
Callout: Layer height does not raise any flow or motion limit, so it is the safest first change.
Layer height in the Quality settings.
Fewer layers and a shorter print. Visible layer lines become more pronounced on curves.
Fit of mating parts, layer lines on curved surfaces, and estimated time in slicer preview.
Print speed for infill and walls.
Shorter time on the infill and inner walls.
Under-extrusion (gaps, thin lines) and layer bonding on the first few layers.
Raise print speed in small steps
Print speed affects infill and walls differently. Keep the first layer slow (20 mm/s or below) to ensure adhesion. Above that, increase speed in steps of 10 to 20 mm/s and re-test.
Callout: If the hotend cannot melt the filament fast enough, speed alone will not help. Confirm the flow limit in the next section.
Keep extrusion ahead of your speed
Speed and extrusion are linked. The flow your hotend must supply equals: layer height × line width × print speed.
Calculation Example:
0.2 mm × 0.45 mm × 80 mm/s = 7.2 mm³/s
If this exceeds your Max Volumetric Speed, the hotend starves.
Max Volumetric Speed in the filament profile, then Flow Ratio if walls look under-extruded.
A speed limit that protects the hotend and keeps walls full.
Run the Max Volumetric Speed test, then the Flow Ratio test, and compare wall thickness.
Raise acceleration and test for ringing
Acceleration shortens travel and short moves, but it shakes the frame and leaves ripples after each corner. Raise acceleration in steps, then run the Cornering / Junction Deviation test.
Callout: Ringing is a motion problem, not a flow problem. Lower acceleration first when ripples appear.
Slow the outer wall for a clean finish
The outer wall is the surface people see and measure. Keep infill and inner walls fast, then slow the outer wall back down. This keeps time savings in the parts of the print nobody inspects.
Callout: For holes that must measure true, check the Tolerance Test before you tune outer-wall speed further.
Quality warning signs and what to roll back
| Symptom | Usually caused by | Roll back first |
|---|---|---|
| Ripples or ringing lines on walls | Acceleration too high | Lower acceleration, then re-run VFA / Input Shaping |
| Bulges or blobs at corners | Acceleration or Junction Deviation too high | Lower Junction Deviation, then re-run Cornering test |
| Rough outer surface | Outer-wall speed too high | Lower outer-wall speed to previous value |
| Gaps, thin walls, or weak layers | Flow limit or print speed too high | Lower Max Volumetric Speed or print speed |
| Poor layer bonding or brittle parts | Print speed too high for temperature | Raise nozzle temperature or lower print speed |
*Note: Roll back one setting at a time, so you know which change caused the problem.
Test with a small part before a full print
Test cubes and calibration tests cost less than a failed full-size print. Print the same test model with the old and new settings, then compare results.
Save your current profile as a baseline.
Change one setting (e.g., layer height or speed).
Print a small test model; note the estimated time.
Inspect walls, corners, surface, and dimensions against the baseline.
Keep the change if quality holds, and move to the next setting.
Callout: Record the estimated time and the result of each test in a short log to track your progress.
The speed-tuning order at a glance
| Order | Setting | Quality check |
|---|---|---|
| 1 | Layer height | Layer lines, part strength, fit |
| 2 | Print speed | Under-extrusion, layer bonding |
| 3 | Max Volumetric Speed & Flow Ratio | Wall fullness, wall thickness |
| 4 | Acceleration & Junction Deviation | Ringing, corner bulges |
| 5 | Outer-wall speed | Surface finish, dimensions |
Frequently Asked Questions
How much faster will my print be?
The time saved depends on the model. Compare the estimated time in the slicer preview before and after each change to measure your own saving.
Why do my prints get worse when I raise speed?
Higher speed needs more melted filament. If the Max Volumetric Speed is too low, the hotend starves and walls come out thin and weak. Check the flow limit first.
Should I raise print speed or acceleration first?
Raise print speed first, then check the flow limit. Acceleration is a motion setting that causes ringing, so change it after the flow limit is set.
What first-layer speed should I use?
Keep first-layer speed at 20 mm/s or below. The first layer sets adhesion for the whole print.
Set your flow limit before you raise speed
Start with the flow limit. It is the one number that decides how fast your hotend can feed filament, and it takes less than a minute to check.