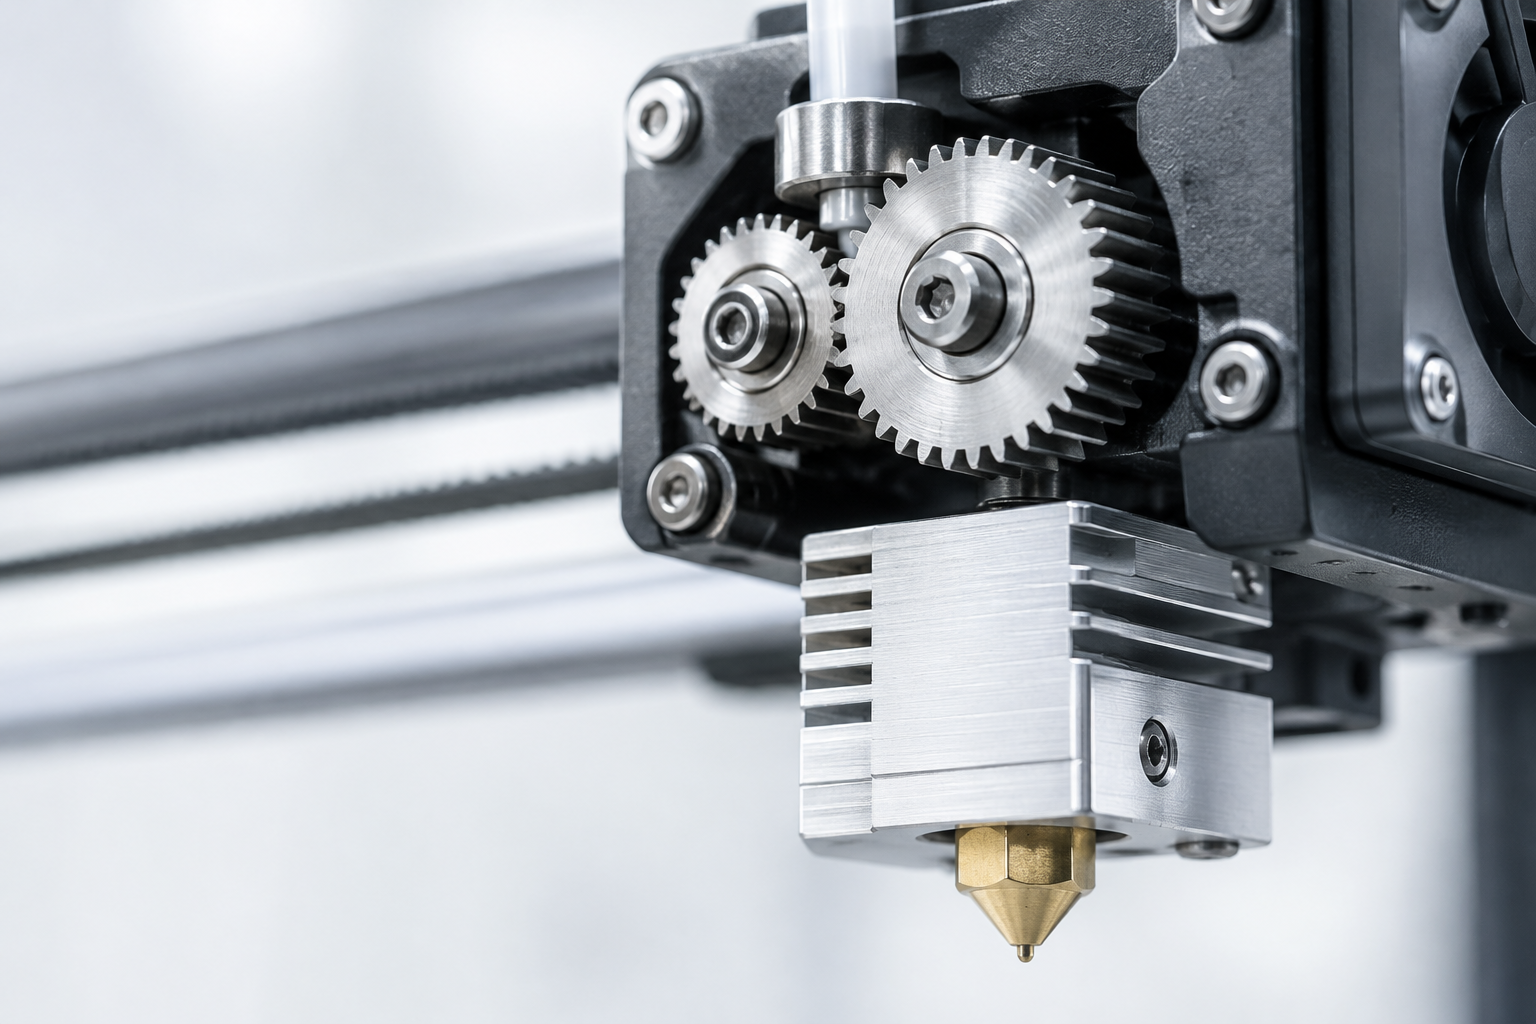
Technical 3D Printing Detail
Step-by-step guide | By Orca Print Notes

Multi Color 3D Printing:
How to Set Up AMS, MMU


Multi-color prints come from a few settings done in the right order: give each color a slot or extruder, set the purge (flush) volume between colors, size the wipe tower, and tell the printer where to change filament.

A four-color sign, planned before you slice

Use this table as a template. Each row is one filament spool, loaded into one slot or extruder.

SlotFilamentColorUsed for
1PLABlackOutline and lettering
2PLAWhiteBackground panel
3PLARedAccent shapes
4PLABlueBorder
Keep the same filament type in every slot when you start. Mixing materials adds temperature and flush settings you need to plan separately.

Plan your colors before you open the slicer

Count the color zones on the model, then decide which color each zone uses. Write the list down with the slot number, filament type, and color. Most failed multi-color prints trace back to a mismatch between the plan and the spools on the printer.

01

Count the number of color changes the print needs.

02

Match each color to a spool you already have loaded.

03

Check that the filament type is the same in every slot you use, or note the temperature for each.

04

Keep a color with few changes on a low slot number so it is easy to recheck.

Assign each color to a slot or extruder

In OrcaSlicer, each part of the model is assigned to a filament. Choose the filament slot that matches the spool you loaded.

Bambu Lab AMS

Choose the slot that matches the loaded spool.

Prusa MMU3 / Tradrack

Treat each input as a separate filament unit.

Steps to Assign

  1. Open the filament assignment for the model.
  2. Set each color zone to its slot or extruder number.
  3. Confirm the filament profile and temperature for each slot.
  4. Load the matching spools into the matching slots on the printer.

Set the flush volume so colors stay clean

Flush (purge) volume is the amount of filament pushed out after each swap to clear the old color. Set it for each pair of colors, not one value for all colors.

  • # Start point: For PLA, start between 90 and 120 mm³ for each color pair.
  • # Adjust: Reduce the value step by step while you check the first color change.
  • # Pairs to watch: Colors far apart in tone, such as black to white, need more flush.

Tip: Less flush wastes less filament. Too little flush shows as color bleed at each change.

Troubleshoot multi-color prints in this order

Check the simplest causes first. Work down the list and change one setting at a time.

Color does not change on time

Check the slot or extruder assignment, then check that the spool is in the matching slot.

Colors bleed into each other

Increase the flush volume for that color pair, then retest.

Tower wobbles or shifts

Widen the base, reduce height, or check the cooling and bed adhesion.

Frequently asked questions

Can I do a multi-color print on a single-extruder printer?

Yes. Use a manual color change (M600) at the layer where the color should change. You will need to be present to swap the filament at each pause.

Do I need an AMS or MMU for multi-color printing?

No. An AMS, MMU, or multi-extruder printer makes changes automatic, but a single-extruder printer can print multiple colors with manual changes.

How much flush volume should I use?

For PLA, start between 90 and 120 mm³ for each color pair. Reduce it step by step while you check for color bleed.

Ready to optimize your multi-color workflow?

Use our calculators to reduce waste and improve print quality.