PLA filament setup guide

PLA filament that actually prints well: pick the spool, then lock parameters.

Most PLA 3D printing filament searches end on a product grid. This page is the decision path those stores skip: how to judge a spool, what temperature and first-layer settings to start from, and how to establish Flow Ratio.

Free · Open-source · Profiles Included
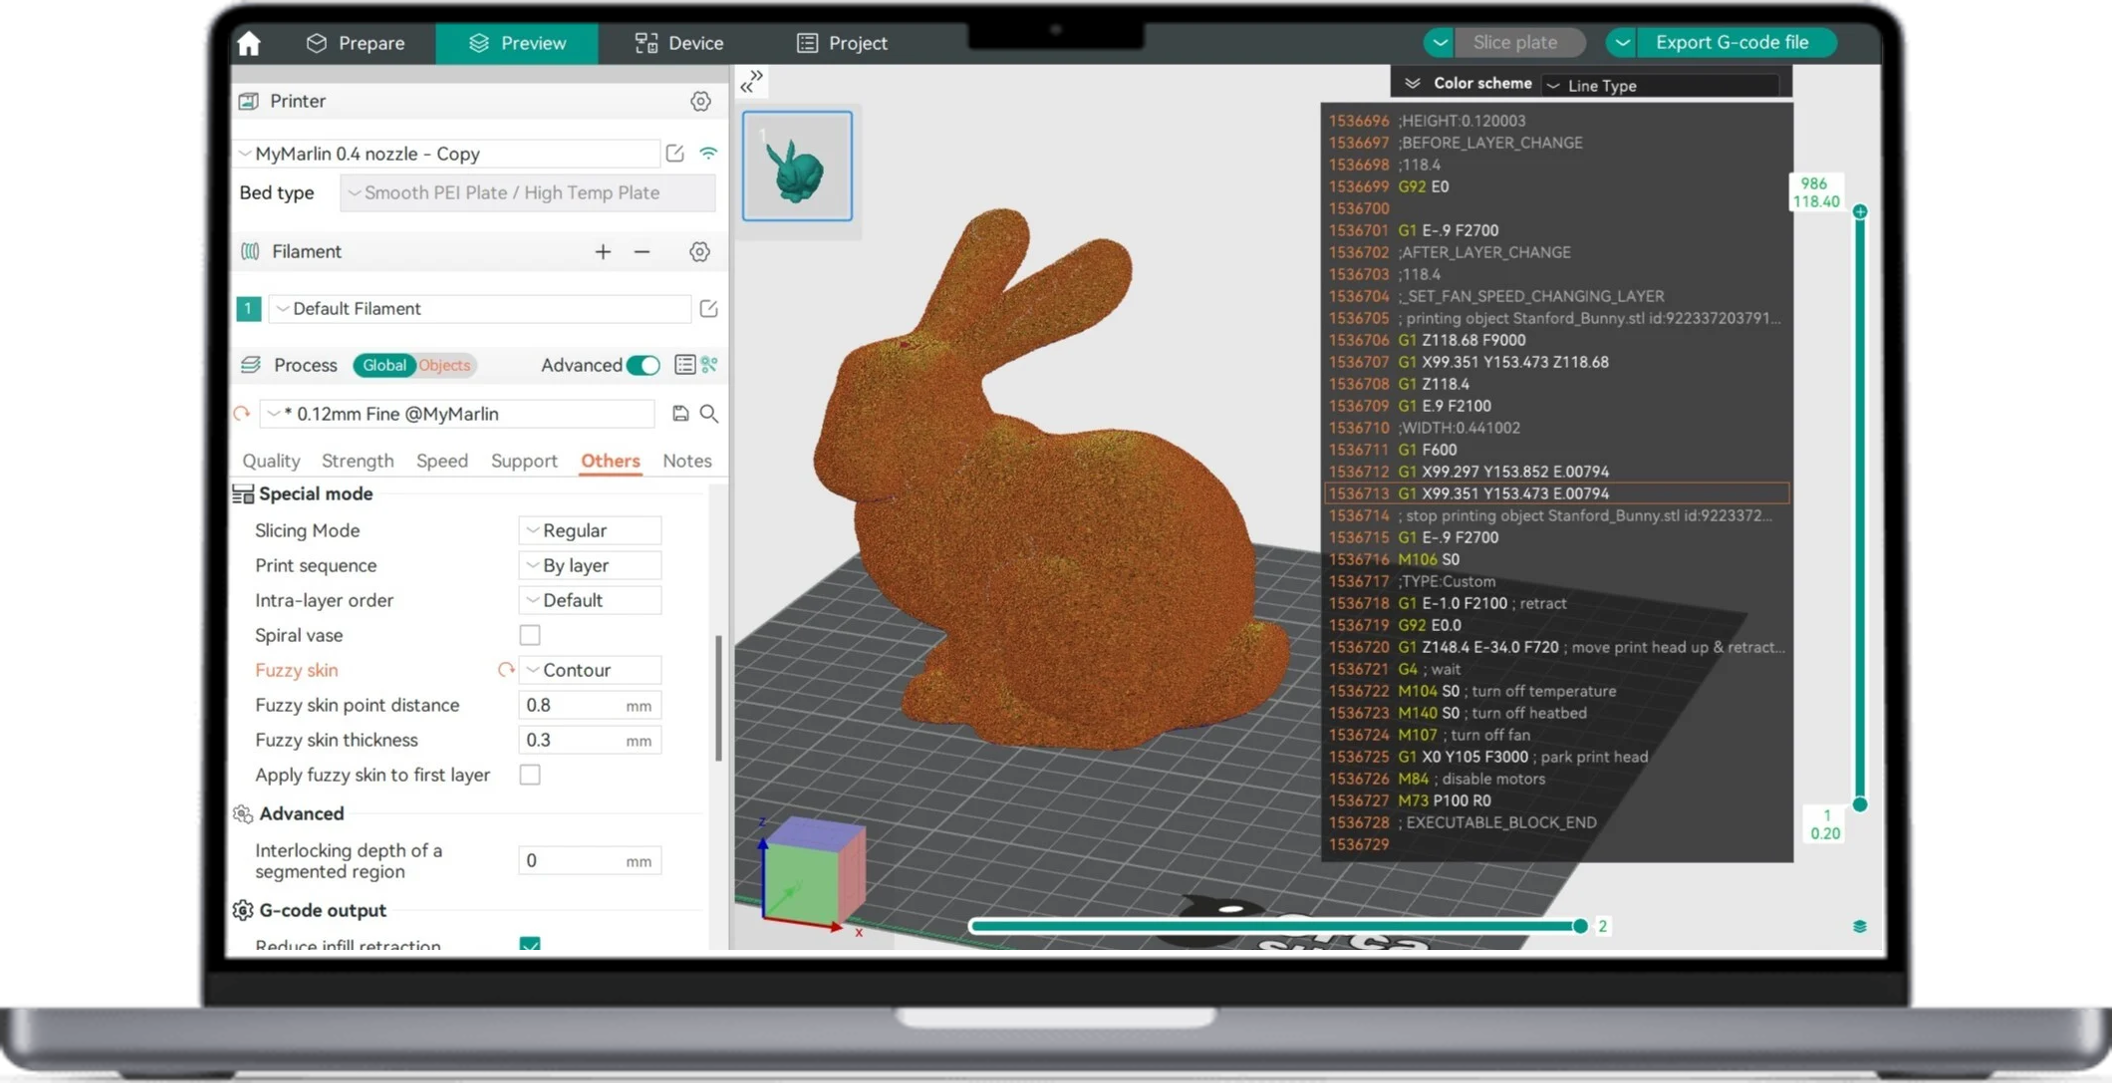
Orca Slicer interface preview

PLA Setup Checklist: From Sealed Spool to Saved Profile

Use this as the working order for any new PLA 3D printer filament. Finish the list once per spool brand or formula, then reuse the saved filament profile.

01

Inspect the spool

Check diameter consistency, winding quality, and formula type (standard, matte, silk, or high-speed).

02

Create a PLA profile

Start from a PLA preset in Orca Slicer instead of editing generic materials mid-print.

03

Set temperature baselines

Enter labeled nozzle/bed ranges and plan a Temperature Tower pass.

04

Warm the first layer

Slow the first layer and add nozzle heat (+5-10°C) to lock in adhesion.

05

Calibrate Flow Ratio

Run Flow Ratio calibration and write the result back into the filament profile.

06

Set cooling for the job

Apply strong part cooling after early layers; reduce fan only for layer time or strength needs.

Calibration order: Temp Tower → Flow Ratio → Pressure Advance → Retraction → Max Volumetric

How to Choose PLA Filament Before You Buy

PLA is the default FDM starter material, but spool quality still decides whether your results stay predictable.

Diameter Consistency

Prefer tight diameter tolerance to avoid alternating over and under-extrusion.

Winding & Packaging

Look for neat cross-winding and intact vacuum seals with desiccant to prevent tangles.

Finish & Formula

Choose Matte to hide lines, Silk for sheen, or High-Speed for fast toolpaths.

Labeled Window

Buy spools that publish specific nozzle and bed temperature ranges for easy setup.

Buyer shortcut

If you only remember three: clean winding, a published temperature window, and a formula that matches the job.

Download Orca Slicer

PLA Temperature Settings That Stick

Temperature is not one number. You need a nozzle baseline for the stack, a bed temperature that holds the skirt, and a slightly hotter first layer.

The Recommended Recipe

Start with 215°C nozzle and 60°C bed for the first layer (speed ≤ 20 mm/s), then return to your tower-chosen values for the remaining layers.

Clean the plate before blaming temperature and use a short brim if corners lift to ensure perfect adhesion.

Nozzle

Mfg Range → Tower Pass

Bed

55-65°C depending on PEI

First Layer

+5-10°C over stack

Calibration Status: Active

Want the wider profile system?

Browse filament profiles
Flow Calibration UI

Flow Ratio and Extrusion Correction

Flow Ratio is how Orca Slicer corrects plastic volume discrepancies. It must be calibrated after temperature for precise results.

01

Built-in Calibration Run the two-pass or YOLO flow method in Orca Slicer to correct extrusion volume per spool.

02

Profile Write-Back Let the wizard write Flow Ratio directly into the preset so tuning follows the spool across machines.

03

Volumetric Limits Use Max Volumetric Speed to cap flow so the hotend doesn't exceed its melt capacity.

Need a quick flow math check?

Open Flow Ratio Calculator →

PLA Cooling: Fan Speed vs Layer Time

PLA generally likes strong part cooling after early layers. The mistake is treating fan percentage as a static religion instead of a response to layer time and finish goals.

Short layer times: On tiny peaks or high-speed paths, layer time collapses—you need minimum layer time limits.

Strength: For functional brackets, reduce fan slightly to improve interlayer bonding at the cost of slight cosmetic gloss.

ScenarioCooling DirectionWatch For
Decorative PartHigh fan (early skip)Overhang curl
Tiny PeaksHigh fan + Min TimeHeat soak
Functional BracketModerate fanLayer split
High-Speed BodyTune with MVSUnder-extrusion
Reference: High-speed formulas need specific fan curves

PLA Filament Troubleshooting

Stringing / Oozing

Direction: Lower Temp / Dry Spool

Lower nozzle temp toward tower band; tune retraction after flow; dry the spool if bubbles appear.

Weak Layer Adhesion

Direction: Raise Temp / Reduce Fan

Raise nozzle temp; reduce fan on functional walls; re-check Flow Ratio for under-extrusion.

First-Layer Peels

Direction: Clean Plate / Boost Temp

Apply the first-layer boost recipe (215/60); clean PEI; live-adjust Z offset for squish.

Elephant’s Foot

Direction: Negative Expansion

Use negative First Layer Expansion and slightly lower first-layer flow to fix dimensional sprawl.

PLA Filament FAQ

What should I look for when buying?

Prioritize diameter consistency, tidy winding, and a labeled nozzle/bed window. These ensure the slicer's math matches reality.

What temperature should I use?

Start with the spool label, then run a Temperature Tower. For reliability, use 215/60 for the first layer then drop to your tower choice.

Should cooling always be 100%?

It's the default for clean overhangs, but functional parts may need 50-70% fan for better interlayer strength.

Ready to stop reprinting the same PLA issues?

Create a named PLA filament profile and run the temperature → flow → cooling validation sequence today.