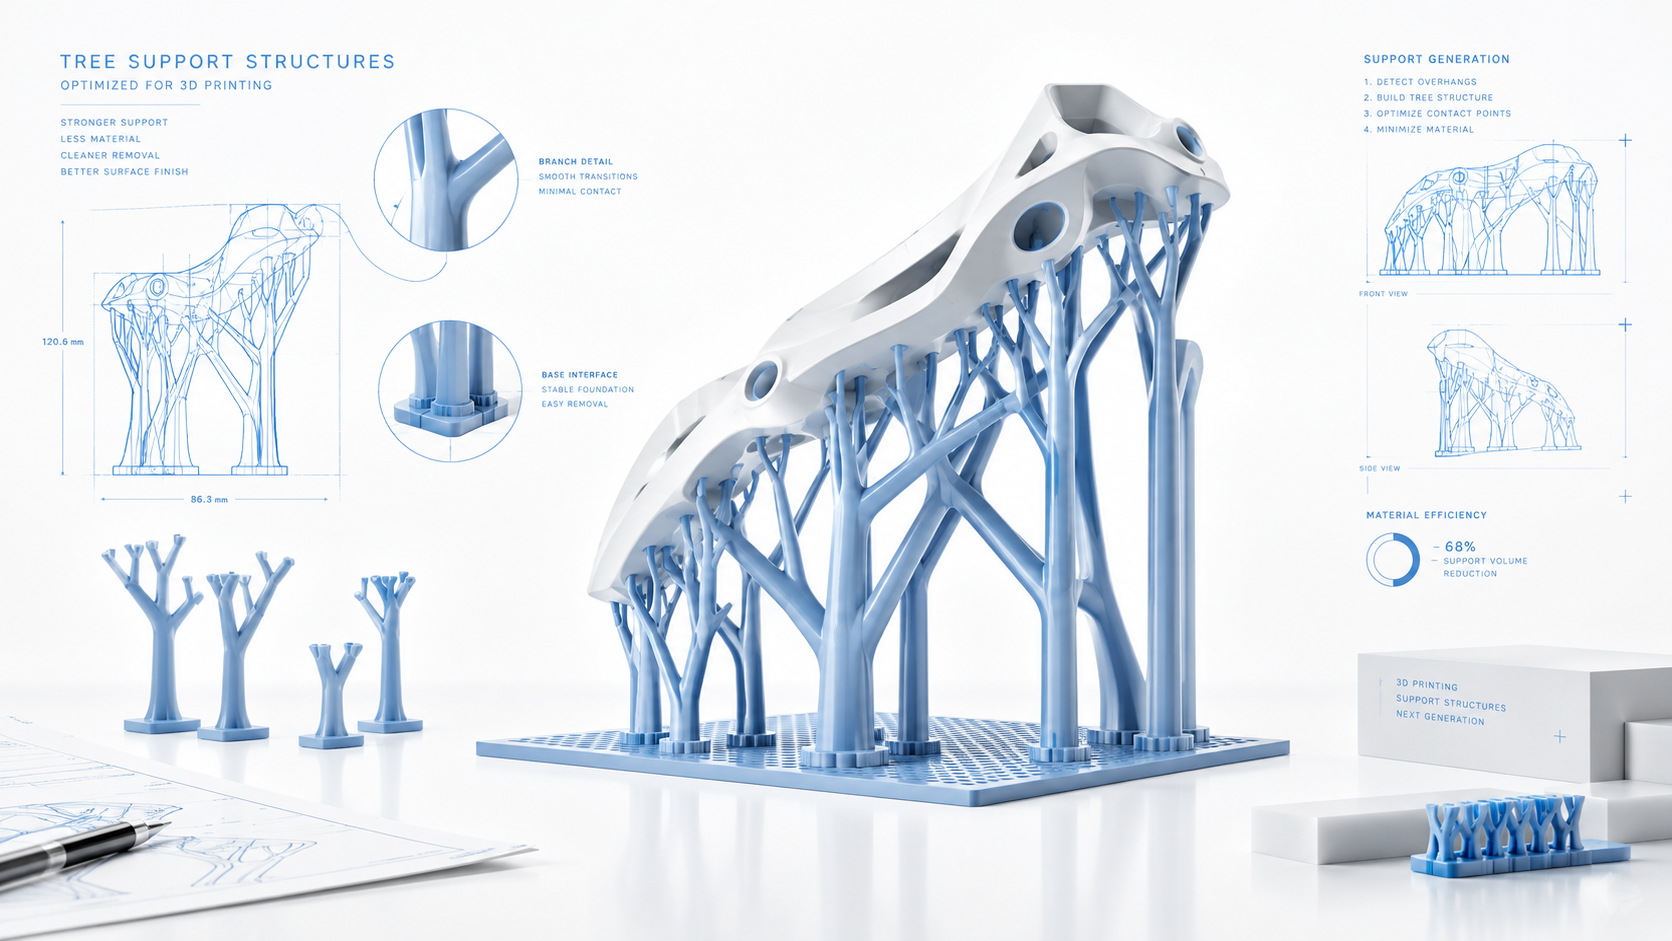
What you will set up in this guide
You will decide whether a model needs supports, pick between tree and normal supports, set the gap and interface layers that control removal, paint support placement where it matters, and check the result in the preview before you print.
- 1Decide whether the model needs supports at all
- 2Choose tree or normal supports for the shape
- 3Set the support base to build plate only
- 4Tune the Z gap and top interface layers
- 5Paint support blockers and enforcers
- 6Check the preview and fix breakage
- 7Remove supports and clean up marks
Check whether the model needs supports before changing any setting
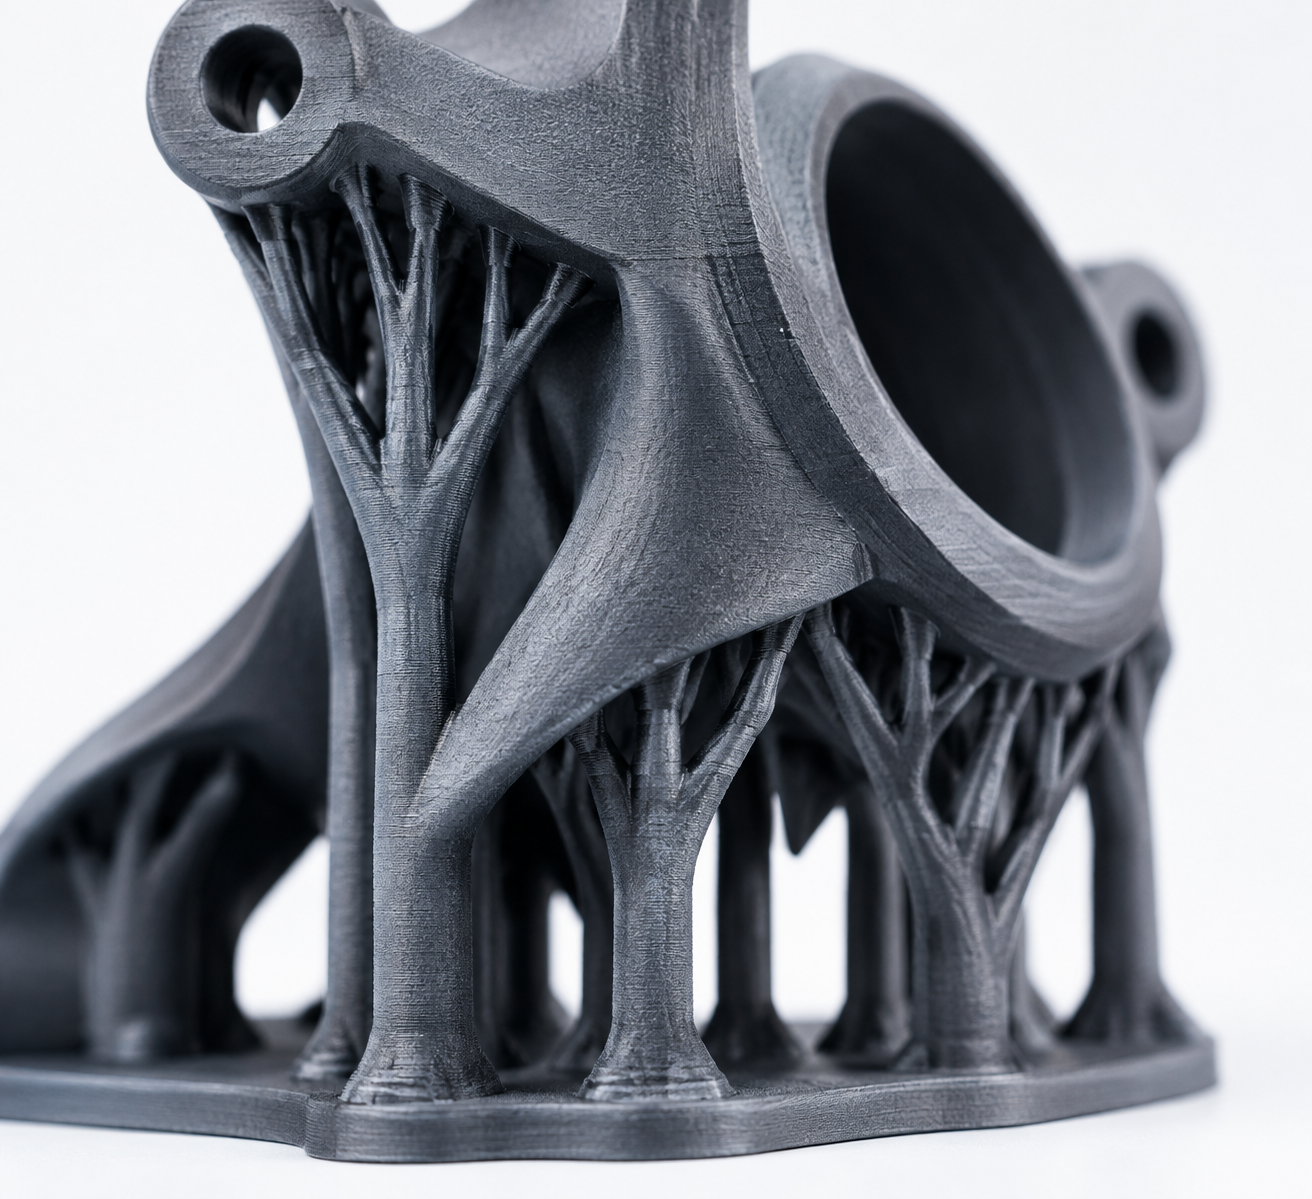
Look at the model from the side and find every surface that sticks out past the layer below it at a steep angle. Bridges, overhangs, and cantilevers need support. Vertical walls, small chamfers, and parts that rest flat on the bed usually do not. Print the model without supports first if you are unsure, and watch the first layers that overhang.
Technical Maneuver
Without-software step: Rotate the model in your head or on paper and mark each overhang. If an overhang is shallow, you can often reorient the part so it prints flat-side down before adding any support.
Choose tree or normal supports for the shape
Tree supports branch out from a few contact points, so they touch the model less than a block of normal supports. They suit organic shapes, figurines, and curved surfaces, where contact marks are visible. Normal supports are sturdier across large flat overhangs and are easier to predict on tall, rigid parts.
Figurines and organic shapes
Tree supports usually leave fewer marks on visible surfaces.
Large flat overhangs
Normal supports usually hold the surface more evenly.
Thin, tall features
Either type can break. Plan for breakage checks in the troubleshooting section.
Small parts
Tree supports usually break away with less force.
Public note: Results depend on geometry and printer. Test both support types on a small piece before committing to a full print.
Start with supports on the build plate only
For clean removal, set the support base to build plate only. This keeps supports from resting on top of the model, where they leave the most visible scarring. Enable tree supports from the Support tab, then confirm the support type in the preview before you slice.
Set the Z gap so supports can let go
The Z gap is the empty space between the top of the support and the underside of the model. A gap that is too small fuses the support to the part. A gap that is too large lets the support sag or fail to hold the overhang.
Z gap: 0.2 to 0.28 mm
Starting range to test
Validation note: This range is a starting point from published OrcaSlicer support recipes. Print a small test piece and adjust in 0.02 mm steps.
For PETG: PETG tends to bond more strongly to support material than PLA does. Try a larger Z gap within the range above and check removal on the test piece before you change the whole job.
Set the interface layers and their flow
Interface layers are the dense layers at the top of the support where it meets the model. Fewer, well-chosen interface layers make removal easier than many layers that fuse to the part.
2
Top Layers
0.3 – 0.5 mm
X/Y Distance
90% – 95%
PETG Flow
Validation note: These are starting points from published OrcaSlicer support recipes. Confirm each value on your own printer and material before a full print.
Paint where supports can and cannot touch
Support Painting lets you decide exactly where supports make contact. Paint blockers on surfaces that must stay clean, such as a face or a visible curve. Paint enforcers on areas that need extra support, such as an overhanging arm.
Select the model in the plate view.
Open the Support Painting brush from the toolbar.
Paint blocker areas on surfaces where contact marks would show.
Paint enforcer areas where the model needs support to hold a feature.
Slice the plate and open the preview.
Check each painted area in the preview. Confirm supports stop at the blocker boundary and reach the enforcer areas.
Adjust the paint strokes and slice again until the contact points match the plan.
Check the preview for breakage risks
Supports fail most often in three places: thin support branches under tall or slender features, long unsupported spans between contact points, and multi-color jobs where a support layer is printed in a different filament from the part around it.
Tall Features
Look for thin branches under tall features and add painted enforcers if a branch looks isolated.
Long Spans
Look for long spans with no contact and paint an enforcer at the midpoint of the span.
Multi-Material
Confirm the support interface uses the filament you intend. See the multi-material guide for setup details.
Remove supports without damaging the surface
Tree supports usually come off with light pressure from a flush cutter or a pair of tweezers. Work from the base upward, and stop if the part starts to crack. Clean up remaining marks with a sharp hobby knife, then a light pass with fine sandpaper.
- Let the part cool fully before removing supports.
- Snip the support branches close to the model with a flush cutter.
- Pull any loose tips off with tweezers.
- Trim the remaining contact nubs with a hobby knife, keeping the blade flat against the surface.
- Smooth the spot with fine sandpaper, then wipe away the dust.
Public note: Stop and adjust the Z gap if supports fuse to the part. Forcing them off usually leaves a bigger scar.
Fix the most common support problems
| Problem | Likely Cause | What to try |
|---|---|---|
| Supports fuse to the part | Z gap too small, or interface flow too high. | Try a larger Z gap within the starting range and reduce interface flow. |
| Supports break during printing | Thin branches under tall features. | Paint an enforcer on the weak area and check the preview again. |
| Supports sag | Gap too large or support too sparse. | Reduce the Z gap within the starting range or add an enforcer. |
| Visible scars on a face | Contact points land on a visible surface. | Paint a blocker on that surface. |
| Supports leave a rough patch | Interface too dense. | Test fewer interface layers. |
Frequently asked questions
Do tree supports always leave fewer marks than normal supports?
Usually, on organic and curved surfaces, because they touch the model at fewer points. They are not automatically better for flat, large overhangs. Test both on a small piece if the surface is visible.
Why do tree supports break on tall models?
Thin branches under a tall or slender feature have little support. Check the preview for isolated branches, then paint an enforcer on the weakest area.
Should I change the Z gap for PETG?
Test a larger Z gap within the starting range on a small piece first. PETG bonds more strongly to support material, so the same gap that works for PLA may not release cleanly.
Do I need a second extruder for clean supports?
No. Clean removal comes from the Z gap, interface layers, and support placement. A second extruder with soluble support material is a separate option, covered in the multi-material guide.