ASA Filament Guide

ASA 3D Printing Filament:
Precision Settings for OrcaSlicer

Pre-flight Checklist

250°C Nozzle | 100°C Bed | 50°C Enclosure | 0-20% Fan

ASA is the standard for outdoor parts. Success in OrcaSlicer depends on thermal stability: minimal cooling and a high-temperature ambient environment.

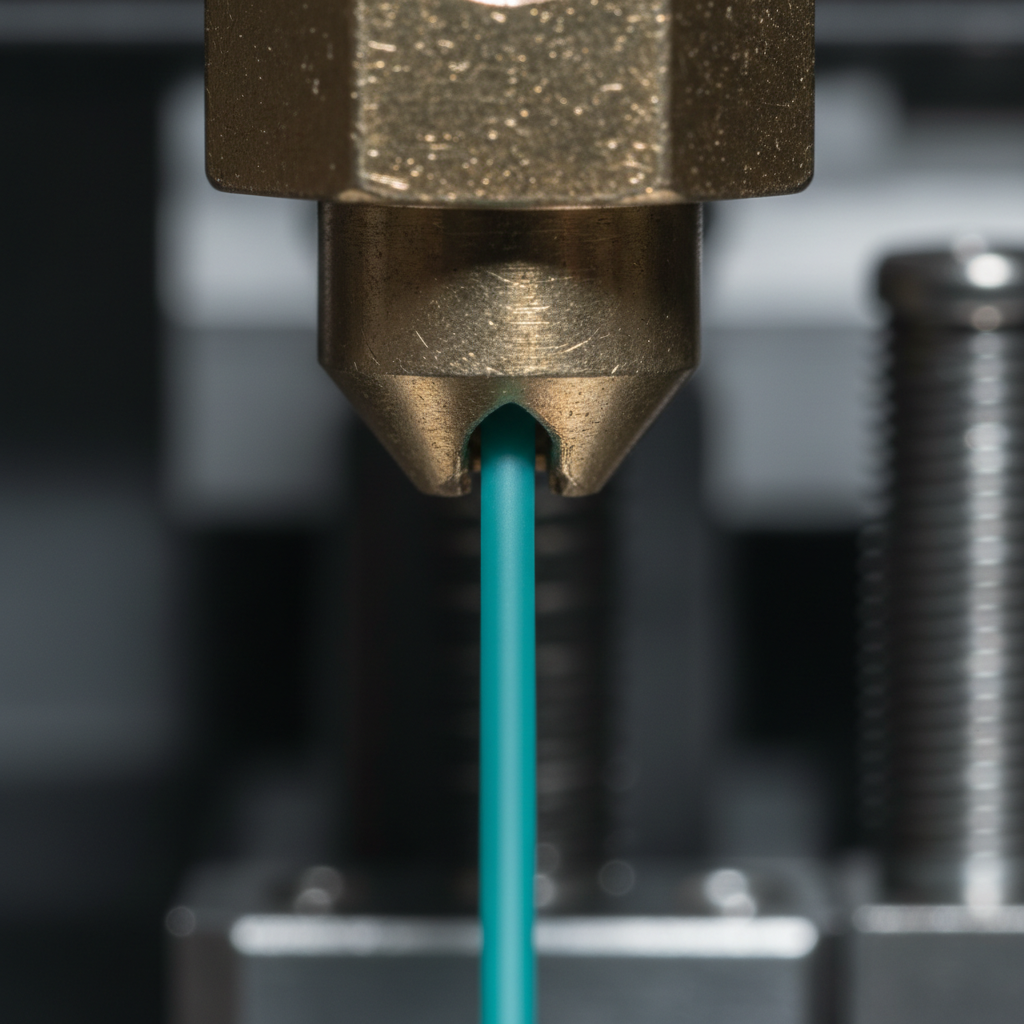
ASA filament extrusion

The Outdoor Standard: Why ASA Matters

ASA (Acrylonitrile Styrene Acrylate) holds up to UV exposure, heat, and weathering in ways that PLA and PETG simply don't. If your part is going outside—whether it's a bracket, housing, or clip—ASA is the correct material choice.

While it has a reputation for difficulty, printing it without warping or layer delamination is achievable on most enclosed printers when you master the temperature and cooling balance. This guide covers the starting configuration in OrcaSlicer and the warping-prevention stack that actually works.
Technical Specification

ASA Starting Parameters for OrcaSlicer

ParameterStarting RangeVerification Step
Nozzle Temperature240–260 °CConfirm with OrcaSlicer Temperature Tower
Bed Temperature90–110 °CHigher end for footprints > 100mm
Enclosure Ambient40–60 °CPreheat chamber for 10 minutes
Cooling Fan0–20% MaxEmergency use only for structural parts

Pro Tip: OrcaSlicer's Temperature Tower (Calibration → Temperature Tower) is the single most effective tool to find where your specific ASA brand bonds best and where stringing begins.

Mastering Nozzle and Bed Temperature

ASA needs a significantly hotter nozzle than PLA. Starting at 250 °C is appropriate for most formulations. Signs of under-temperature include visible layer lines and poor bonding, while signs of over-temperature manifest as excessive stringing or a glossy surface.

The bed should be preheated to 90–110 °C before the first layer. Recommended surfaces include PEI spring steel, Garolite (G10), or Glass with a glue stick layer.

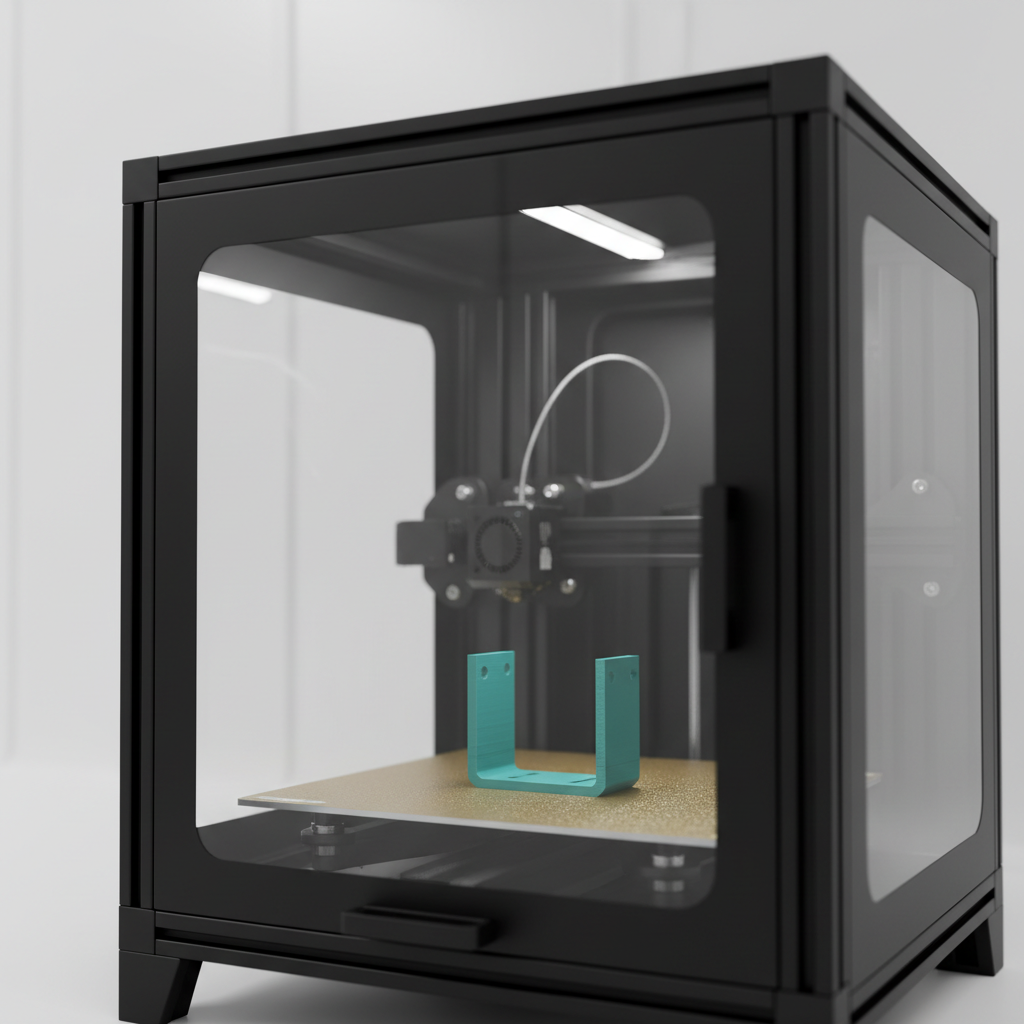
3D printer enclosure

The 'Less is More' Cooling Strategy

Aggressive cooling is the leading cause of ASA failure. Follow this staged approach.

First 3 Layers: 0%

Zero fan speed ensures maximum bond to the build plate and prevents early thermal shock.

General: 0–20% Max

OrcaSlicer ramps between these values based on layer time. Structural parts usually need 0%.

Bridges: 30–50%

Use a brief burst only to keep spans from sagging, returning to base settings immediately.

The Warping Prevention Stack

01 / PREP

IPA Surface Prep

70%+ IPA wipe before every print removes fingerprints and oils.

02 / GEOMETRY

Mouse Ear Brims

Reinforcing circles at sharp corners prevent lift-off.

03 / FIRST LAYER

First Layer Heat

+5 °C offset on layer one significantly improves material flow.

04 / KINETICS

Slow First Layer

20–30 mm/s speed gives the plastic time to seat into the plate.

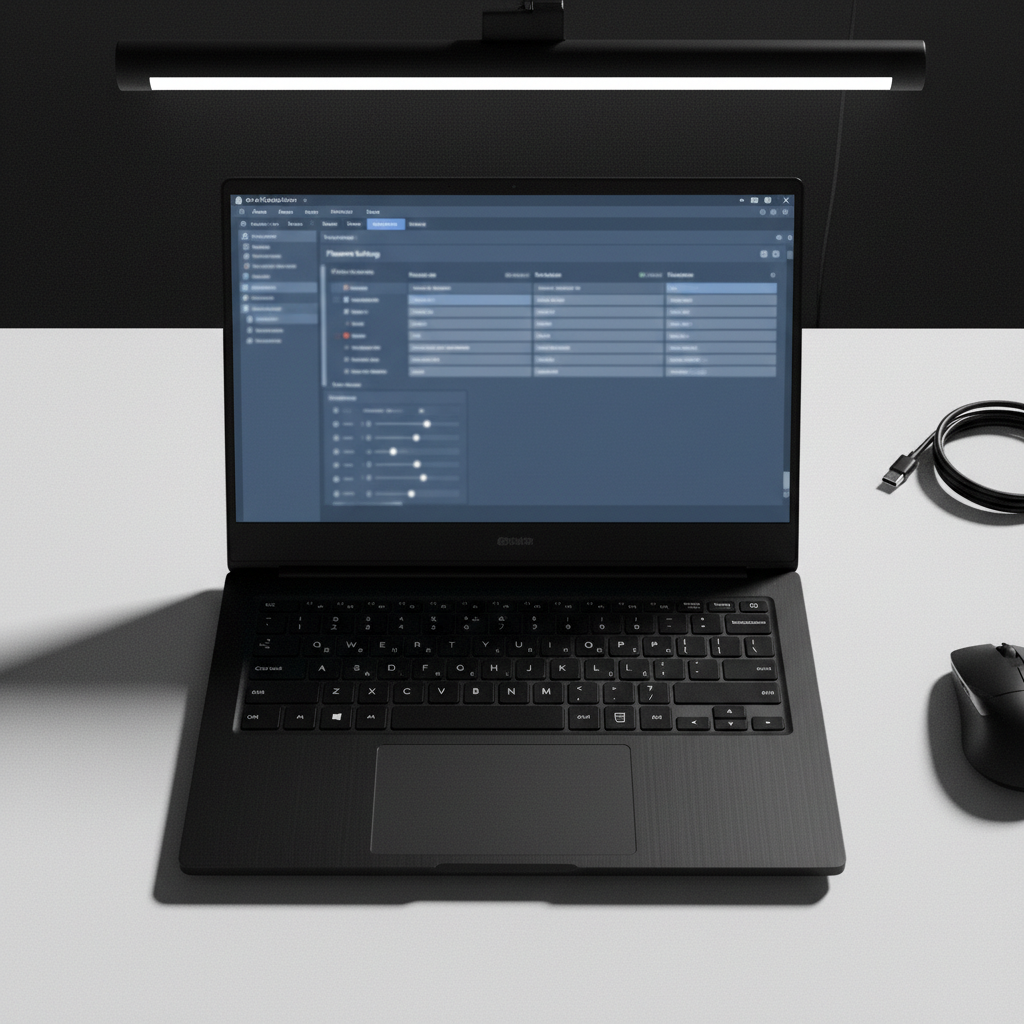
OrcaSlicer settings interface

Save Your Reusable ASA Preset

Once calibrated, save your settings as a named filament preset (e.g., 'BrandName ASA Grey 250/105'). In OrcaSlicer, navigate to Filament Settings, enter your confirmed values, and click the save icon.

This ensures your next outdoor project is ready to print with a single click, carrying over flow ratios and pressure advance values calibrated for that specific spool.

Explore Filament Profiles

ASA Filament FAQ

Can I print ASA without an enclosure?
Yes, but it is much harder. You will need a draught-free room, a 10mm+ brim, and you must accept higher failure rates on large parts.
What is the best build surface for ASA?
PEI spring steel is the gold standard. For parts that stick too aggressively, Garolite (G10) is an excellent alternative.
Why is my ASA stringing?
This is usually caused by the nozzle being too hot or retraction being under-tuned. Run a Temperature Tower and then a Retraction test in OrcaSlicer.
Does ASA need to be dried?
Yes. ASA absorbs moisture. Dry it at 60–80 °C for 4–6 hours if it has been exposed to air for more than a few weeks.

Ready to master ASA?

Explore our full library of OrcaSlicer profiles or download the latest version of the slicer to get started. High-performance outdoor parts are just a calibration away.

Free guides for the 3D printing community.