Quick Answer: Two Changes and One Agreement
Orca Slicer stores the nozzle size in the printer preset, not the process preset, and it keeps one value per extruder. The official wiki lists the field as Nozzle diameter under Machine settings / Extruder Number / Basic Information, with the variable nozzle_diameter[extruder_idx] in Advanced mode (Basic Extruder Information).
That field is only half the job. Also fit the physical nozzle, and confirm that line widths, layer-height limits and the slice preview match the new diameter.
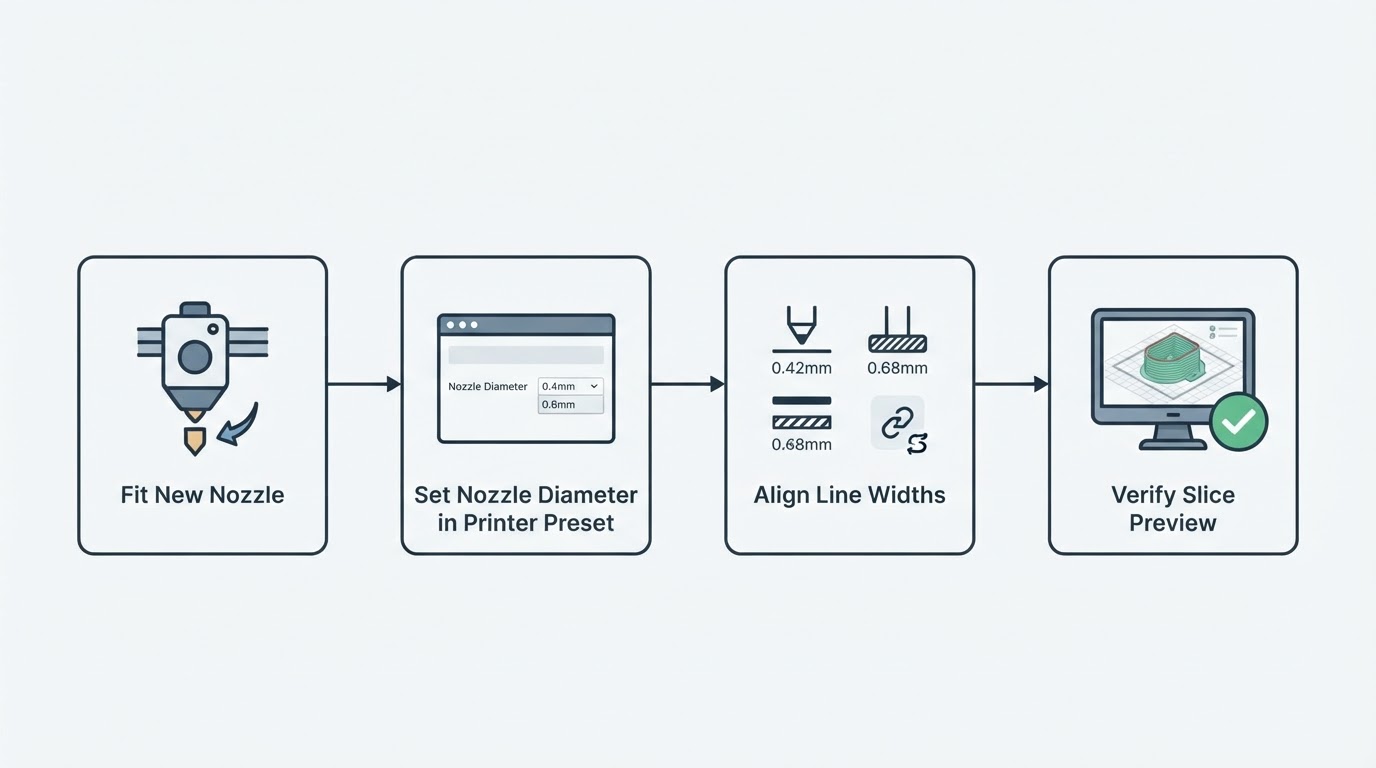
Version note: labels move between releases. If "Machine settings" does not appear in your build, look for the printer preset's extruder section, and check the active preset name, because a correct value in an unused preset changes nothing.
Step-by-Step
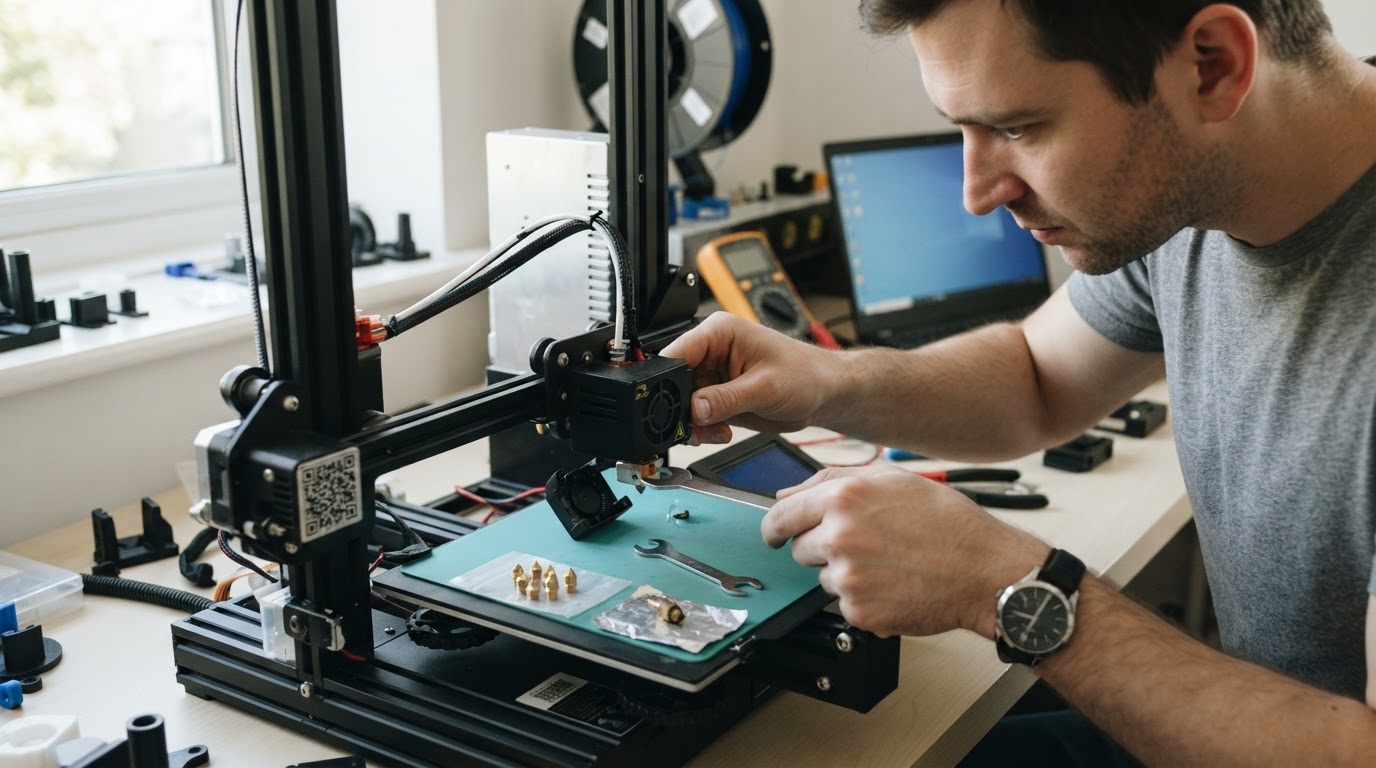
Step 1: Change the physical nozzle
Follow your printer maker's nozzle-change procedure exactly. Some hot ends require a specified hot-tightening step, while others have different handling; do not force a cold nozzle loose or touch heated hardware without the maker's tools and precautions. After installation, run any bed-leveling, Z-offset or mesh routine required by that printer. If the install is wrong, no profile edit will fix the print.
Step 2: Duplicate the printer preset
Copy your working printer preset and name the copy after the hardware, for example "My Printer - 0.6 mm". One preset per nozzle size turns a swap into a single preset change and protects the profile you already tuned. The wiki notes that pressure advance can change with nozzle size, so a separate filament profile or recalibration may be useful for a material/nozzle combination (Mixed Nozzle Sizes).
Step 3: Set the nozzle diameter, per extruder
In the OrcaSlicer printer preset, open Extruder Number / Basic Information and set Nozzle diameter to the installed nozzle's real value. A single-extruder machine has one field; on a multi-extruder machine verify each extruder's setting and change the one whose hardware changed. If the field is hidden, switch the view to Advanced mode, as the wiki documents.
Step 4: Align line widths with the new nozzle
Line width is the setting that most often exposes a half-finished nozzle change. Two styles work:
- Absolute widths in millimeters - update each width for the new nozzle.
- Percentages of the nozzle diameter - divide the target width by the nozzle diameter: the wiki treats 0.4 mm on a 0.4 mm nozzle as 100%, and 0.48 mm on a 0.4 mm nozzle as 120%. A percentage profile becomes nozzle agnostic, so one process preset works across extruders with different nozzles (same wiki guide).
Step 5: Check layer-height limits
The same Basic Information section holds the extruder's minimum and maximum layer height and extruder_printable_height, used when adaptive layer height is enabled. Values carried over from the old nozzle can clip or over-extend the new one, so update them with the nozzle change.
Step 6: Slice and verify the preview
Save the preset and re-slice a known test model. Confirm the active preset uses the new diameter, previewed line widths are appropriate for it (they need not equal the nozzle diameter), no width warning appears, and the first-layer path looks sensible. The preview does not prove the physical nozzle was installed correctly.
Diagnostic Matrix
Symptom | Most likely cause | Where to check |
|---|---|---|
Prints still behave like the old nozzle | The active printer preset was never updated | Active preset name and its per-extruder Nozzle diameter |
Line-width-too-small warning after the swap | Widths fixed in millimeters are now under the nozzle limit | Process preset line widths; switch to a percentage of the nozzle |
One toolhead prints wrong on a multi-nozzle printer | Only one extruder's diameter was edited | Every extruder's Basic Information |
Adaptive layer height ignores the change | Layer-height limits still sized for the old nozzle | Minimum and maximum layer height, |
Preview still shows old toolpaths | Preset unsaved, or the view still shows an old slice | Save the active preset, then re-slice |
0.6 mm and 0.2 mm Nozzle Settings: What Actually Changes
So-called 0.6 mm nozzle settings and 0.2 mm nozzle settings are families, not single values: a larger nozzle can permit wider lines and faster deposition if the hot end can supply the required flow, while a smaller nozzle can resolve finer detail at a time cost. Revisit widths and limits for the actual hardware, and recalibrate flow or pressure advance when the printer/material requires it.
Mixed Nozzle Sizes
Since v2.2.0-beta OrcaSlicer supports different nozzle sizes in one print: set each extruder's diameter as above, and for MultiNozzle processes express line widths as a percentage of the nozzle diameter so each extruder adjusts automatically. Assign a size to a feature with Filament for Features or the Color Painting Tool; on machines with different extruder types, material settings are grouped per type.
Limitations
- Hardware first. A worn, clogged or wrongly seated nozzle prints badly regardless of the preset, and the slicer cannot detect it.
- Not everything follows the diameter. Widths in millimeters, maximum volumetric values and tuned flow or pressure advance may still belong to the old nozzle.
- A bigger nozzle is not automatically a faster print. Raise line widths and confirm flow-related settings keep up.
- Labels vary by version. Navigate by the extruder's Basic Information group rather than by memory.
- Profiles travel, hardware does not. A nozzle preset copied from another machine assumes the same geometry.
FAQ
Do I have to re-slice after changing the nozzle size?
Yes. Every slice was generated for the old diameter, including the preview and the G-code. Save the printer preset with the new nozzle diameter, then re-slice.
Where exactly is the nozzle diameter setting?
In the printer preset, inside the extruder's Basic Information section: Machine settings / Extruder Number / Basic Information / Nozzle diameter, with Advanced mode enabled. On multi-extruder machines, set it per extruder.
Do I need a separate filament profile for each nozzle size?
Not always. The official wiki says pressure advance can change with nozzle size, so you may need to recalibrate it and create a separate filament profile for each material/nozzle combination; many other settings can be shared. For a separate but related setting, see our OrcaSlicer speed-settings guide.


