Why the documented 20.1 mm cube slices at 20.2 mm
Layer height is the vertical thickness of one printed layer, as the OrcaSlicer wiki's layer height page describes it. Each layer rests on the one below, so the height where the stack ends is set by the layers the slicer plans. That is why the wiki introduces Precise Z Height for the case where the model height is not a multiple of the layer height.
In the wiki's example, a 20 mm × 20 mm × 20.1 mm cube sliced at 0.2 mm would typically end at 20.2 mm because of the layer height increments. 20.1 mm divided by 0.2 mm is 100.5 layers, and the slice finishes on a layer whose top reaches 20.2 mm. The Precision page gives that 20.1 mm to 20.2 mm comparison as its own example, at 0.2 mm layers.
That arithmetic describes the documented setup rather than every slice. First-layer height, variable layer heights and the profile or build in use change where the last planned layer lands, so the gap for a particular model has to be read from its own slice. The wiki does not list which heights are affected or by how much.
What the setting changes at the end of the stack
The wiki lists Precise Z Height as an Advanced-mode setting, variable precise_z_height, type Boolean, with the command-line equivalent --precise-z-height=1. The Precision page was read for this article on 26 October 2026.
According to that page, enabling the parameter adjusts the layer heights of the last five layers so the final sliced height matches the object height, which in its cube example produces an accurate 20.1 mm. The page shows the off and on results as a pair of screenshots. Layers below that window keep their normal thickness, so the body of the part is sliced as before.
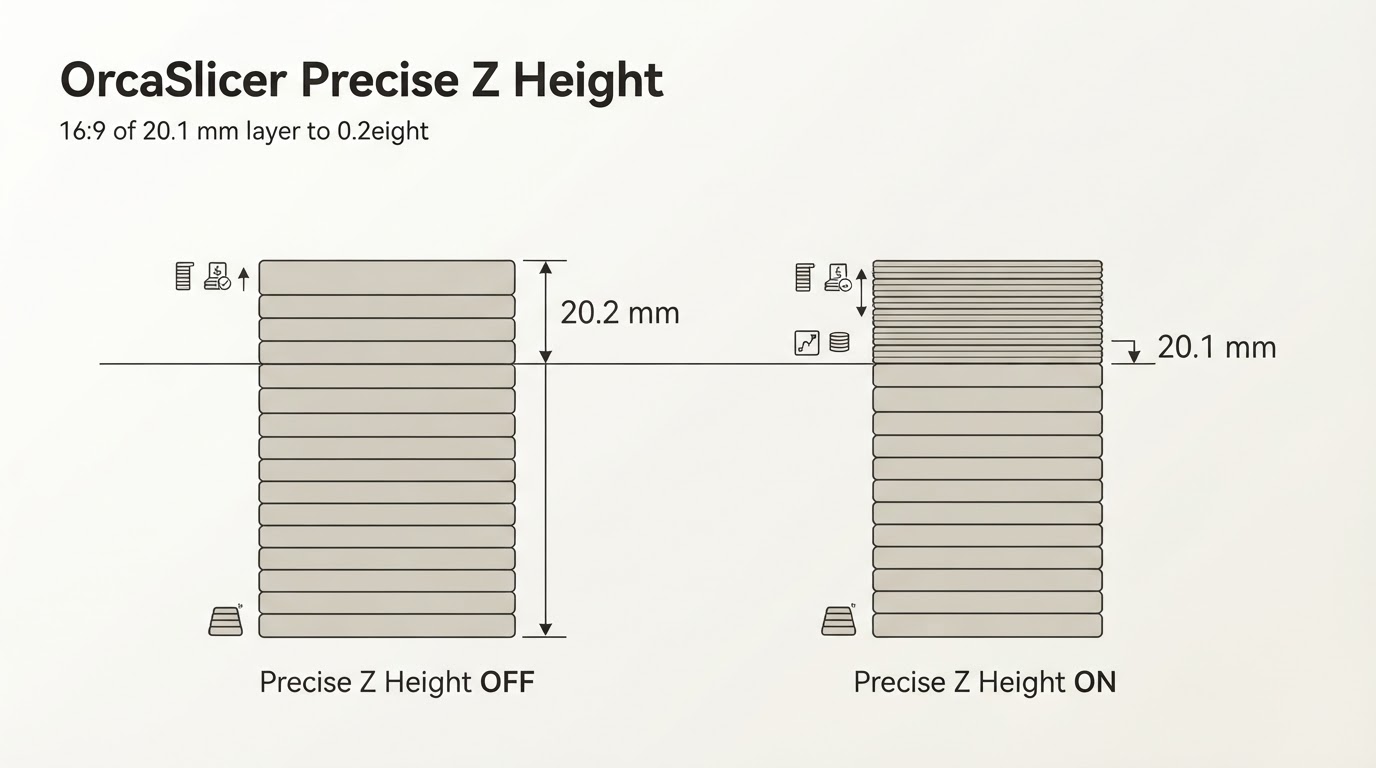
The page does not say how the difference is spread across those five layers, nor does it list the individual heights they end up with. The layer list in your own slice is the record of what the installed build actually writes.
Enable it and re-slice the same project
- Open the process settings and go to Precision. The wiki gives the mode as Advanced, so switch the interface to Advanced if the control is hidden.
- Enable Precise Z Height and leave the rest of the profile as it was.
- Re-slice the same saved project with the same settings. From the command line, add
--precise-z-height=1to the command you already use. - Read the displayed top Z and the last layers in your installed build rather than relying on the panel wording.
The setting sits in the process settings you are slicing with, so re-slicing the project you already have is enough to see what it does; saving the change into a profile is a separate choice about future projects. Use the variable name and CLI flag as the reliable identifiers, since panel wording can differ between builds: precise_z_height and --precise-z-height=1 name the same documented option.
Check the end height in the slice
Slice one object with the option off, open Preview and step to the top layer. In builds that show a height for the layer being viewed, that value is the top layer's toolpath Z; for the wiki's cube at 0.2 mm it reads 20.2 mm. Slice the same project with the option on and compare the top Z, then read the last five entries in the layer list, which show what the adjustment wrote.
If both runs report the same top Z, the comparison did not show a change here. That result has more than one possible explanation: the model may already land at its intended height with the profile you sliced, the setting may not have reached the sliced object, or the displayed value may not be the top layer's coordinate. The layer list is where to look. An unchanged value is evidence to inspect, not proof that a setting was missed or that a model was drawn at the wrong size.
Recording the profile name and both top Z values alongside the project is useful when a measured part height later has to be compared with what was sliced.
Other heights are outside the documented example
The wiki documents the five-layer adjustment with the 20.1 mm cube and does not state a boundary beyond which the adjustment stops working, or how other heights are handled. Two consequences follow: a model with a different height, first-layer setting or variable layer profile should be checked in Preview rather than inferred from the example, and the 0.1 mm difference in the example should not be read as the error every part will show. For setups the page does not cover, the slice itself is the evidence available.
A correct sliced height is still not a printed measurement
The Z value on the top layer is a planned toolpath coordinate. What a caliper reads on the finished part also depends on where the nozzle sits relative to the plate, how much material is extruded, how much the filament shrinks while cooling, and the printer's Z accuracy across the height of the part. A slice height that matches the model therefore says nothing about whether the print will.
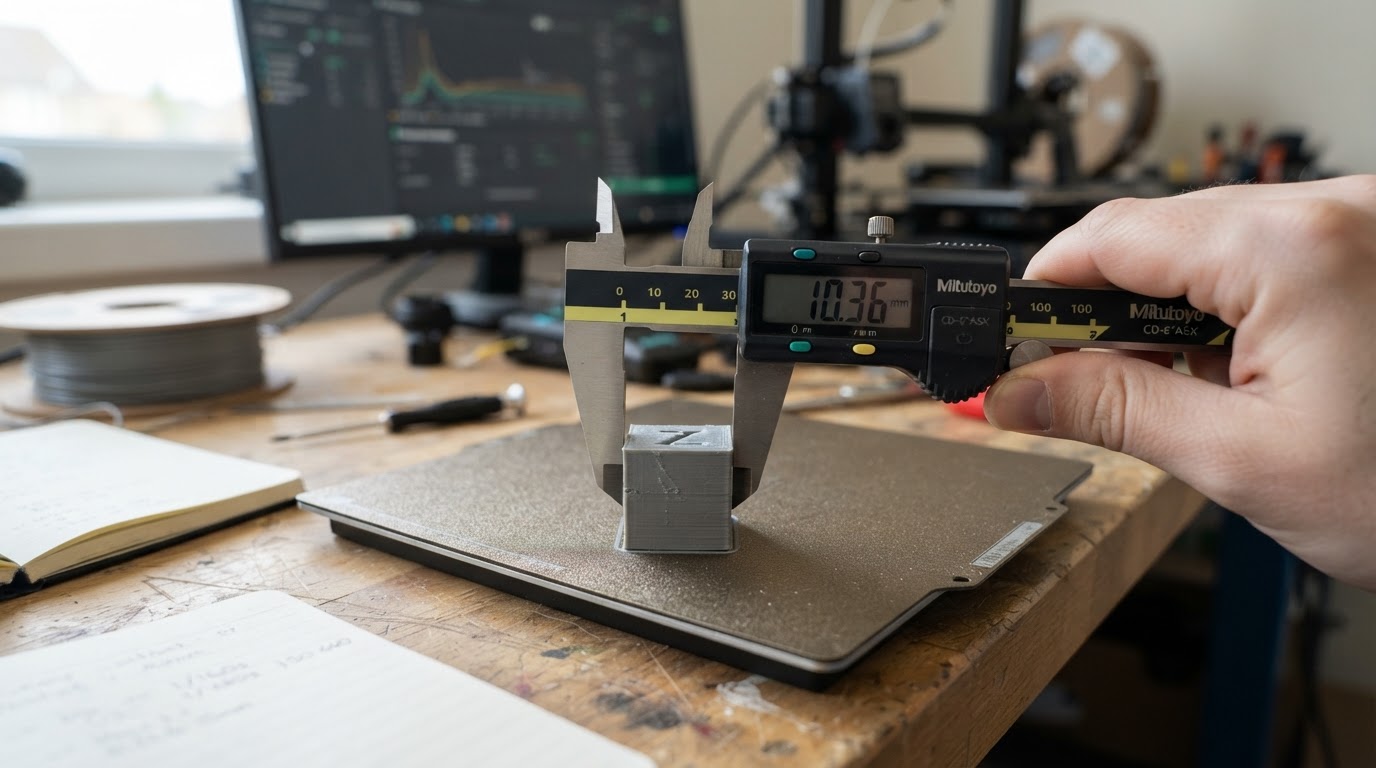
A measured height difference also needs its own evidence before it is assigned to a cause. A similar difference on short and tall parts is consistent with the first layer and the plate offset; a difference that grows with part height can come from Z mechanics, calibration, or how the part was measured. Neither pattern identifies a cause by itself, and a correct sliced height does not narrow what remains to the plate, the flow or the material. Precise Z Height corrects the planned rounding component in the case the wiki documents; when another physical error is present, the caliper result can still reflect both.
Which control fits the problem
What you want | What addresses it |
|---|---|
A sliced height that equals the model height | Precise Z Height |
More detail on shallow slopes and curves | Adaptive layer height |
Adaptive layer height builds a variable layer profile across the model, using shorter or taller layers where the geometry needs them, which changes surface finish and print time. Precise Z Height is aimed at the end height of the stack and adjusts the final layers so the sliced total matches the object height. The two controls have different purposes, and the material used here does not document how they combine in one project; when both are in play, the layer list shows what each did. This site's guide to adaptive layer height with tree supports covers the other setting when the two come up together.


