What "Orca Slicer Online" Actually Means
Search the phrase and the results split into two kinds of pages: tools that run a slicing engine for you in a browser, and guides that explain how to reach a machine that already has the app installed. Both count as Orca Slicer online, and neither is a downgrade of the other — they answer different constraints.
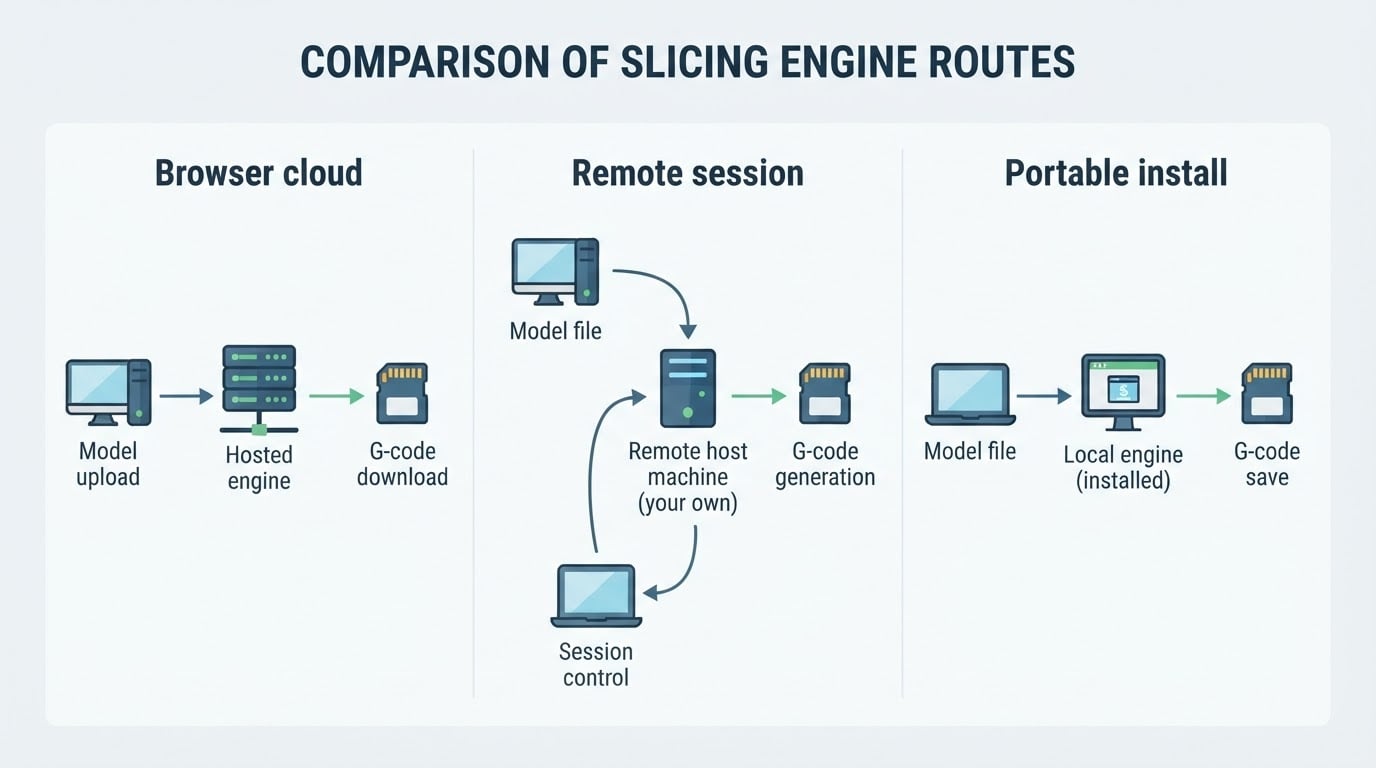
A browser-based cloud slicer moves the engine off your computer. You upload a model, choose a printer and material setup, slice, and either download the resulting G-code or send it to a supported printer. The appeal is obvious: a Chromebook, a tablet, a locked-down work laptop, or a machine that is simply too weak for slicing can all drive a job.
Remote access keeps the engine where it already lives. Orca Slicer stays installed on a desktop-class machine you own, and you connect to that machine — with a remote session tool, a remote desktop, or a self-hosted print queue — to do the work. You keep the exact release, the complete profile library, and your custom G-code. The cost is that you now maintain a machine and a connection.
There is a third path that is not online at all but solves the same problem for a lot of people: the portable build of the desktop app, which runs without an admin install. One note before you read further: this site is an independent Orca Slicer guide hub, not the official project, and we do not host the installer files here. Keep that in mind when you compare pages — the useful ones tell you who runs the slicing engine and where the files come from.
Where the Slicing Engine Runs Decides Everything
Every trade-off in the rest of this article traces back to one question: when you press slice, which machine does the arithmetic, and where does your model file live while it happens?
- Engine on someone else's server. Your model travels over the network, the provider's version of the slicer does the work, and you depend on their uptime, their limits, and their file-retention policy.
- Engine on a machine you own. Nothing leaves your network unless you send it, but you handle updates, backups, and remote connectivity yourself.
- Engine on the machine in front of you. Fastest and most private, but it needs an install — or a build that runs without one.
Three questions separate a tool that fits from one that does not. Does it give you downloadable G-code, or only send jobs to printers it already supports? Can it import your printer, filament, and process presets, or will you retype them every job? And what happens to your model file after the slice — stored, deleted, or used for something else? If a page will not answer those three, treat the silence as part of the answer.
Requirements to Check Before You Upload a Model
Run this checklist once per tool and keep the notes. It is shorter than one failed print.
- File formats and scaling. STL, STEP, and 3MF are the usual inputs. A 3MF can carry per-object settings and project structure; an STL carries geometry alone and no units, so confirm the scale before you trust a preview.
- Printer profile coverage. Check that your exact model, nozzle size, and firmware flavor are supported, and that a custom printer can be added if yours is not listed.
- Filament and process presets. Temperatures, flow ratio, pressure advance, and maximum volumetric speed are what make a print repeatable. If the tool cannot store or import them, you re-enter values every job and drift a little each time.
- Output path. Downloadable G-code is the flexible option; direct sending is convenient but reaches only the printers the service supports. Either way, confirm the G-code flavor matches your firmware.
- Account, limits, and file handling. File-size caps, slice-time caps, and the retention policy are the fine print that decides whether the tool suits client or confidential work.
- Network reality. Uploading a model is a network operation. Large files on a weak uplink turn a five-minute slice into a twenty-minute wait.
The Limitations and Trade-Offs Worth Accepting
- A browser cannot calibrate your printer. Temperature towers, flow, and pressure advance are physical tests. The slicing location does not change what happens on the bed, so keep calibration on the machine.
- Hosted engines lag releases. A cloud service runs the version it runs. Check the engine version before you build a workflow around a setting that only exists in the newest release.
- Custom G-code and post-processing are the first casualties. Start and end scripts, placeholder variables, and post-processing hooks assume a local engine. Ask whether they run before you depend on them.
- Offline means offline. If the connection drops, browser slicing stops. A local install is the only real fallback, which is why the two routes are worth keeping side by side rather than replacing one with the other.
- Retention policy is the real privacy question. It is a policy decision, not a technical one: read it before you upload anything you would not email to a stranger.
- Missing answers are answers. Most pages that promise slicing in a browser never publish the engine version, the retention policy, or the preset import path. Silence on all three is a reason to keep looking.
The Workflow, End to End
Whichever route you choose, the job has the same steps. The route changes who performs them, not what they are.
- Pick the route and name the trade-off. Say it out loud: does the model leave my machine, what happens when the network drops, and whose preset library am I using?
- Prepare the model. Make it manifold, set the scale, orient it for strength and supports, and put per-object settings in a 3MF if the project needs them.
- Load the exact setup. Printer, filament, and process presets should match the spool and the machine in front of you, not a generic default for the material.
- Slice and read the preview. Layer times, support placement, seam position, and thin walls are visible before anything is printed. This is the cheapest place to catch a mistake.
- Export and inspect. Confirm the file targets the right firmware and that your start and end sequences survived the trip.
- Print the first article. Check the first layer, critical dimensions, and surface finish before committing to the rest of the batch.
- Write the result back. Whatever you tuned, save it into your own preset so the next job starts closer.
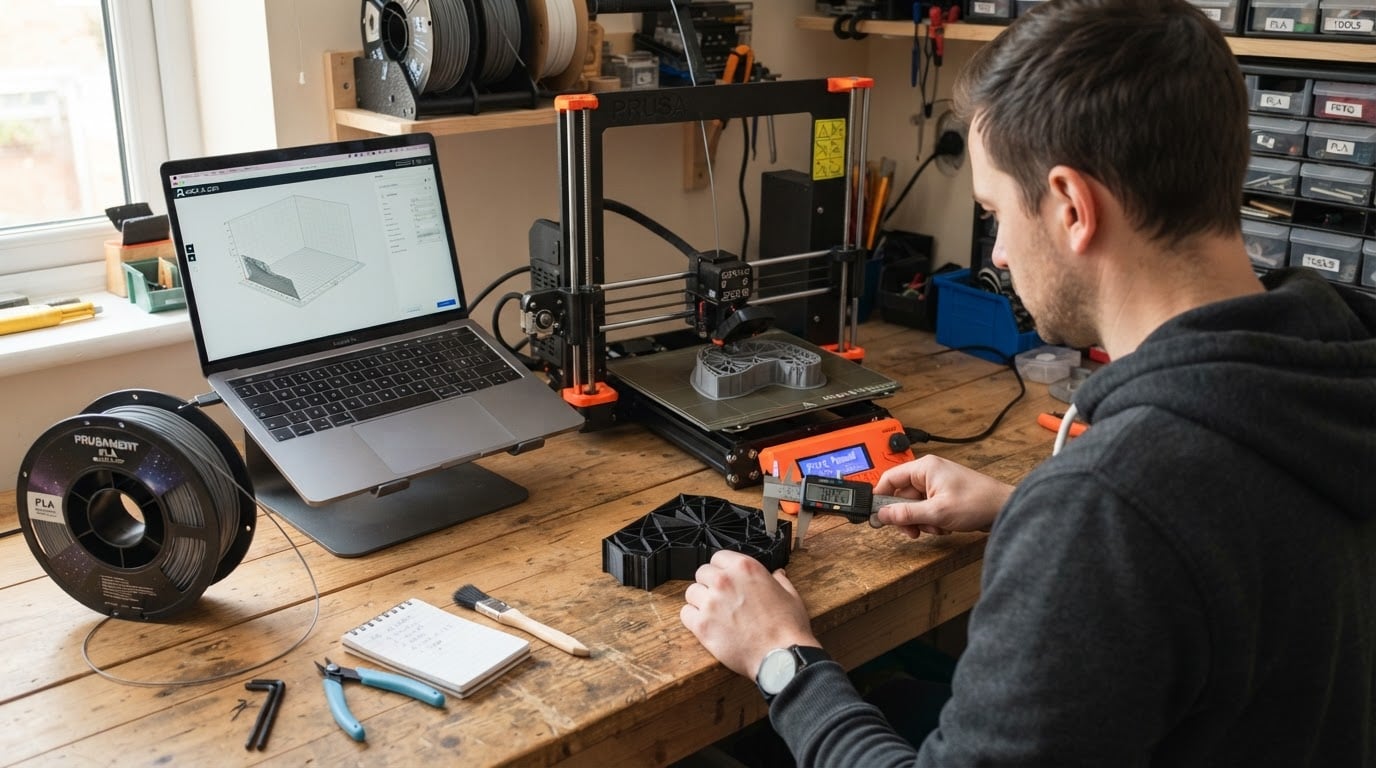
Completion standard: the G-code that reaches the printer is the one you previewed, produced with the preset you intended, and the first article matches the model's critical dimensions. If any of those three is off, stop and fix the setup before printing the batch.
When the Desktop App Is Still the Right Answer
Cloud slicing is a convenience, not a replacement for the desktop application, and the published builds show why. As of this writing, Orca Slicer ships desktop builds for Windows — a 64-bit installer plus a portable option — macOS for both Apple Silicon and Intel, and Linux through AppImage and Flatpak. The stable release this site currently lists is v2.4.2, with v2.4.1 as the previous one.
The portable Windows build is the closest thing to a no-install route, which is exactly what a locked-down machine needs. On macOS, expect a first-launch security warning; the walkthrough published on this site documents the Open Anyway path through System Settings and Privacy & Security. Neither is a workaround so much as the normal cost of software that does not come from an app store.
The things that make a print repeatable — a complete preset library, custom start and end G-code, and calibration done against the actual machine — are desktop territory for a reason. They need the engine, the file system, and the printer in one place. Cloud slicing is the right answer when the machine is the constraint. The desktop app is the right answer when control and repeatability are.
Pick by Your Setup
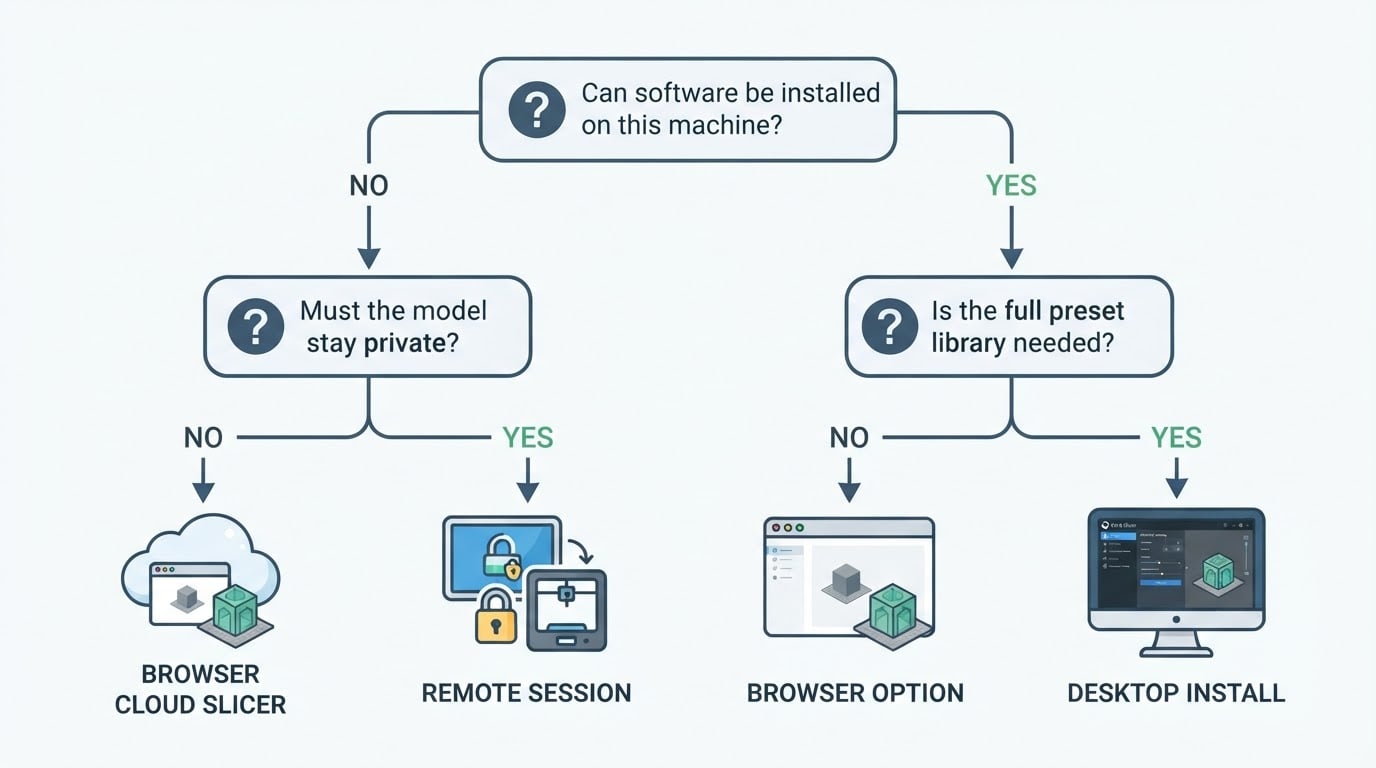
A setup-first look is faster than reading every tool's feature page. Find your row, then run the same three checks on whichever tool you try.
Your setup | Route to try first | Verify before you commit |
|---|---|---|
Chromebook, tablet, or phone only | Browser cloud slicer | File formats accepted and whether G-code downloads |
Locked-down work laptop | Browser slicer, or the portable desktop build | Whether any install is allowed at all |
One home PC you control | Desktop install | Nothing — it is your machine |
Mixed-brand fleet or small shop | Remote access to a dedicated slicer machine | Preset sync and who can reach that machine |
Client or NDA work | Remote access to hardware you own | That no model file leaves your network |
Frequent travel | Remote access | Uplink speed and remote session latency |
The Short Version
Choose the browser when the machine is the constraint. Choose remote access when control and privacy are the constraint. Choose the desktop install when neither is, and keep it around for the days the network is not. Then verify the three things almost nobody advertises: engine version, preset import, and file retention.
Want the desktop route instead? Start from this site's download hub, follow the installation walkthrough for your operating system, and use the profile guides to finish the setup half of the job. If you go the cloud route, run the checklist above once per tool — and print the first article before you trust the batch.


