What Print Sequence > By Object Changes
In Orca Slicer, Print Sequence decides how multiple objects on one plate are printed, and it has two options. By Layer prints every object a layer at a time. By Object prints one object completely before the toolhead moves on to the next one. That difference is documented on the Special Mode page of the official OrcaSlicer wiki, where the setting's internal name is print_sequence and the options are by layer and by object.
Layers no longer link every part together, so each part finishes and cools as a standalone piece. Travel increases, because the head returns to a fresh start point for each object. Every finished part becomes an obstacle that the toolhead and gantry have to clear on the way to the next one. The same wiki entry states plainly that By Object "requires more models separation and may not be suitable for all print scenarios," so extra spacing is expected.
By Object vs By Layer: A Decision Table
Question | By Layer | By Object |
|---|---|---|
Toolpath order | All objects rise together, one layer at a time | Each object is completed before the next begins |
Cooling | Parts share the same layer time | Each part cools as a finished piece |
Different material per object | Not the documented use case | Listed as a better fit when objects use different materials |
Separation needed | Normal object spacing | More spacing, because finished parts are obstacles |
Total print time | Usually less travel | May increase from extra travel moves |
Plate capacity | Highest | Lower, because of the larger gaps |
Best fit | Many parts, one material, throughput | A few parts that must cool separately or differ in material |
A Two-Object Workflow You Can Re-Slice and Verify
- Place two objects on the plate and leave a deliberate gap between them.
- Set Print Sequence to By Object. Search the settings for Print Sequence if its location differs in your installed version.
- Re-slice. The toolpath is now ordered per object, so assumptions you had about per-layer travel no longer hold.
- Open the preview and step through the first object's layers, then the second object's start. Check that the head reaches the second start point without crossing the first part, and that the gantry clears the completed height.
- Review the printer's extruder clearance values: radius, distance to rod, height to rod, and height to lid. The Extruder Clearance page documents all four and states that they are used for collision avoidance in by-object printing.
- Only after the slicer and your hardware-clearance checks agree, try a small, low-risk two-object print and watch the hand-off from the first object to the second.
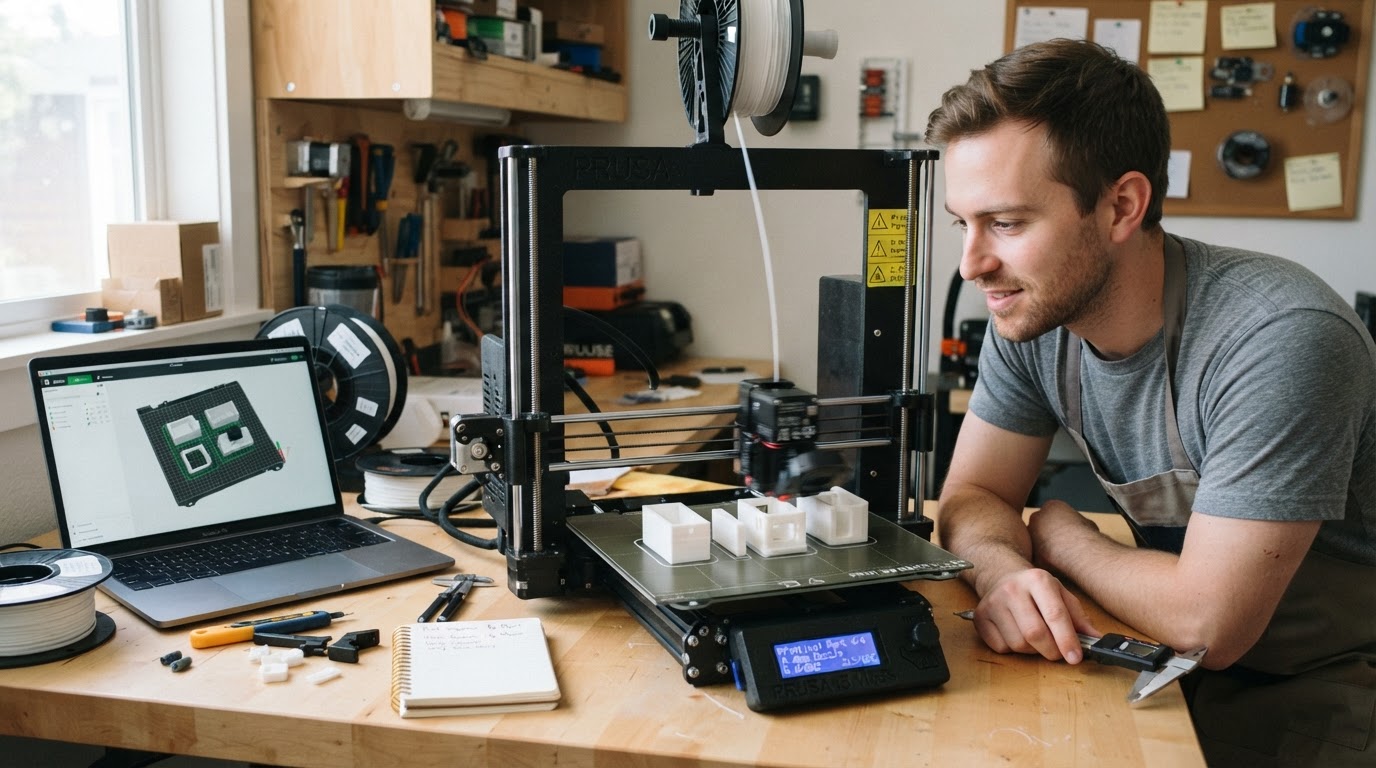
Your completion check is simple: the preview shows both parts completing in sequence with no toolpath crossing a finished part, and the physical print repeats that order without interference. A two-object example is the fastest way to learn your machine's limits.
Separation and Clearance: Why No Universal Number Exists
The clearance values describe real hardware: the radius around the extruder, the horizontal distance from the nozzle tip to the rod's far edge, the height from the nozzle tip to the lower rod, and the height from the nozzle tip to the lid. Because they are hardware dimensions, a figure copied from another printer or an old forum post is not a safe starting point.
Height is the part people underestimate. A finished part is not just something beside the toolhead; it can sit under the gantry or the lid while the next object is printed. That is why the upstream documentation treats height-to-rod and height-to-lid as collision-avoidance settings, and why distance-to-rod also sizes the keep-out band the gantry sweeps around a prime tower printed without sparse layers.
Two checks matter most:
- The gap between objects must exceed the toolhead footprint in the directions the head actually approaches from.
- The height of a finished part must stay below the nozzle-to-rod and nozzle-to-lid distances, or the next object's print will run into it.
Treat the slicer's collision handling as a model of your printer, not a substitute for it.
Version Check Before You Trust a Setting Name
The wiki may not match every installed version. Confirm your OrcaSlicer build actually exposes Print Sequence and that its printer profile includes realistic clearance values. If a setting name or location differs, check the release notes for that version before following a screenshot from another build.
Diagnostic Matrix
Symptom | Likely cause | Check next |
|---|---|---|
Preview shows the head crossing a finished part | Objects too close for the toolhead | Widen the gap, re-slice, and re-check the preview |
Gantry or lid clips a finished part | Part is taller than the nozzle-to-rod or nozzle-to-lid distance | Compare the values with your hardware and the tallest part |
Print takes far longer than the By Layer run | Extra travel between per-object start points | Expected trade; reduce object count or go back to By Layer |
Fewer parts fit than expected | Separation consumes plate area | Expected trade; split the job into batches |
Collision warnings disagree with reality | Clearance values do not describe the installed toolhead | Re-measure and update the four values |
Limitations to Plan Around
- By Object cannot rescue a crowded plate; more separation always means fewer parts per job.
- It adds travel time, and the upstream wiki warns it may not suit every scenario.
- Tall parts are the hard case, because height clearances become the limiting factor first.
- If the clearance values do not match the real machine, the slicer's check and the physical printer can disagree.
FAQs
Is Print by Object the same as sequential printing? Yes. Sequential printing finishes one object completely before moving to the next one, which is what selecting By Object produces in Orca Slicer.
How much space should I leave between objects? There is no universal distance. The gap has to clear your toolhead in the directions it travels, and the extruder clearance values are the machine-specific part of that calculation. Verify the result in the preview.
Can one By Object job print objects with different materials? The upstream wiki lists objects that need to cool separately and objects using different materials among the cases where By Object is the better fit. Confirm how your printer and material combination handles the hand-off between parts.
For broader profile tuning, see our Orca Slicer speed settings guide; speed changes do not replace the clearance checks above.


