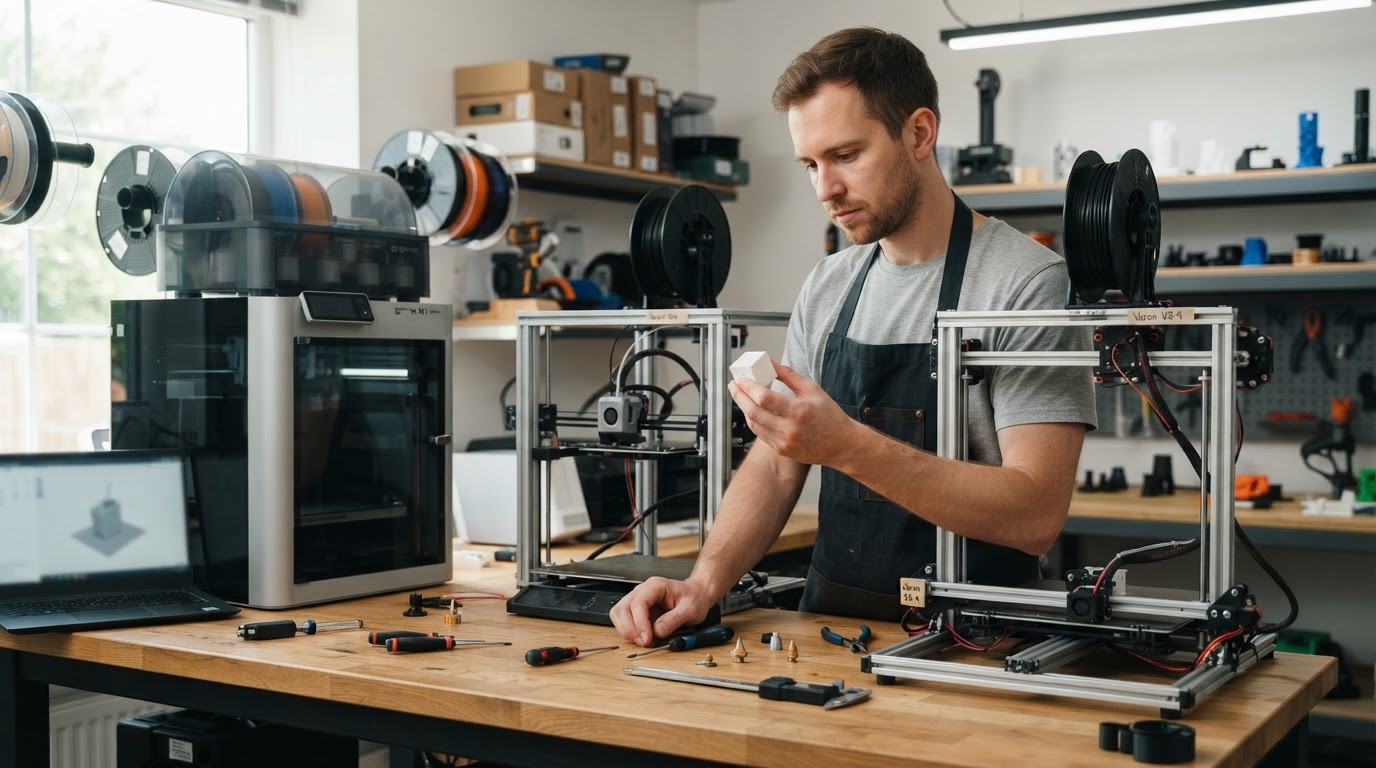
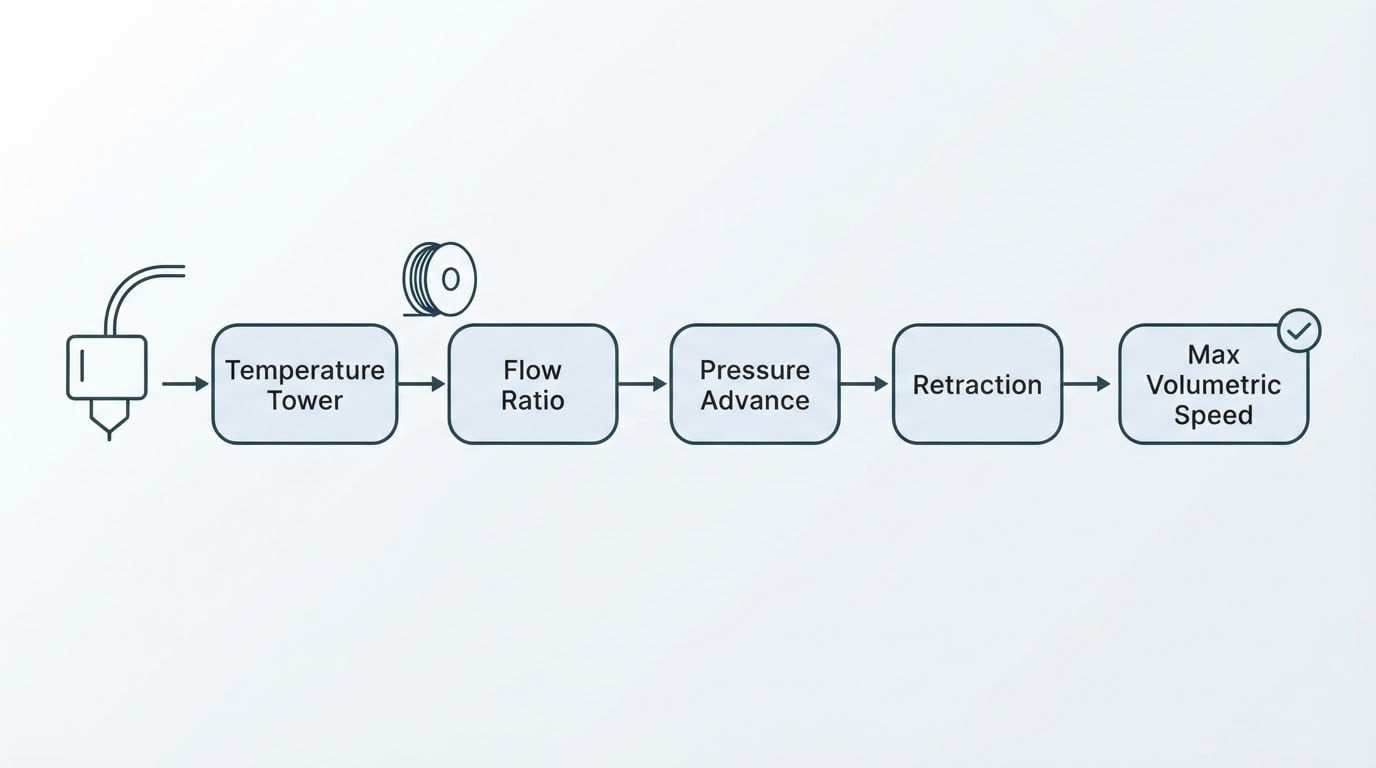
What a scarf joint seam changes
Every FDM part has a Z-seam: the point on each layer where the nozzle starts and stops the perimeter. When that point lands in the same place layer after layer, the start and stop marks stack into a visible vertical line. That line is what most people are pointing at when they say their print has a scar down the side.
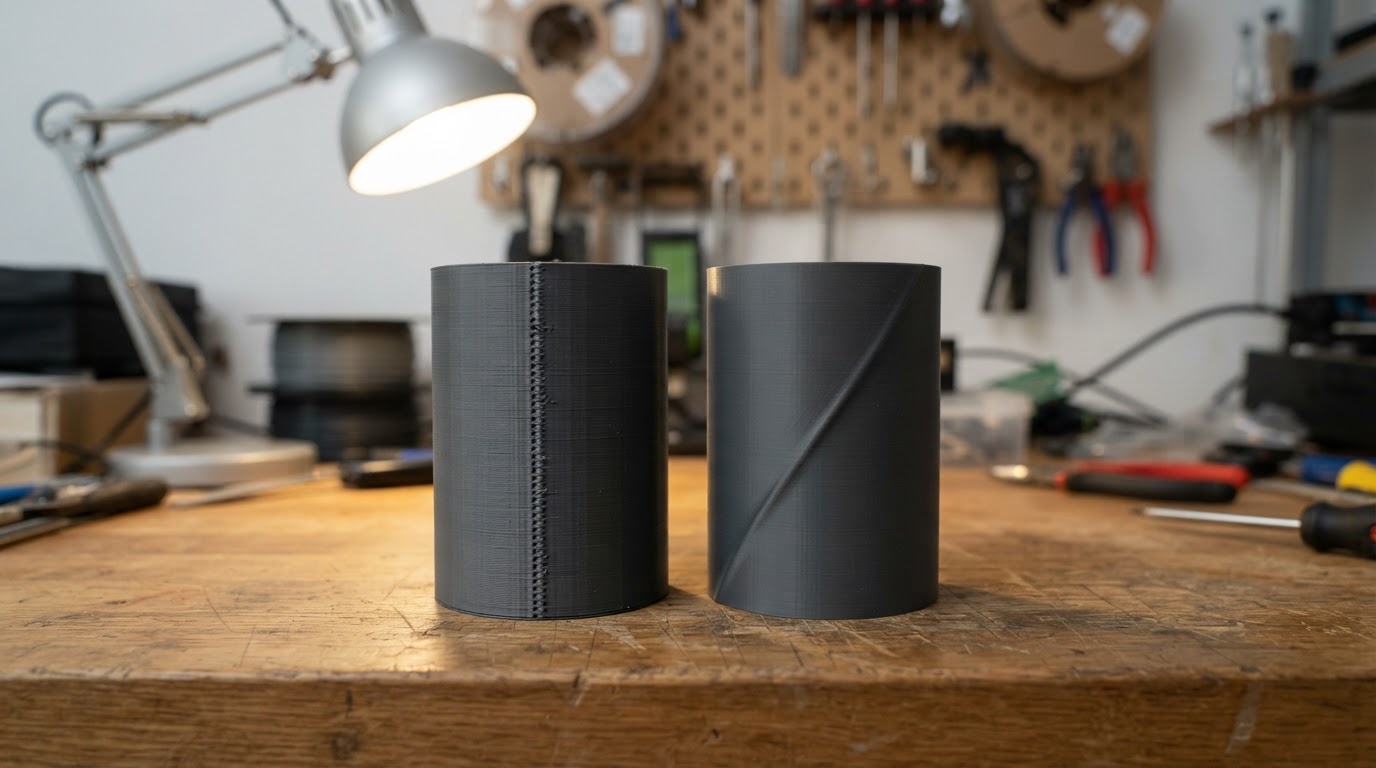
Seam position and seam blending are two different levers. Seam position decides where the transition happens. A scarf joint seam changes what the transition looks like by spreading it across a short run of layers. The wall ramps in and out gradually instead of starting and stopping at a single dot, so there is no one point to see. The term comes from woodworking, where a scarf joint joins two boards with an angled overlap instead of a butt joint, and the slicer version follows the same idea.
That distinction matters when you tune. You can place a seam perfectly and still see it, and you can blend a seam that sits in the worst possible spot. Moving a seam is cheap and usually solves the problem when the part has a hidden corner. Blending is worth the extra effort when the part is visible from every angle and there is no good place to hide anything.
When a scarf joint seam helps, and when it does not
Scarfing earns its keep on curved and organic outer walls. A vase, a figurine, a dice tower, a chess piece, or a cosplay shell has no "back" to park a seam on, because the surface is visible from every direction. On those shapes, hiding the seam is more useful than relocating it, and a blended transition often disappears in normal light.
Decorative single-color prints benefit most. When the seam is the last visible flaw on an otherwise clean surface, spreading it across layers is the remaining lever you have without post-processing. It also helps parts that will be painted or primed, because a blended seam leaves a shallower defect to fill than a stacked start-stop mark.
It is a poor fit in several common cases:
- Flat vertical walls. A blend is a shallow diagonal ramp. Under raking light that ramp can read as a soft wave or a change in sheen, which is sometimes more noticeable than a crisp seam aligned to a rear corner.
- Thin single-perimeter walls. There may not be enough material or travel distance to blend without thinning the wall or opening a gap.
- Small parts. The blend consumes a few layers of seam travel, and on a short part that spans a visible fraction of the height.
- Functional and mechanical parts. Any seam interrupts the wall, and a scarf changes how the overlap sits rather than removing the discontinuity. Test load-bearing parts instead of assuming a cosmetic setting is neutral.
- Glossy and silk filaments. Any change in speed, pressure, or direction shows up as a shift in sheen, so a ramp that is invisible on matte PLA can appear as a band on silk.
- High-speed and large-nozzle setups. Ramping extrusion cleanly gets harder as flow rates and pressure swings grow.
How scarfing fits into seam control
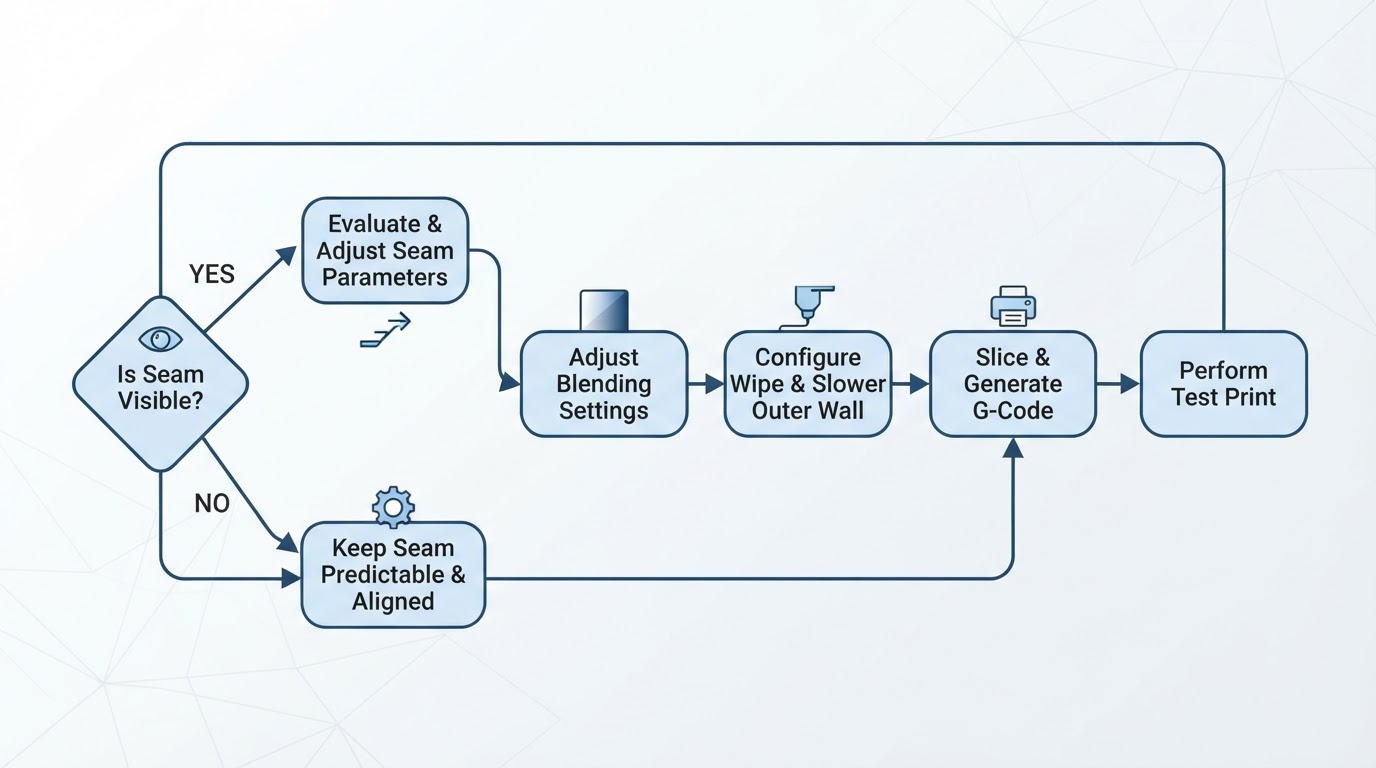
It helps to think of seam control as a short stack of decisions, done in order:
- Decide what the seam is allowed to do. If the part has a hidden corner or a rear face nobody sees, moving the seam is free and blending may be unnecessary work.
- Choose the seam position strategy. Nearest puts the seam where the geometry hides it best, which suits functional parts. Aligned parks it at a known location, usually the rear. Random scatters it to break up a line, and it is usually paired with monotonic top infill so the top surface stays orderly.
- Blend the seam. This is the scarf step, and it spreads the start and stop across layers so no single point carries the mark.
- Close the loop with wipe and speed. A short outer wall wipe after the loop gives the extruder time to seal the gap instead of leaving a blob, and a slower external perimeter narrows the pressure swing at the same time.
- Post-process only what is left. Filler, sanding, and paint are cheaper when the seam is already shallow.
The order matters more than any single setting. A blended seam that starts and ends where the slicer chose is still in the wrong place; the artifact has just gone from vertical to diagonal. Fix the position first, then blend.
How Orca Slicer approaches seam control
Orca Slicer treats the seam as a control surface rather than a single switch. Alongside standard Z-seam control, it includes a Scarf Joint Seam option that blends the layer seam across multiple layers instead of stacking it at one point. Seam Painting lets you place or block seams where you want them, seam position modes cover the usual strategies from nearest through aligned to random with monotonic top infill, and Outer Wall Wipe works with a slower external perimeter to close the seam more smoothly.
Feature names, defaults, and menu locations can differ between versions and bundled printer profiles, so verify the current label and value in your own install before changing a profile that already works.
How to evaluate a scarf joint seam on a test print
Do not tune the seam on the part you care about. Print a small test piece that contains the conditions you actually need to judge:
- a curved section, such as a cylinder or a short vase wall;
- a flat vertical face;
- a small feature such as lettering, a logo, or a shallow relief;
- a thin wall or a single-perimeter section;
- a corner or hidden edge where a seam could live.
Then run the comparison properly:
- Print two copies, one with scarfing on and one with it off. Keep material, color, layer height, and speed identical so the seam is the only variable.
- Inspect under raking light. Hold a desk lamp low and to the side of the surface. Seams that vanish in diffuse light reappear instantly under raking light; judge the part the way it will actually be seen.
- Check from normal viewing distance. A seam that is invisible at arm's length is doing its job, even if it is faintly visible from a few centimeters away.
- Look for the specific failure modes, not just "a line." A start-stop dot, a diagonal scar, a translucent band, a gap, or a sheen shift are different problems with different fixes.
- Re-check the wall. Measure or feel the thickness at the seam and compare it with the rest of the perimeter. A hidden seam that thins the wall is not a win.
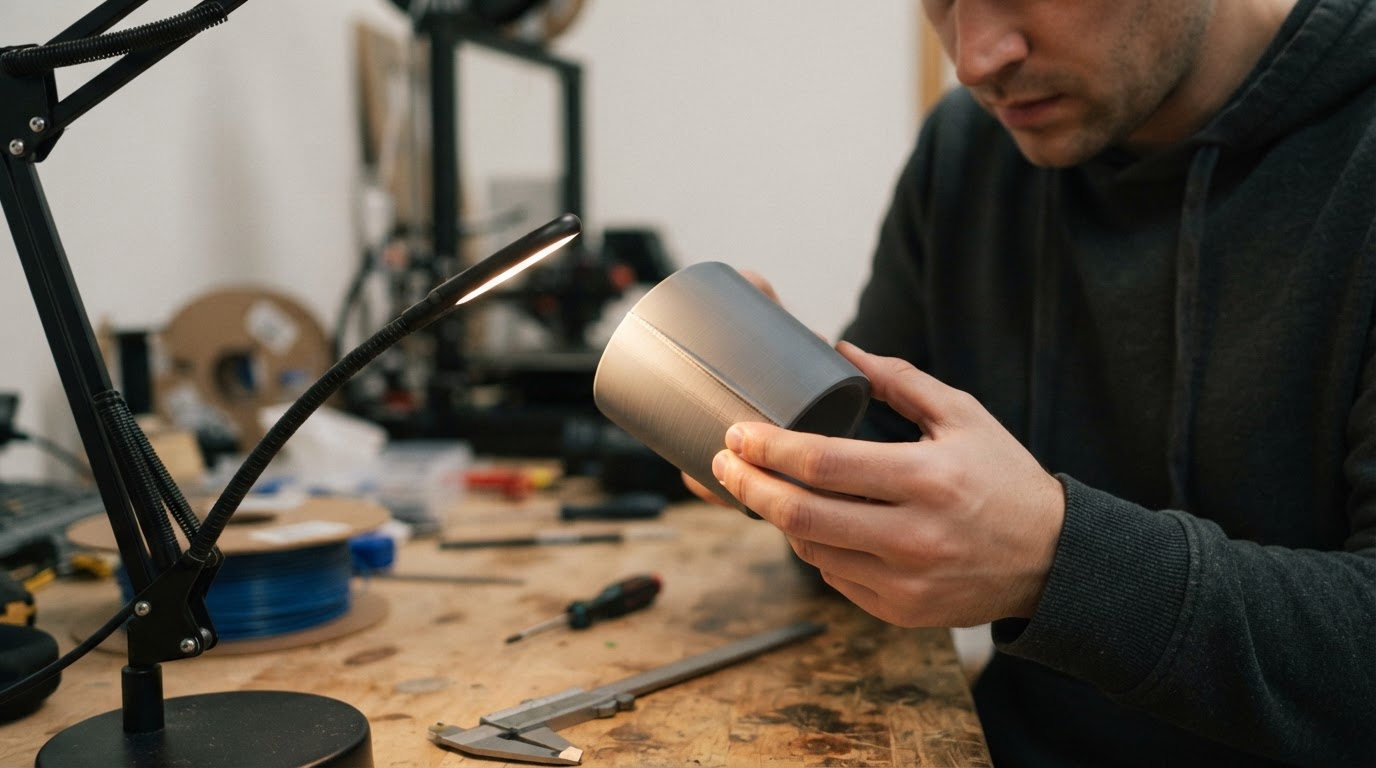
The completion standard is simple: on the surface that matters, there is no start-stop dot, no diagonal scar, no gap, and no thinning. If all four hold, keep the setting. If any of them fails, the troubleshooting list below is the next step.
Trade-offs: what you pay for a hidden seam
- Print time and travel. Ramping in and out adds moves and slows the external perimeter, so a cosmetic improvement usually costs a little time.
- Artifact risk moves rather than disappears. The seam becomes a shallow ramp, which can show on flat faces and glossy materials.
- Material sensitivity. Matte filaments hide ramps well; silk, glossy, and transparent filaments show every pressure change.
- Strength. A seam is a discontinuity no matter how it is executed, so keep cosmetic blending on cosmetic parts and validate functional ones.
- Dimensional accuracy. A blended wall can deviate slightly where the ramp runs, which matters for parts that must fit into something else.
- Complexity. More settings mean more interactions to check, and a working profile is easy to disturb.
None of these is a reason to skip scarfing. They are the reason to use it deliberately, on the part, in the material, and on the surface where it pays off.
Troubleshooting common problems
What you see | Likely cause | First thing to check |
|---|---|---|
A visible diagonal scar | The ramp is too long for the wall, or the perimeter is too fast | Shorten the blend and slow the external perimeter |
A blob at the start or end of the seam | Pressure and wipe timing | Enable or lengthen the outer wall wipe |
A translucent or thin band | The ramp thins the wall | Add a perimeter and shorten the scarf |
The seam is still stacked vertically | The position strategy never changed | Set the seam position first, then blend |
Speckle instead of a line | A random seam with an unordered top surface | Pair the random seam with monotonic top infill |
A gap or pinhole at the seam | Under-extrusion at the start of the loop | Recheck flow calibration and retraction |
A band of different sheen | Speed and pressure change at the seam | Reduce the speed difference or switch to a matte filament for the test |
Common questions
Does a scarf joint seam weaken a print? It changes how the start and stop overlap rather than removing the seam, so treat it as a cosmetic tool. For load-bearing parts, print a test and compare, or keep a predictable seam in a hidden location.
Is a scarf joint seam the same as a random seam? No. A random seam changes where each layer's seam lands. Scarfing changes how the start and stop are executed. They can be combined, but they solve different halves of the problem.
Will it work with PETG, TPU, or silk PLA? Oozier materials make a clean ramp harder, and flexible filaments add their own pressure lag. Expect to slow down more and to shorten the blend. Silk and other glossy finishes show the ramp as a sheen change even when the geometry is clean.
Do I need to scarf every print? No. If a part has a hidden rear face, moving the seam there is cheaper and more reliable. Scarfing is for surfaces that are visible from every angle.
Can it replace sanding and painting? Sometimes it gets a part close enough that you can skip filler. It does not guarantee a paint-free finish, especially on flat faces.
Does it add print time? Usually a little, from the extra travel and the slower external perimeter. On small decorative parts the cost is minor; on large functional parts it is rarely worth paying for a cosmetic gain.
The short version
A scarf joint seam spreads the layer start and stop across several layers so the seam blends instead of stacking. It is at its best on curved, decorative, single-color surfaces that are visible from every angle, and at its worst on thin walls, flat faces, glossy filaments, and parts that carry load. Choose the seam position first, blend second, and close the seam with wipe and a slower outer wall. Then print a representative test piece, judge it under raking light, and keep the setting only if the dot, scar, gap, and thin band are all gone.