What a temperature tower test actually measures
A temperature tower is a tall test model printed in stacked horizontal bands, with each band printed at its own nozzle temperature. Because the whole tower prints in one job, every band sees the same spool, the same bed, the same cooling setup, and nearly the same ambient conditions. The only variable that changes from band to band is temperature.
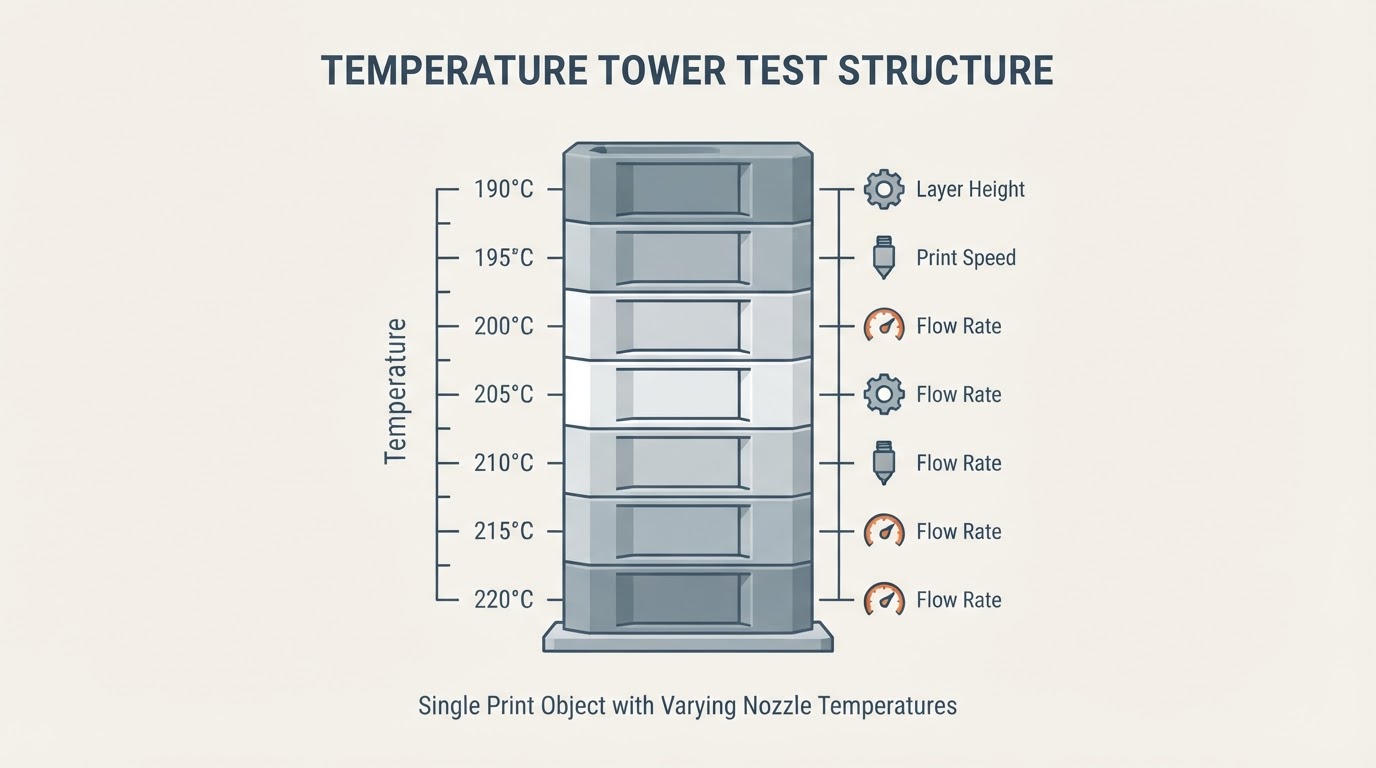
That is what makes a temperature tower test useful: it turns "which temperature should I use?" from a guess into a controlled comparison across a candidate range. Instead of printing a separate part several times, you print the tower once and read the differences on identical features, side by side.
What you are comparing across the bands:
- Stringing and whiskers left between features and on travel moves.
- Layer bonding, meaning whether walls fuse cleanly instead of separating.
- Surface quality, including roughness, blobbing, or inconsistent extrusion.
- Bridging and overhangs, meaning whether unsupported spans stay clean or sag.
- Fine detail, meaning how sharply small features, corners, and text resolve.
Temperature is not the only thing that can ruin those features. A partially clogged nozzle, wet filament, a loose belt, or a first layer that sits too low can all imitate a temperature problem. Fix the obvious mechanical issues first, or every band will look bad and the test will tell you nothing.
Prepare a test worth reading
Before you slice, confirm a few basics:
- The first layer is already reliable on this machine.
- The filament is dry and feeding without grinding or slipping.
- Nozzle and bed temperatures are at a known baseline.
- Nothing else about the machine changed since the last good print.
Then choose the temperature ladder. The most defensible starting point is the range the filament manufacturer recommends; keep the steps between neighbouring bands small enough that those bands still look similar, because the goal is to find a trend rather than to compare extremes. A slicer that ships a temperature calibration workflow may propose a ladder for you. If you build your own, stay anchored to the manufacturer's range instead of choosing numbers that merely sound dramatic.
Decide the band order before you slice and write the mapping down. It is surprisingly easy to print a beautiful tower and then forget which end was the hot one.
Generate and slice the tower
There are two practical routes to a sliced tower.
The first is a built-in temperature calibration workflow. Orca Slicer, for example, documents a single in-app Calibration menu with eight first-class guided tests, and the Temperature Tower is one of them. The workflow keeps the tower geometry and the per-band temperature changes together, which removes a whole class of slicing mistakes.
The second route works in any slicer: print a temperature tower model whose band boundaries line up with layer heights, then apply a temperature change at each boundary. Many slicers expose a per-layer temperature change or a height-based modifier, and using that is safer than hand-editing G-code, because one misplaced change can over- or under-heat far more of the print than intended. Treat direct G-code editing as the last resort, and only when the slicer offers no other route.
Whichever route you take, inspect the preview before you print:
- Confirm the temperature actually changes at each band boundary.
- Confirm cooling, speed, and flow stay identical across bands.
- Confirm the print fits the time and material you set aside.
Run the test print
Start the tower with the machine in the same condition as your normal work: same nozzle, same plate, same cooling. Do not "improve" settings just for the test.
Let the print finish, and resist the urge to intervene. A single ugly band is evidence about a condition, not automatically a verdict on temperature. If a band stops extruding entirely or the extruder starts grinding, note it, because that failure has a cause the temperature ladder cannot explain.
While the tower prints, record the context: material, brand, colour, spool batch if you have it, nozzle size and material, and the temperature ladder. Date the note. You will want that context when you compare the next spool, and without it a tower is just a shape.
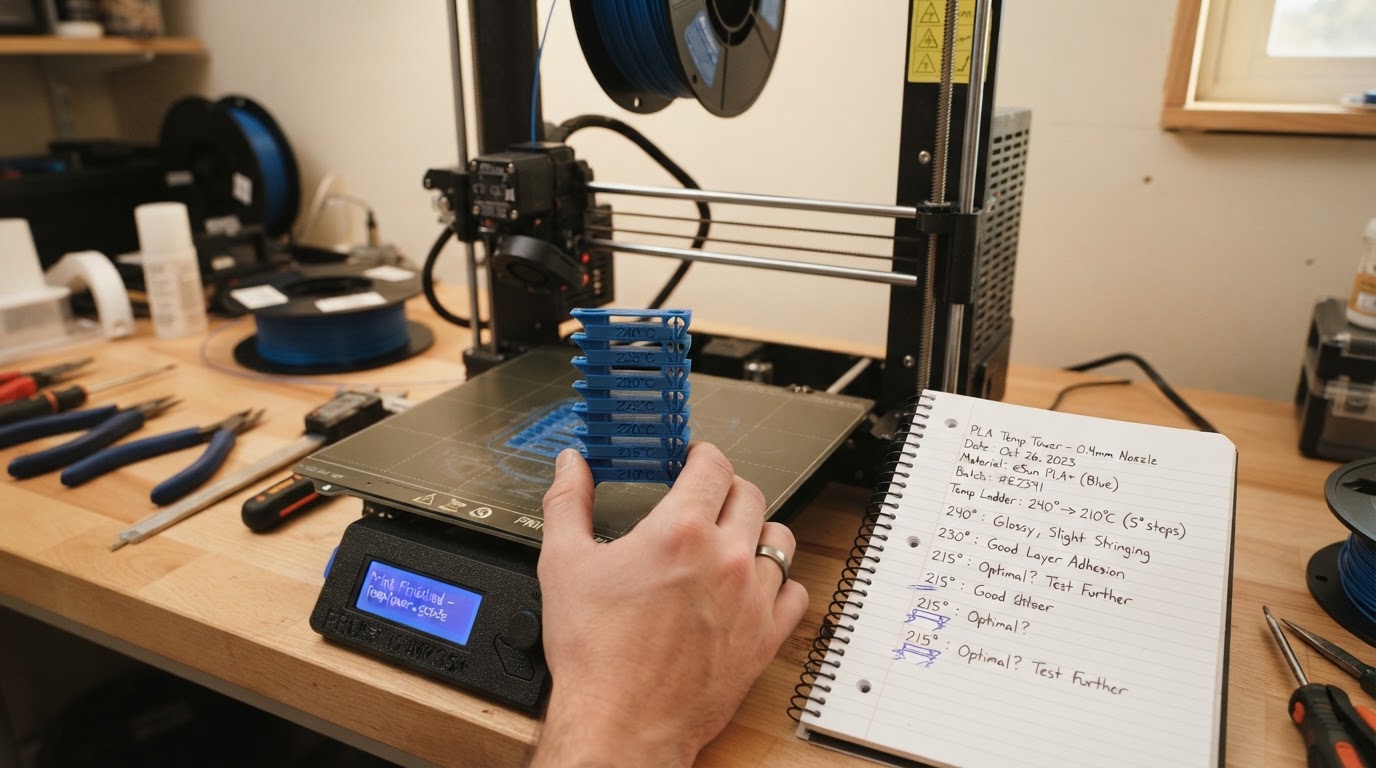
The tower is complete enough to read when every band has printed and the features you plan to compare are all visible.
Read the results band by band
Judging a tower is a comparison task, not an inspection task. Pick one feature, such as a bridge, an overhang, a small detail, or a flat wall, and look at that same feature in every band under the same light. Then repeat with the next feature.
Two ends of a ladder usually behave in opposite ways:
- Hotter bands flow more easily, so walls fuse well and surfaces can look glossier, but oozing and stringing tend to increase and overhangs soften.
- Cooler bands ooze less and often bridge more cleanly, but layer bonding weakens and surfaces can turn rough or under-extruded.
- The best band is usually the one that keeps bonding and surface quality acceptable while suppressing the worst artifacts, not the band with the single cleanest feature.
The table below is a first-pass diagnosis aid, not a set of universal values.
What you see | What it usually means | What to try next |
|---|---|---|
Stringing in most bands, hot and cool alike | Moisture or oozing that temperature alone will not fix | Dry the spool and re-run the tower before adjusting temperature |
Rough, thin-looking walls in the coolest bands | Extrusion is running too cold for the flow you asked for | Move up the ladder, then verify flow |
Layers that split or delaminate in cool bands | Temperature is below the range where layers fuse | Move up the ladder |
Sagging bridges and soft overhangs in hot bands | Too much heat for those spans | Move down the ladder |
No pattern at all; quality looks random | A mechanical or extrusion problem is dominating | Check belts, first layer, and the extruder path, then retest |
Write the band numbers down as you judge them. A written per-band note turns the tower from a souvenir into data you can act on.
Choose a band and save it to a filament profile
When the results are clear, pick the band with the best overall balance rather than the best single feature, then save that temperature in the filament profile rather than the printer profile. Material settings belong with the material.
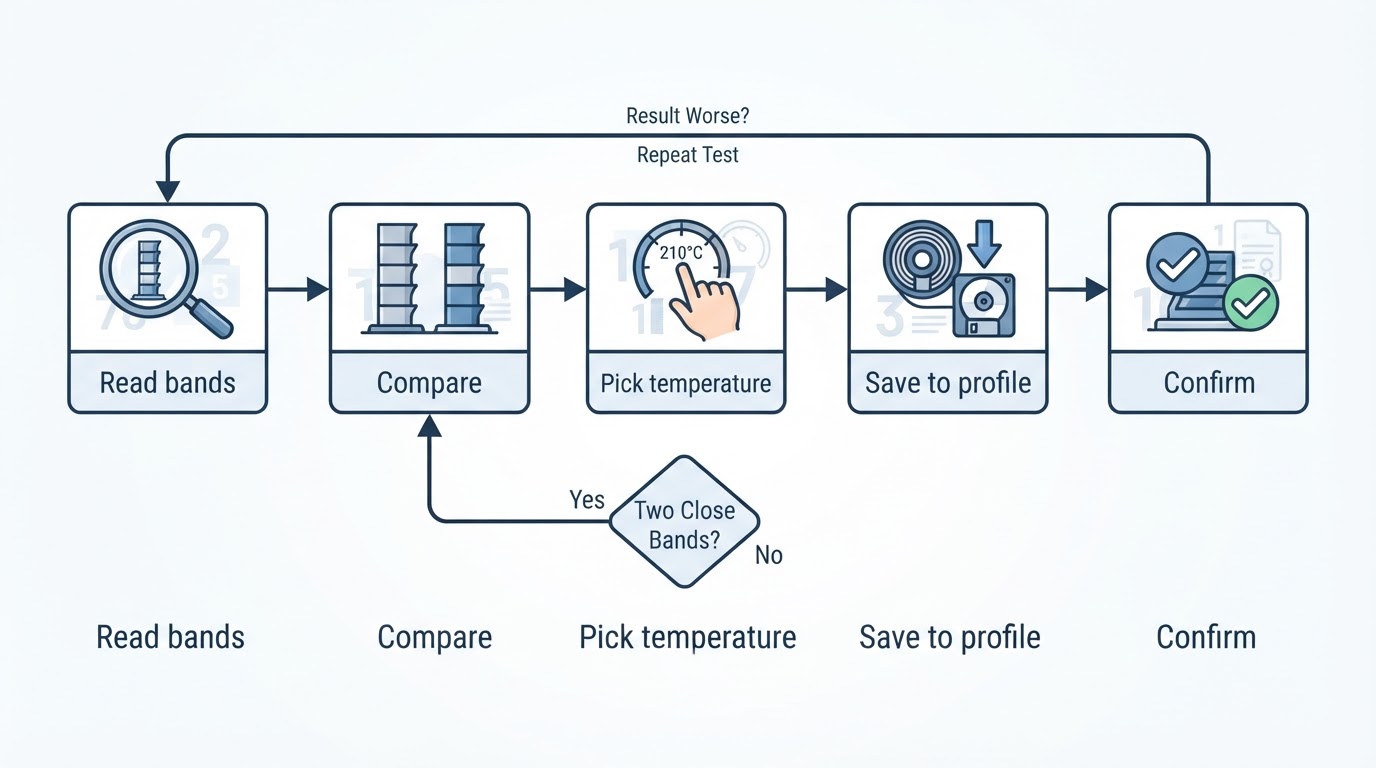
If two bands are close, decide by what the part has to do: a load-bearing part benefits from the band with the better layer bonding, while a display piece can favour the cleaner surface. A narrow re-test around two close bands is cheap; a wrong guess discovered halfway through a long print is not.
Re-run the temperature tower test whenever the setup changes in a way that matters: a new spool or brand, a different colour, a change of nozzle material, or a hardware change that affects heating. A tower is a snapshot of one material on one machine on one day, not a permanent answer.
Where the temperature tower fits in the calibration order
Temperature comes first, not last. The sequence published for Orca Slicer starts with the Temperature Tower and then moves through Flow, Pressure Advance, Retraction, and Max Volumetric Speed. That order makes sense beyond any single slicer: flow ratio, pressure advance, and retraction all sit on top of the temperature you chose, and calibrating them against a wrong temperature means tuning around a moving target.
The same logic applies whatever tools your slicer ships. If it has a guided temperature test, start there and then work through flow with its own helpers. If it does not, vary the temperature at layer boundaries and calibrate flow afterwards with the flow controls you do have.
Where the results stick matters too. Orca Slicer documents that its flow calibration writes the Flow Ratio back into the filament preset and that Pressure Advance is stored per filament, so those values follow the spool rather than the machine. Whatever slicer you use, aim for the same habit: values that belong to the material should be saved with the material.
Mistakes that waste a temperature tower test
- Changing more than temperature. If speed, cooling, or flow also move mid-ladder, the tower stops being a temperature test.
- Reusing another spool's result. Batch, colour, and nozzle changes move the answer.
- Judging by one feature. The cleanest-stringing band can still produce a brittle, under-bonded part.
- Testing on a wet spool or a partially clogged nozzle. Both imitate temperature problems and make the ladder meaningless.
- Skipping the preview. A temperature change that lands on the wrong layer quietly prints the wrong test.
- Forgetting to save the winner. An unsaved result means the next print starts from the same question.
Finish by writing the chosen temperature into the filament profile and confirming it on the next real part. The tower is only a measurement; the profile is where the measurement starts paying off.


