The direct answer: walls get fuzzy, the top face does not
In Orca Slicer, Fuzzy Skin perturbs wall paths to produce a deliberately rough, matte surface (official OrcaSlicer Fuzzy Skin wiki). Its modes target the outer contour, interior holes, painted wall areas or all walls. Flat top surfaces are built from top shells and their surface pattern, not from wall paths, so this setting does not texture the top face in the documented modes.
That explains the most common surprise. At the top layer, the outermost perimeter is still a wall, so the ring where the wall meets the top edge carries the texture while the flat top face inside it stays clean. You get a rough rim around a smooth lid, and it is easy to read that rim as "fuzzy skin on the top layer" when the top surface itself is unchanged.
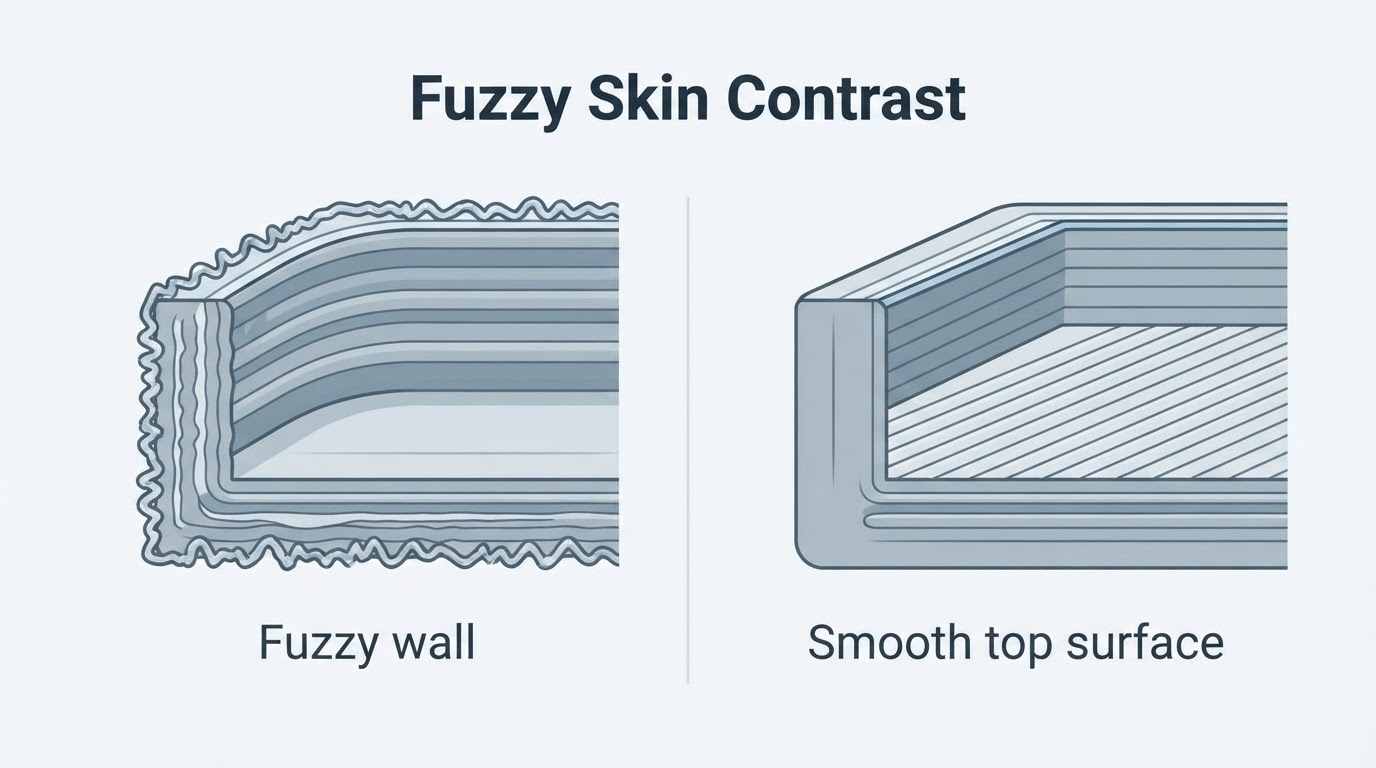
There is no top-surface Fuzzy Skin switch to find. Choosing All Walls widens the effect to internal walls too, but it still only rewrites wall loops. It is not a seam-hiding feature either: it changes the wall path itself, not where a layer starts and stops.
How to confirm it in the slice preview
Slice the model, open the preview, and separate the feature types.
- Switch the colour scheme to line type so walls and solid surfaces are drawn in different colours.
- Drop to a middle layer and zoom into the outer edge. The external perimeter wanders in and out; the fill lines behind it stay straight.
- Step up to the topmost layers and look at the top straight on. The top surface is drawn as regular parallel lines, the perimeter framing it carries the jitter, and the middle of the face is clean.
If there is little top surface to compare, check the top shell layer count before blaming Fuzzy Skin - a very thin top shell changes what the preview draws.
Diagnostic matrix: what you see and what it means
What the preview or print shows | What it means | What to check |
|---|---|---|
Wall paths jitter, top surface lines stay straight | Normal behaviour: Fuzzy Skin edits walls only | Nothing - the feature is working as designed |
Only the visible outside walls look rough | Fuzzy Skin Mode is set to Contour (external perimeter only) | Switch to Contour and Hole, or All Walls, for more coverage |
Holes and cutouts feel rough, the outside is smooth | Hole or Contour and Hole mode is active | A mode choice, not a top-surface setting |
The top face is uneven or patchy | Check top surface flow, shell layers, cooling and material before attributing it to Fuzzy Skin | Inspect the top surface pattern and top shell count first; change one setting at a time (official OrcaSlicer walls and surfaces wiki) |
Rough rim around the top edge, smooth lid inside it | The outer perimeter is textured at the top height; the top skin is a separate feature | Expected; reorient the part or use a textured plate if you want the face textured |
Settings that change how strong the texture is
- Skin thickness sets the maximum lateral displacement of the wall. Keep it below or near the outer wall line width and inside your nozzle and flow limits.
- Point distance sets the average spacing between random sample points. Smaller values give a finer grain; larger values give a coarser one with less computation.
- Fuzzy Skin Mode picks the wall surfaces: contour, holes, contour and hole, painted only, or all walls. There is no top-surface entry.
- Noise type changes the character of the randomness, from coarse classic to Perlin, billow, ridged multifractal, Voronoi or ripple.
- Generator mode picks how the effect is produced: displacement shifts the print head sideways, extrusion modulates how much plastic is laid down, and combined blends the two. The wiki notes that displacement reduces shell strength and adds mechanical load, while extrusion needs the Arachne wall generator and tighter thickness limits.
Limitations are worth planning around. The wiki states that fuzzy skin increases print time and affects dimensional accuracy, and that "Apply fuzzy skin to first layer" can hurt bed adhesion. Keep fits and mating surfaces smooth.
If you want a textured top face, use one of these routes
Route | How it works | Best for | Watch out for |
|---|---|---|---|
Print the face against the plate | Reorient the part so the target face is the bottom face on a textured build plate | Flat faces, one textured side per print | The plate pattern becomes the texture; orientation can change overhangs and strength |
Model the texture into the geometry | Draw knurls, ribs, hexes or waves in CAD so the slicer prints them as real geometry | Repeatable grips and decorative panels | Extra modelling time and more slicing detail |
Post-process the printed face | Sand, brush or lightly abrade the top after printing | One-off parts and small areas | Inconsistent results and lost dimensional accuracy if you go too far |
Change the top surface pattern | Use a different top/bottom shell surface pattern for a deliberate look | Visual variety without promising texture | It changes appearance, not grip |
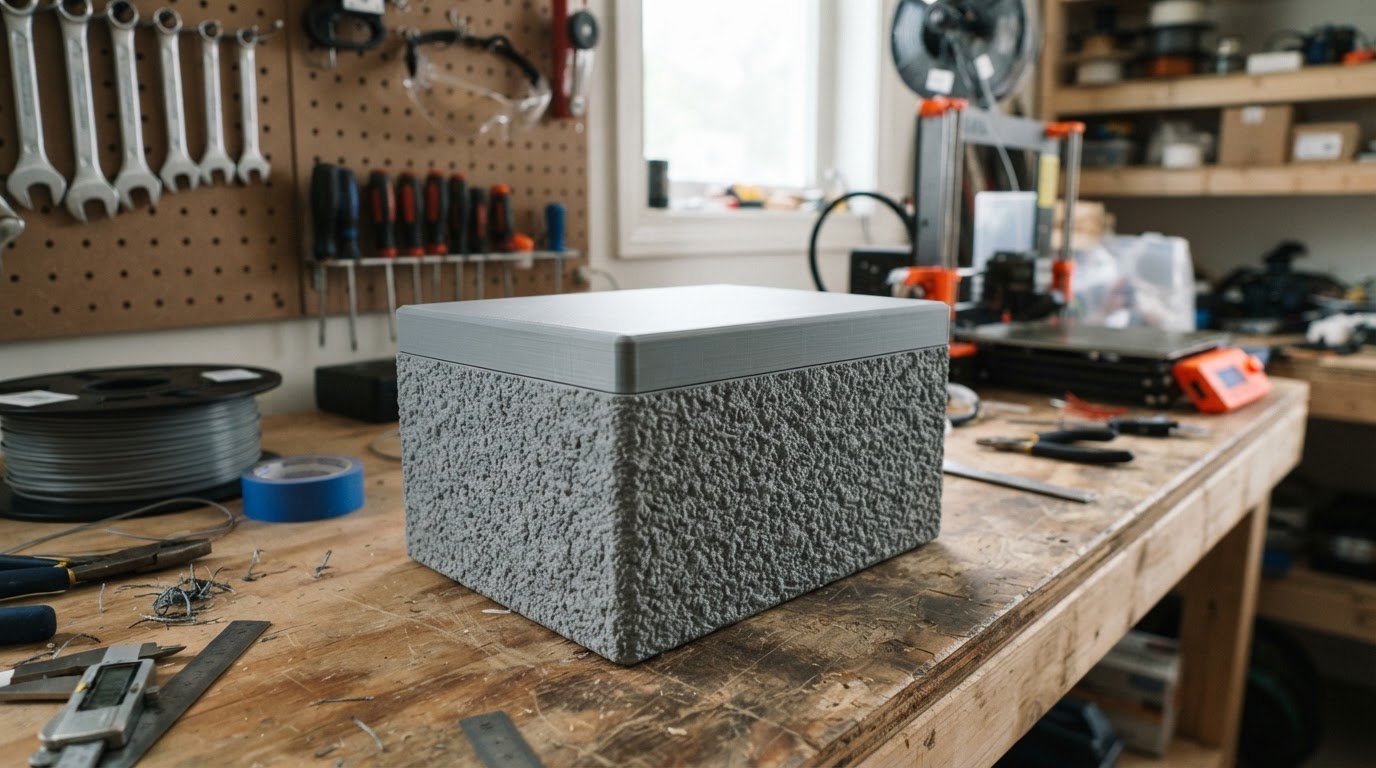
A finished part makes the split obvious: the sides feel like fine sandpaper, the top feels like smooth plastic. That is the honest summary of orca slicer fuzzy skin top layer behaviour, and it explains why wall effects usually cost far less effort than top-face texture tricks.
If the visible defect is a start/stop line rather than wall texture, see the site's separate scarf-joint seam guide; changing Fuzzy Skin is not the same as fixing a seam.
FAQ
Does Orca Slicer have a Fuzzy Skin setting for the top layer?
No. The Fuzzy Skin panel controls where the effect applies along walls: outer contour, holes, both, painted areas, or all walls. Top and bottom solid surfaces are separate features and are not textured by this setting.
Why is the top edge of my print fuzzy while the top face is smooth?
Because the outer perimeter is a wall and it runs to the top of the part. That edge is where the fuzzy wall meets the smooth top surface, so you see a rough rim around a clean lid.
Can I get a fuzzy top face at all?
Not by enabling a Fuzzy Skin option. Practical routes are to orient the face onto a textured build plate, model the texture into the part, or treat the surface after printing. Each one changes the print or the workflow rather than the slicer's wall logic.


