What the seam gap setting changes
Every perimeter is a loop. It starts somewhere and ends somewhere, and the place where the two ends meet is the seam. The seam_gap variable controls the gap "between the two ends of a loop starting and ending with a seam," in the words of the official seam settings page. It sits in the Advanced quality settings and accepts a float in millimetres or a percentage of the nozzle size; the page's own CLI example is --seam-gap=20%.
That description places the setting at the closure of the loop, not at its location. Seam position and seam painting choose where the start-stop point lands. The gap value chooses how much of the loop is left unprinted before the extrusion stops. Move the seam and the gap follows it; change the gap and the seam does not move.
The percentage is taken from nozzle size
The unit question is worth settling before you touch the value, because a percentage that looks harmless can mean very little material. The official definition measures the percentage against nozzle size, not against extrusion width or the line width you set in the process profile.
The arithmetic is simple once the reference is clear. On a 0.4 mm nozzle, 10% is 0.04 mm. Five percent is 0.02 mm, and 15% is 0.06 mm. On a 0.6 mm nozzle, the same 10% becomes 0.06 mm. These numbers follow from the definition; they are not measurements taken from a printed part. The practical consequence is that copying "10%" from one machine to another does not copy the same physical gap when the nozzles differ.
If you prefer to think in absolute terms, the setting also accepts millimetres. That mode does not rescale when you change nozzles, so a value that suited a 0.4 mm nozzle stays literally the same distance on a 0.6 mm one.
A bump or an opening is a symptom, not a diagnosis
The wiki states the trade-off in two lines: a larger gap reduces the bulging seen at the seam, and a smaller gap reduces the visual appearance of the seam. That describes what the setting can trade, not a rule for reading a finished print. A raised bump says the seam is finishing with more material than the surrounding wall; an opening or pinhole says the loop is ending short of where it needs to close. Either symptom can appear while the extrusion system is consistent or while it is not, so the shape on the part does not by itself identify the cause or the endpoint involved.
There is a reason the official troubleshooting section treats the gap as a second-order control. The same page names extrusion control after a travel move as the biggest factor. A bulge at the end of a seam can come from pressure advance that is too low, which leaves the nozzle pressurised when the move ends so the line finishes wide. An opening can come from pressure advance that is too high, which under-extrudes at the end of a move and leaves a larger-than-needed gap at the seam. Extrusion inconsistency and retraction behaviour can produce similar symptoms. Read the seam as a prompt to check those settings, not as proof that one of them is wrong.
Keep model problems separate as well. A hole in the mesh or a gap between two separate bodies is not a seam gap issue; the setting only affects how the loop ends meet on a wall that is actually being printed.
Check extrusion before changing the gap
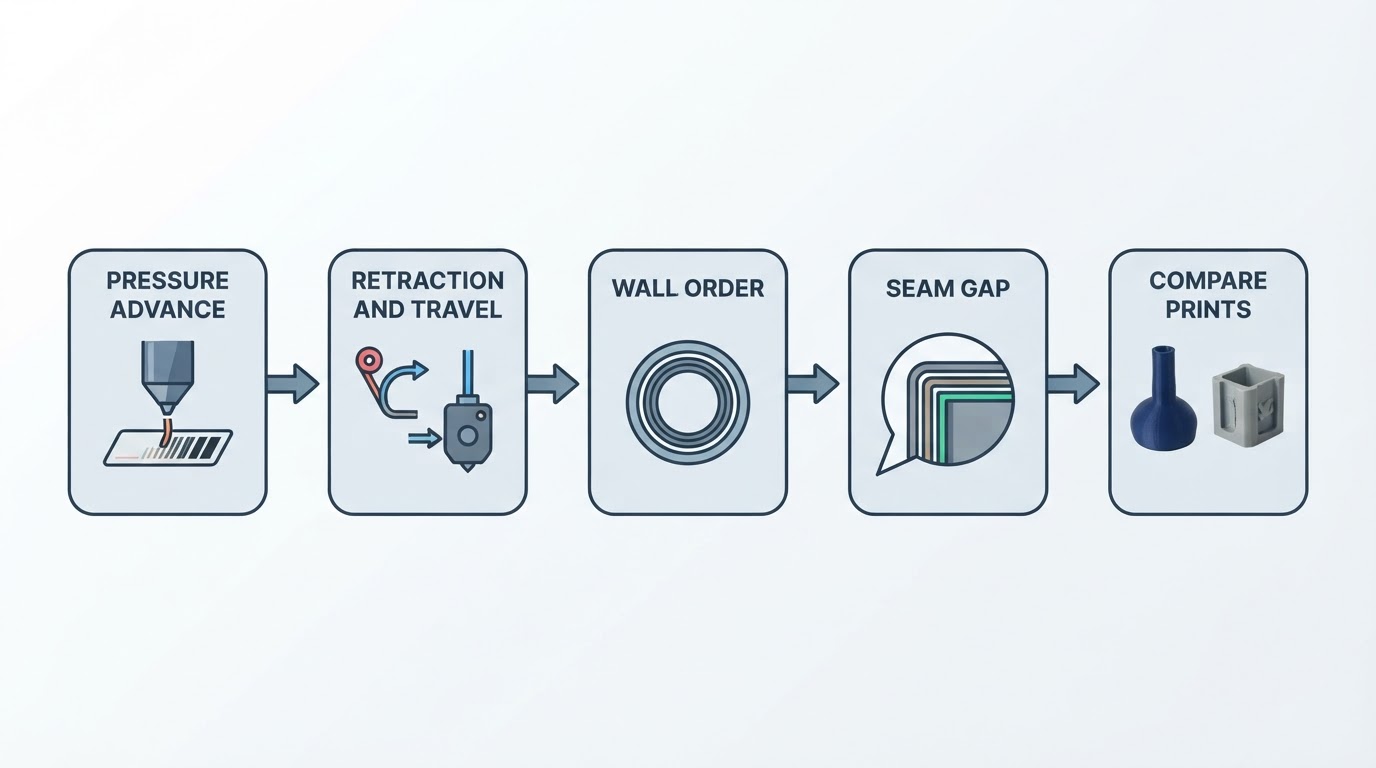
The gap value fine-tunes the end of the loop; it does not repair an extrusion system that is inconsistent from layer to layer. Work through these checks in order, and keep the gap as the last small step.
- Pressure advance. Pressure advance comes first because it decides whether the nozzle is still pressurised when the loop ends. Too little leaves a wide finish; too much starves the end of the move. Calibrate it for the material, speed and acceleration you actually print with.
- Extrusion consistency. Confirm that flow is calibrated, that the filament profile matches the spool in use, and that the wall looks even away from the seam. A seam symptom that changes from layer to layer points at the extrusion system rather than the gap value.
- Retraction and travel. Check the retraction and travel behaviour the seam page names as relevant to the end of a move, and confirm that what the profile specifies actually runs. Wipe before the external loop, where the profile uses it, hides the de-retraction move slightly inside the model.
- Wall order. Printing inner walls before the external perimeter shortens the travel before the seam starts. The page calls inner-outer-inner the best case, followed by inner-outer, and notes that outer-inner is more likely to show artifacts.
- Then the gap. Change one small step and re-slice.
What you see | Check first | Gap direction to test |
|---|---|---|
Raised bump at the seam | Pressure advance, then extrusion consistency and retraction | Slightly larger |
Thin opening or pinhole | Pressure advance that is too high, then extrusion consistency | Slightly smaller |
Seam in the wrong place | Seam position or seam painting | No change |
A comparison that isolates the gap
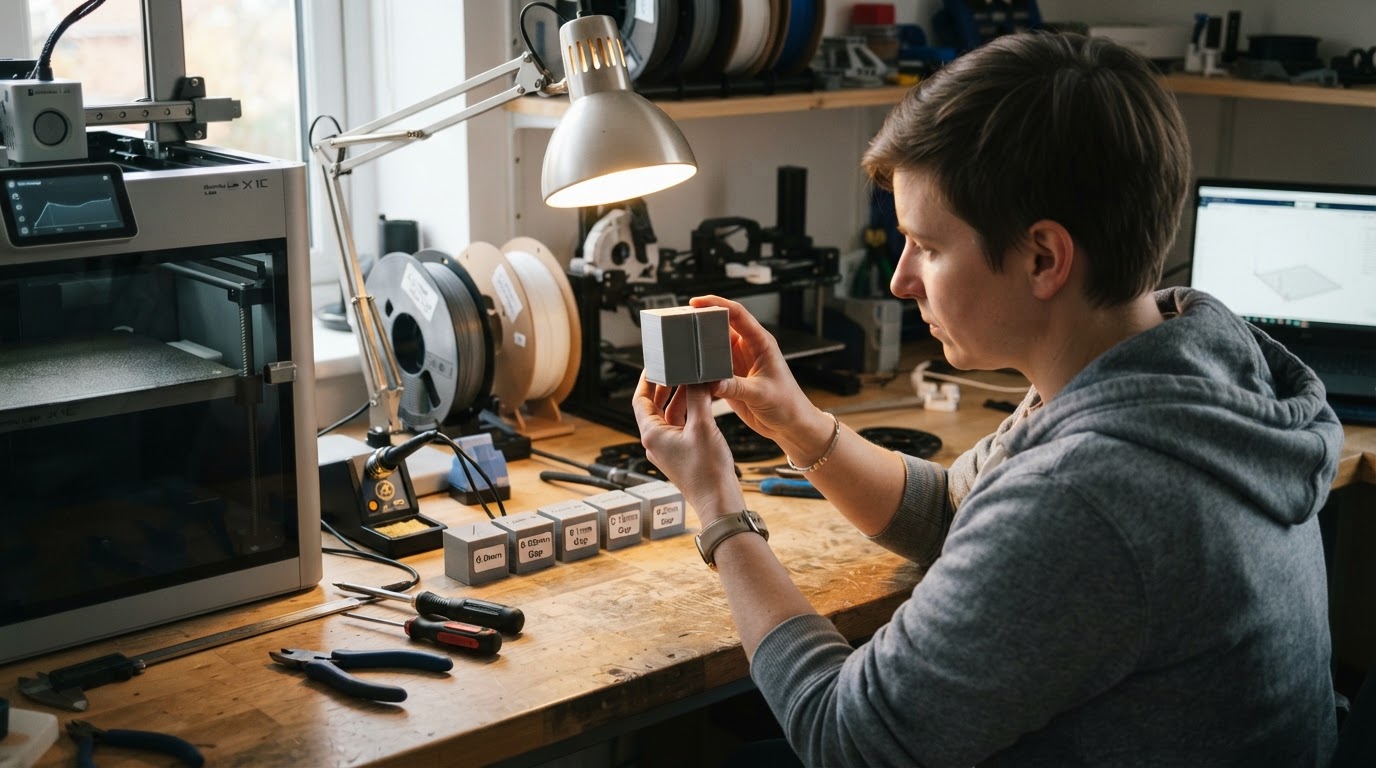
A gap change is small enough that a comparison only means something if the gap is the only thing that changed. Keep the model, filament spool, layer height, temperature and seam position fixed. Put the seam against the same feature and view the part from the same angle. Then print your current value and one small step in the direction the symptom suggests, and judge the specific symptom you started with. If the comparison is hard to read, another step is a reasonable next test; the useful limit is how confidently you can attribute a visible difference, not a fixed number of copies.
Label the copies on the underside and judge them one symptom at a time. The question is not whether one part looks better overall; it is whether the bump or the opening you started with changed, and whether the opposite symptom appeared. If a bump turned into an opening, go back to the earlier value or take half the step.
Use the preview for the job it can do. Step through the layers and confirm that the seam still lands where you put it and that the outer wall path is the one you expect. Do not expect a preview to tell you whether a hundredth of a millimetre of gap will read as a bump on the finished part; that judgement comes from the print.
If the comparison shows no visible change, that alone does not show the gap was not limiting. Confirm first that the new value reached the sliced job, then consider whether the step was large enough to see on that part and whether the symptom is really at the loop end. Revisit the extrusion checks above, or look at the other seam settings, before drawing a conclusion. A null result describes the test, not the cause.
Where the gap is not the answer
Placement is a different control. If the seam sits in a visible place, the fix is seam position or seam painting, which is covered in the seam painting guide. Painting a hidden zone will not reduce a bulge, and widening the gap will not move a seam off a front face.
Scarf joint seam is also separate. The wiki lists it as its own modifier with its own variables, and describes it as adjusting the extrusion flow at seam points to create a smooth overlap between the start and end of each loop. It is not applied on the first layer, in spiral vase mode, or on belt printers, so treat a scarf value as a different control rather than a renamed gap.
No gap value removes the seam entirely: every layer still has to start and stop. The official seam settings page gives 0–15% as a typical range for a printer that is already well tuned with pressure advance and retraction. Use that as context for the range the setting normally covers, not as a default to hit; it comes after the extrusion checks, not before them.
What the gap can do is narrow, and that is the point. On a seam that is already well placed and already fed by consistent extrusion, it can move the result a little toward less bulge or less opening.


