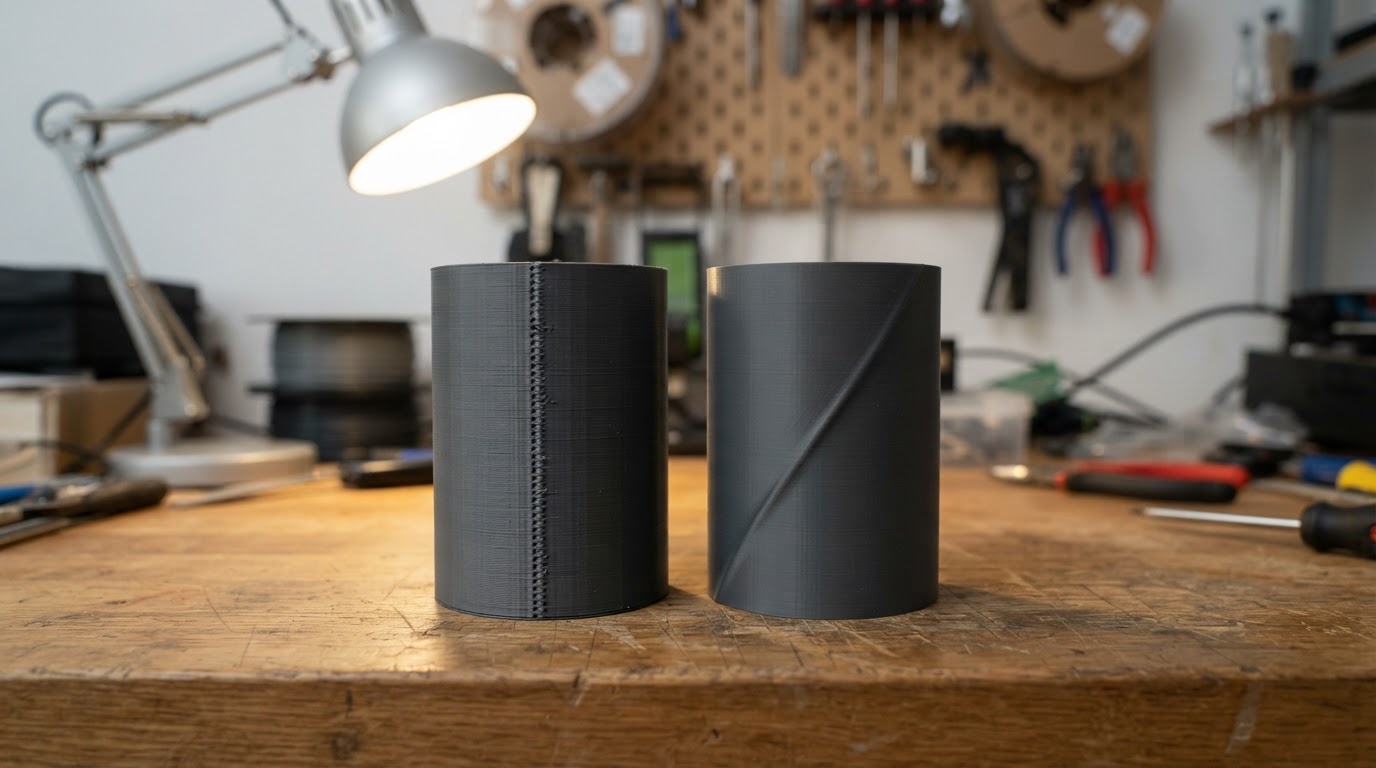
What Orca Slicer calibration actually covers
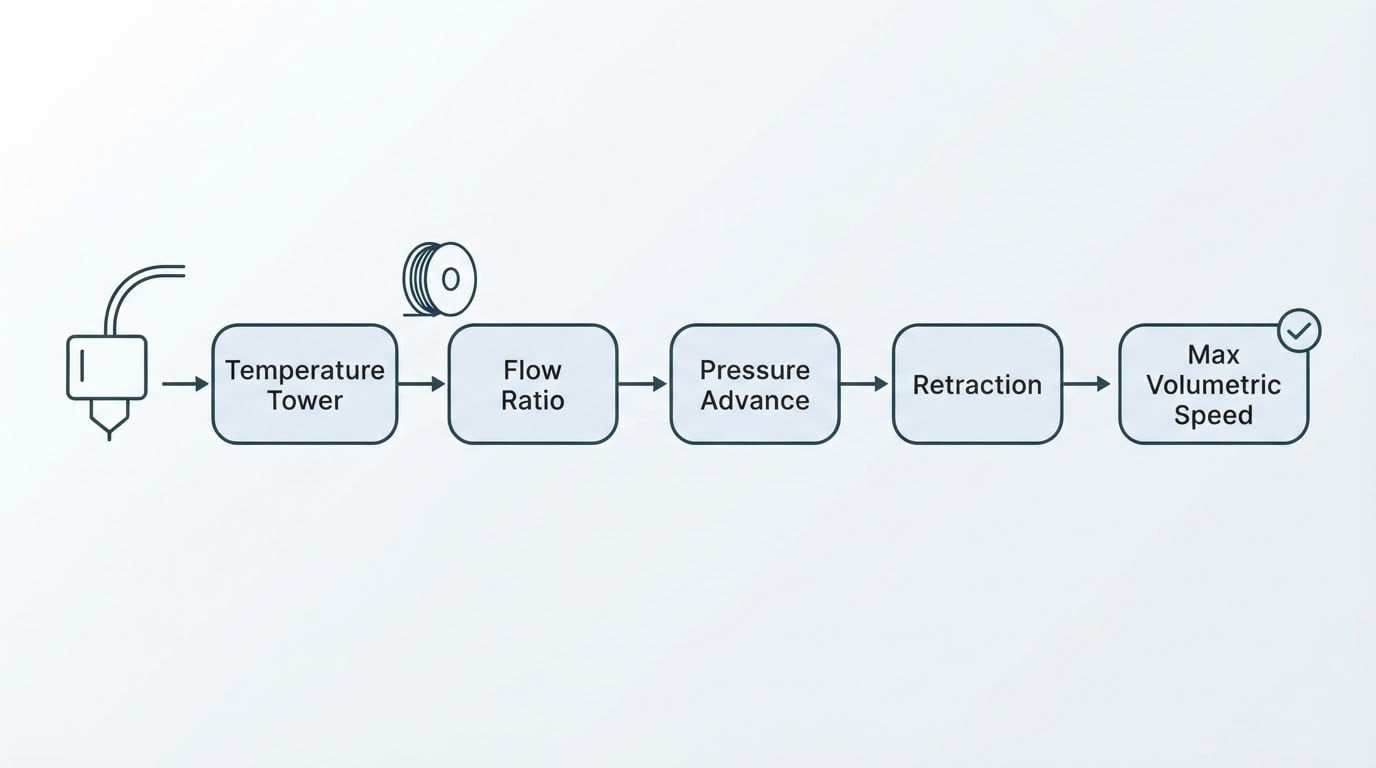
Orca Slicer's built-in calibration suite lives in a single in-app menu and splits into two families of guided tests. The filament-side family answers "what should this spool do on this hotend?": Temperature Tower, Flow Ratio, Pressure Advance, Retraction, and Max Volumetric Speed. The machine-side family answers "what can this frame and motion system actually deliver?": Cornering / Junction Deviation, the Tolerance Test, and VFA / Input Shaping.
The two families are tuned for different things, so they are re-run on different schedules. Filament-side values belong to the spool and the material; machine-side values belong to the printer. Results are written back into the filament or printer profile, which is the whole point — the numbers stop being a note on your phone and start being part of the preset you actually slice with.
If you want the single most useful line in this article, it is the published order: Temperature Tower → Flow → Pressure Advance → Retraction → Max Volumetric Speed. Every step assumes the one before it is already settled.
Before the first test: the setup that decides whether your numbers stick
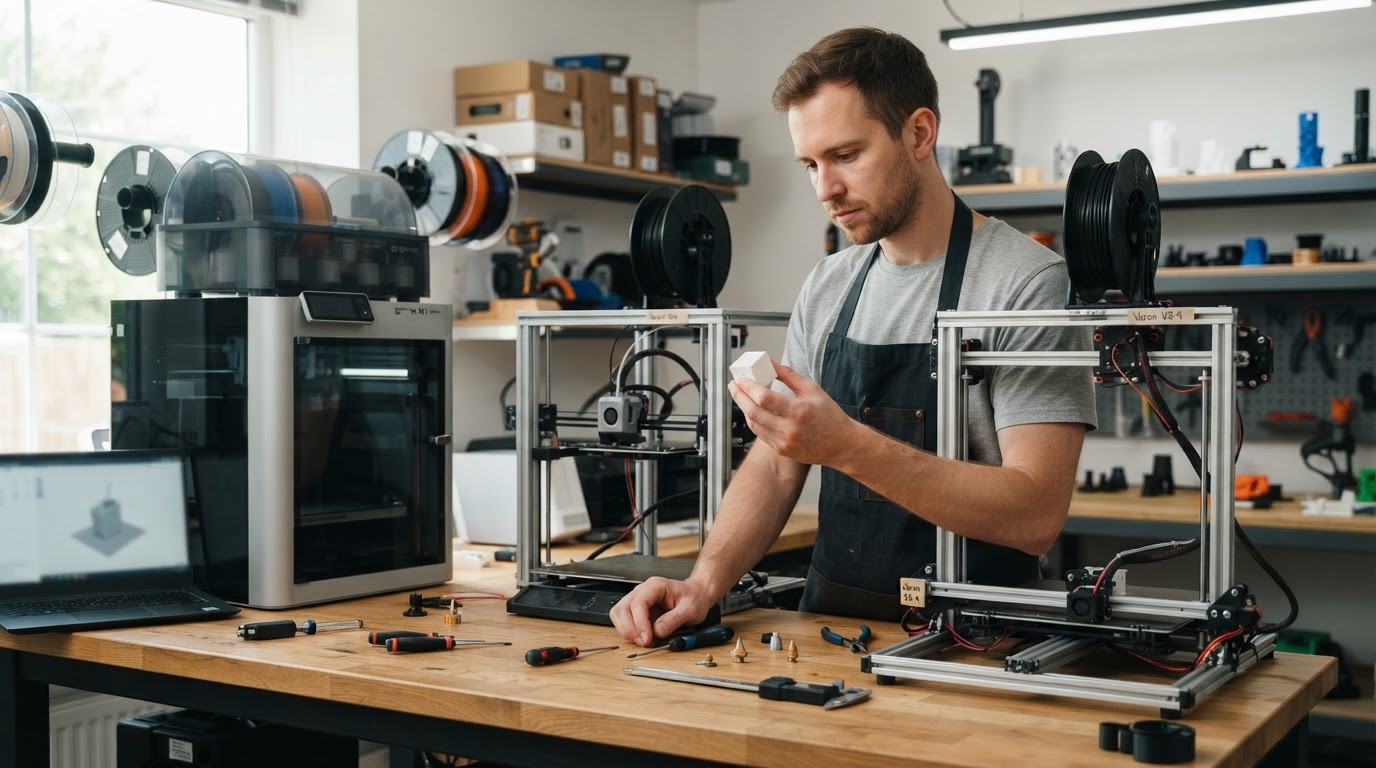
Calibration measures how your machine behaves, so fix the obvious variables before you start measuring.
- Dry the filament first. Moisture reads as stringing, bubbling, and inconsistent extrusion — exactly the symptoms several tests are meant to diagnose. A wet spool can send you chasing a flow or retraction problem that does not exist.
- Check the machine, not the slicer. Loose belts, worn wheels or eccentric nuts, a partially clogged or worn nozzle, and a bed that cannot hold its mesh will defeat every test below. Calibration tunes the model of your machine; it cannot repair the machine.
- Change one thing at a time. Temperature, flow, and pressure advance interact with each other and with acceleration. Two changes and one print tells you nothing about which one helped.
- Keep a baseline. Save a known-good profile before you tune, so a failed experiment costs you one click instead of an evening.
- Know your inputs. Nozzle diameter, line width, and the material you are actually printing decide what "correct" looks like in each test.
Step 1: Temperature tower
A temperature tower prints the same geometry at several nozzle temperatures in one job, so you can compare them side by side.
What to read. Look past the surface. The best temperature is the range where layers bond solidly, overhangs hold their shape, and fine features come out clean — usually a band of two or three steps rather than a single magic number. Snap or flex the tower to check how the layers actually fused; a tower that looks good but delaminates has told you the honest answer.
What to adjust. Pick the middle of the best band rather than its edge. Temperature sits at the top of the chain: flow, pressure advance, retraction, and maximum volumetric speed all behave differently if you move it afterwards, so settle it first and leave it alone.
Common mistake. Judging only by gloss or by stringing. Stringing also depends on retraction and moisture, and gloss varies by filament — layer adhesion is the outcome that matters for parts that carry load.
Step 2: Flow ratio
Flow ratio — the extrusion multiplier — corrects the gap between the amount of plastic the slicer commands and the amount your extruder actually delivers. Orca Slicer's flow wizard runs two passes, and the result is written straight back into the filament preset.
What to read. Under-extrusion shows as gaps and pinholes in top surfaces and as thin, weak walls. Over-extrusion shows as rough, ridged top surfaces, bulging corners, and dimensions that come out oversized. Measure a single-wall test print with calipers and compare the measured wall thickness with the commanded line width; that number is more trustworthy than any photo.
What to adjust. Move the flow ratio in small steps and re-print rather than trying to fix the whole gap at once. Stop when top surfaces close cleanly and measured walls land where the slicer says they should.
Checkpoint. A benchmark cube that measures close to its nominal size on all three axes, with solid top surfaces and no gaps at the seams.
Common mistake. Running flow before temperature is settled, or using flow to compensate for a mechanical problem. Flow is a correction, not a repair.
Step 3: Pressure advance
Pressure advance compensates for the lag between the extruder motor and the pressure inside the nozzle. Without it, fast direction changes overshoot and leave bulged corners; with too much, corners get rounded and small features starve.
What to read. Orca Slicer offers line, pattern, and tower versions of this test, so you can pick the one you can judge most reliably on your printer. Look at the corners of a square toolpath printed at speed: bulging means add pressure advance, rounding or gaps after the corner means back it off.
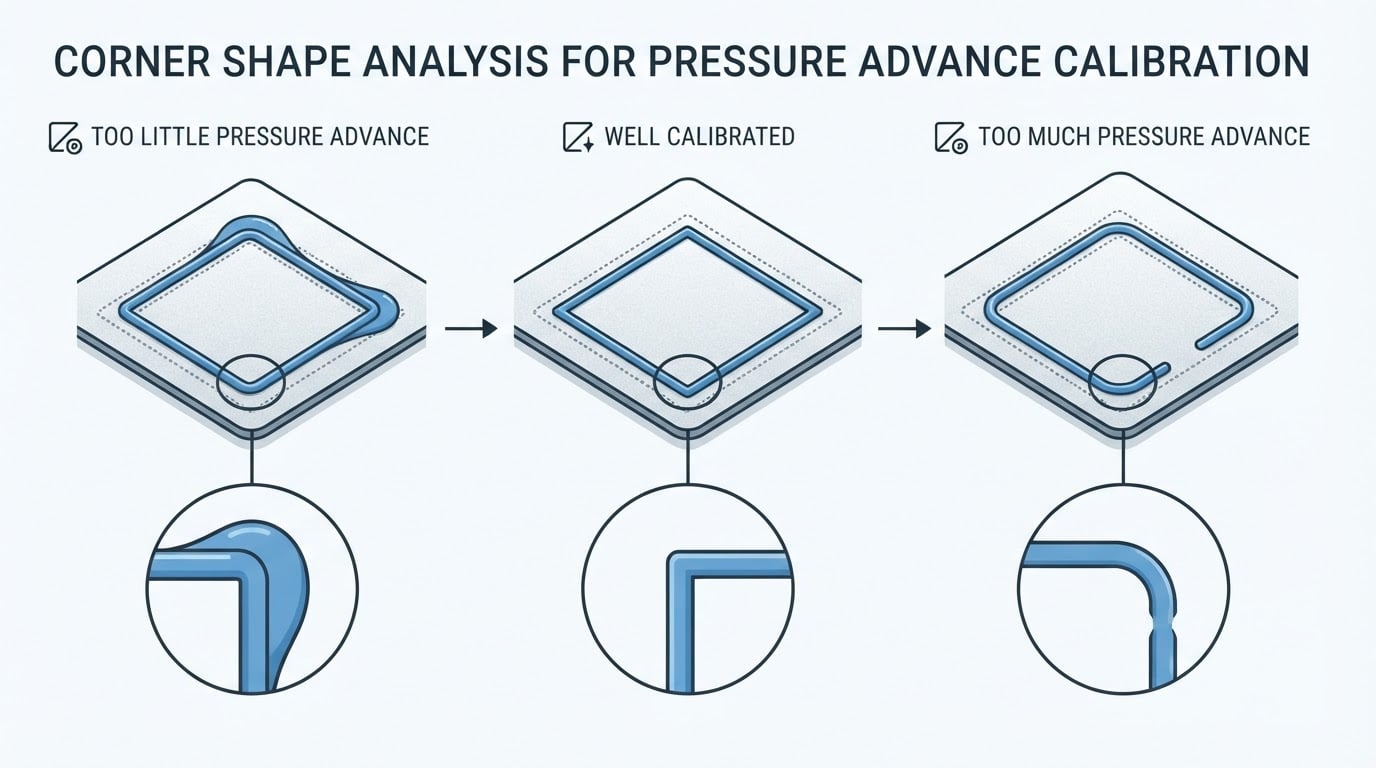
What to adjust. Tune it after temperature and flow, then re-check it whenever you change acceleration, motion settings, or the nozzle. The value is stored per filament, so it follows the spool even when you move it between machines or AMS slots.
Checkpoint. Corners that stay sharp and dimensionally consistent from slow perimeter moves through fast infill transitions.
Common mistake. Tuning pressure advance on a machine with loose belts. Motion slop and pressure lag produce similar-looking corners, and the slicer setting cannot fix the belt.
Step 4: Retraction
Retraction pulls filament back during travel moves to stop oozing and stringing. The retraction tower is the guided test for it: one print that lets you compare retraction behavior across several settings.
What to read. Print a test with gaps between towers or posts. Long, thin strings and blobs on the travel path mean more retraction or a cooler nozzle; grinding, chewed filament, and visible gaps right after a retract mean you have gone too far.
What to adjust. Retraction length and speed are the primary dials, but temperature, travel speed, and nozzle geometry matter just as much. Bowden setups tolerate much longer retraction than direct-drive extruders, so never copy a number between two machines.
Checkpoint. Clean, string-free gaps on a dedicated stringing test, with no marks from the extruder chewing the filament.
Common mistake. Increasing retraction until the strings vanish at the cost of clogs and under-extrusion on the next print.
Step 5: Max volumetric speed
Max volumetric speed caps how much plastic the hotend can melt per second. Beyond that cap, the nozzle starves, and you get dull, gappy walls no matter what the rest of your profile says.
What to read. Raise the speed during the test until the extrusion visibly fails — thin patches, matte surfaces, gaps at the start of lines — then back off to a value you can trust at the top of your normal speed range.
What to adjust. Treat the cap as a safety limit, not a target. Skipping this test is why a profile that looks perfect on a slow calibration print falls apart on a fast infill section.
Checkpoint. Full-speed prints with no gaps and no thin patches, at a cap with some margin below the failure point.
Common mistake. Setting the cap at the exact speed where the last test barely survived.
Machine-side tests: cornering, tolerance, and ringing
The second family of tests belongs to the machine, not the filament, and it matters most after a hardware change.
- Cornering / Junction Deviation — the suite's motion-accuracy test for how the slicer handles direction changes.
- VFA / Input Shaping — the suite's test for the ringing and surface artifacts that show up at higher speeds.
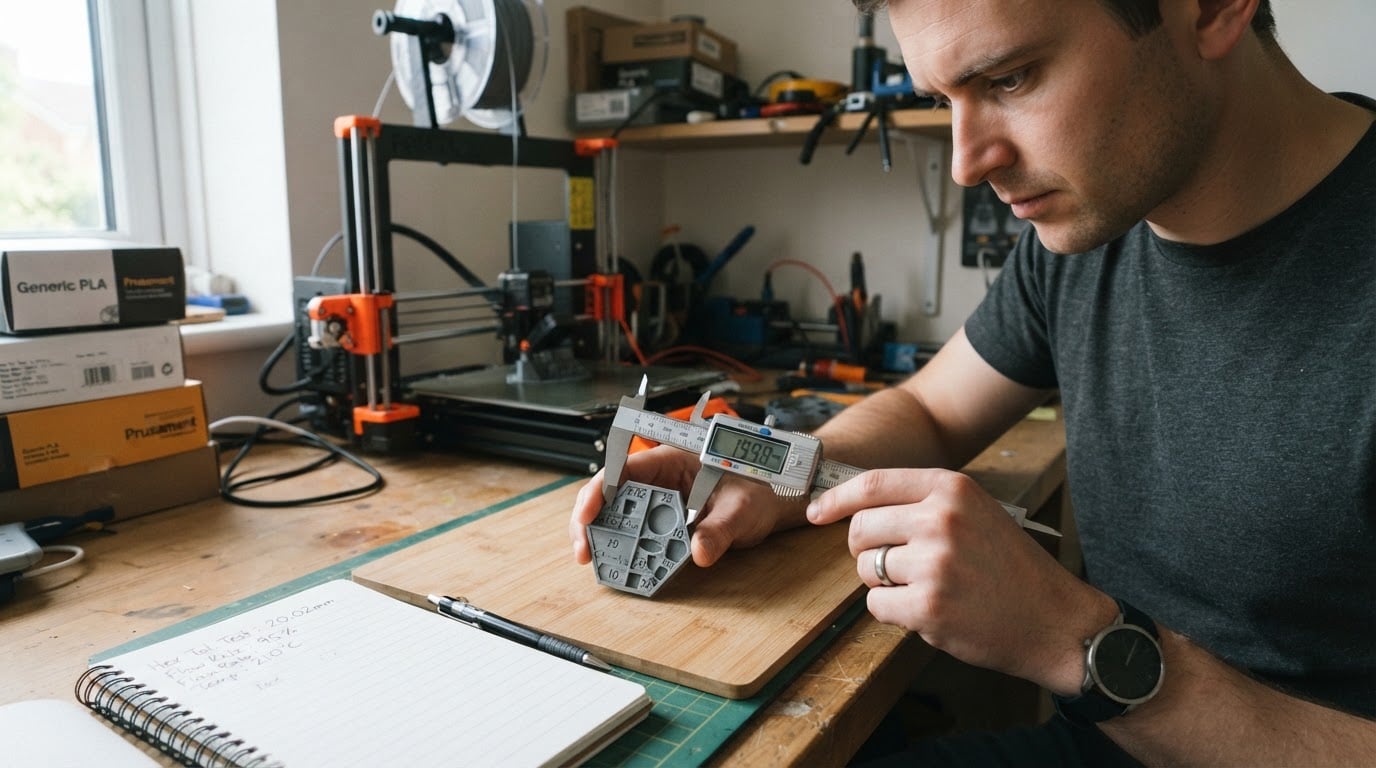
- The Tolerance Test — six hex holes that quantify fit, so you measure actual clearance between printed parts instead of trusting nominal dimensions.
Run these after a belt replacement, a nozzle change, a motion upgrade, or any mod that changes the frame. On a mixed fleet it is worth re-validating each machine separately — the numbers do not transfer from one printer to another.
How to tell a calibration actually worked
A calibration is finished when three things are true: each test's checkpoint has been met, a benchmark print made with the tuned profile holds up across the plate, and the values are saved in the profile you actually slice with. Anything less is a number you liked, not a setting you own.
Measure with calipers instead of eyes wherever a dimension is involved, and re-print the same benchmark after every change so you have something to compare against. Then leave the profile alone. Re-run only the step that the change invalidates.
The limitation most people skip
Calibration tunes the slicer's model of your printer. It is not a repair, and it is not a substitute for maintenance. A worn nozzle, a wet spool, a binding Z-axis, or a part-cooling fan that cannot keep up will still ruin prints on a perfectly calibrated profile — and worse, a tuning session will make those faults look like slicer problems.
There is a related trade-off at the aggressive end of every test. Retraction that removes the last string, flow that closes the last pinhole, and a maximum volumetric speed set at the failure threshold all buy appearance on one benchmark while spending reliability on every print after it. Production work should sit comfortably inside the tested limit, not on it.
Finally, do not expect values to travel. Filament-side settings follow the spool; machine-side settings belong to the frame; nozzle and line-width changes invalidate more than most people expect. Write down what you changed, and re-run the affected step when the change is real.
Common follow-up questions
Do I need to redo all five tests for every new spool? No. For a new spool of a material and brand you have already tuned, a quick flow check is usually enough. For a new brand or a new material, run the sequence.
Which test first if I only have time for one? Temperature. Flow, pressure advance, and retraction are all measured against the temperature you chose, so nothing downstream is trustworthy until that is settled.
Will calibration fix stringing and bad first layers? It helps with stringing — retraction, temperature, and dry filament all feed into it — but first-layer problems usually come from bed condition, Z offset, or the plate surface. Check the machine before you keep tuning the slicer.
How often should I recalibrate? After a nozzle, hotend, or extruder change; after firmware or motion-setting changes; when you switch material or brand; and whenever prints start drifting for no obvious reason.
Do filament changes affect the machine-side tests? No. Cornering, tolerance, and input-shaping numbers are properties of the printer, so they survive a spool change and need attention only when the hardware does.
This guide is published by an independent OrcaSlicer resource hub — we are not the official project, and we would rather say so up front. Run the tests in order, write the results into your profiles, and verify each one against your own prints.