What the official Orca Slicer GitHub project actually hosts
Searching for orca slicer github usually means one of two things. Either you want the real project, or you already found a page that claims to be it and you want to be sure. Both questions have the same answer, because the repository and the project's website do different jobs.
The repository is upstream. It holds the source code, the tagged releases that carry the installers, the issue tracker where bugs and feature requests are recorded, and the contribution rules that govern every change. For Orca Slicer, that repository is the upstream home of the project: code, release builds, bug tracker and documentation. Everything else — a download page, a mirror, a repackaged "portable" bundle, an article about the slicer — sits downstream of it.
The project's own website is the front door. It is where a new user reads what the software does, and where the link to the source repository appears. The repository is the workshop behind that door. The two are supposed to point at each other, and that two-way link is the cheapest trust test you can run: does the project's own site lead to the repository, and does the repository lead back to the site? If a page claims to be the official home of the software, but the project's own properties never link to it, treat that page as unverified no matter how good it looks.
One thing is worth saying plainly, because it shapes how you should read this page. This site is an independent guide hub for Orca Slicer users. We are not the official OrcaSlicer project, and we do not host installer files. Our job is the part the upstream repository does not do for you: showing the steps, the order to do them in, and the checks that tell you a download is the right one.
How releases and builds are published on GitHub
A release starts as a tag: a named pointer to one exact commit, usually a version number. Maintainers attach build artifacts to that tag's release page — installers, archives, checksum files and release notes. The same page offers automatically generated source archives for the tagged commit, which is how you confirm that a binary and the code it was built from belong to the same version.
Stable releases normally carry the latest label. Work that is not ready for that label is published as a pre-release, and that is where nightly and experimental builds live — either on the same releases page or as artifacts produced by the project's continuous integration runs. Read that distinction before the version number, because it changes what you are installing. A nightly build is a moving target: it exists so that problems are found early, and a build that worked yesterday can behave differently today.
Two habits make the release page much easier to read. First, look at the tag and its date, not just the file name, so you know which version the download belongs to. Second, read the release notes before you upgrade. They are the shortest honest description of what is about to change on your machine, and they often name the settings or profiles that were touched.
One trade-off deserves its own line. The pre-release channel is not a preview of quality; it is a preview of change. If a fix you have been waiting for is only there, the nightly is the way to get it — but go in expecting to roll back, and keep the stable installer you are replacing. For day-to-day printing, the latest stable release is almost always the better trade.
How to verify you are on the authentic repository
Verification is a short chain of custody, not a vibe check. Run it before you download anything.
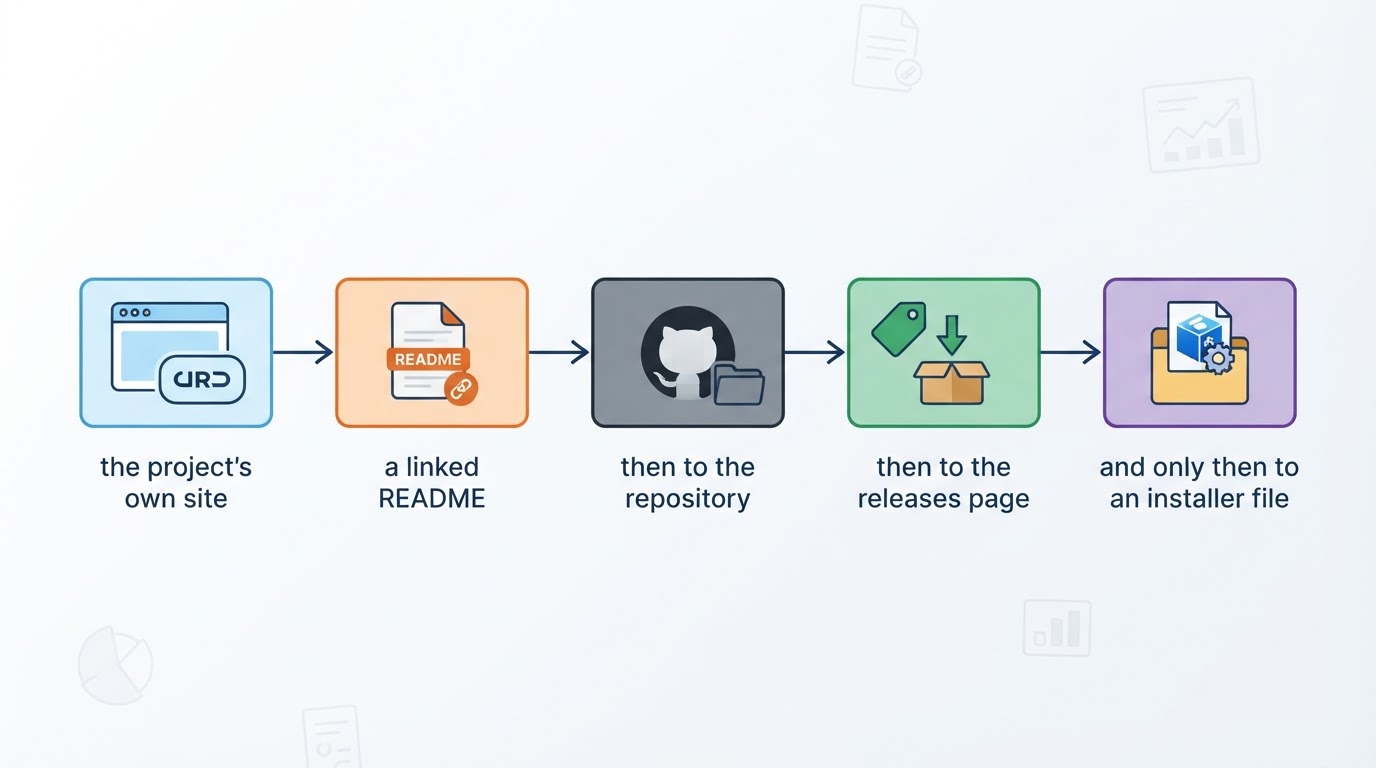
- Start where the project points you. Open the project's official website and follow its link to the source, or open the README that the project's own site points to. Do not start from an advertisement, a search result snippet, or an aggregator's download button.
- Confirm the owner. The account that owns the repository should be the project's own organization or maintainer account, and the same identity should appear in release notes, documentation and replies on issues.
- Read the history, not the landing page. An upstream repository shows years of commits from many contributors, a license file, and issues that were opened, discussed and closed. A repository with a handful of commits and one file labeled as the latest version is a distributor, not the upstream home.
- Check that the download lives on the release. Assets attached to a tagged release belong to one specific version. A standalone download button on a domain that the project does not control is a different kind of risk, however professional the page looks.
- Trace the install instructions. Whatever the README or the project's documentation tells you to do should lead back to the project's own releases, not to a third-party bundle.
- Finish when the chain is unbroken. You are done verifying when you can trace every step from the project's own website to the exact file you are about to run, with no unexplained hops. If you cannot draw that line, you have not finished.
If you begin from a search engine instead, expect the noise. Forks, repackagers and download aggregators can outrank the upstream repository, and a matching file name proves nothing. Use the search result to find candidates, then run the same chain of custody on the one you pick.
Two footnotes to the checklist. First, a fork is not upstream. Printer vendors and communities sometimes maintain their own fork of a slicer for their own hardware; those forks have their own releases and their own issue trackers, and they can be exactly the right choice for that machine. The point is to keep the two support paths apart, because a fix for a fork does not exist in the upstream project and a fix upstream may take a while to reach the fork. Second, popularity is not provenance. A large star count, a polished logo and a top search ranking can all be copied more easily than a release history can.
Using the repository for documentation, support and contributions
Most of the value in the repository has nothing to do with downloading it.
Documentation comes in layers. The README answers what the project is, what it supports and how to install it. Release notes explain what changed between versions. A wiki, a docs folder or a project handbook holds the deeper reference material. When those layers disagree, the release notes for the version you actually installed are the closest thing to the truth about your setup.
Support starts with search. The issue tracker is a searchable history of problems, and a good part of what you are about to ask has already been asked and answered, often with a workaround attached. Search by the symptom and by the version before you open anything new.
Bug reports that get fixed share the same shape. State the version or tag you installed, your printer and firmware, the filament, the steps that triggered the problem, what you expected and what happened instead, and attach the configuration file or project file that reproduces it. Paste the log text rather than a screenshot of the log. Say which channel your build came from — stable, pre-release or a fork — because that single detail decides whether the maintainers can reproduce what you are seeing.
Contributions follow the same rules as anywhere else worth contributing. For anything bigger than a small fix, open an issue first and describe the change you have in mind. Then fork the repository, work on a branch, keep one pull request focused on one problem, and follow the project's contributing guide and code style. Small, reviewable changes get merged; sweeping rewrites of unrelated files get closed.
Finally, keep questions and bugs in their own lanes. Usage questions usually belong in a discussion area or a community channel, while the issue tracker is for defects and concrete feature requests. That separation is what keeps the issue list useful for the people who fix things.
If you only want to print something
Not everyone wants the code. If you came for the installer, the shortest safe path is the project's latest stable release, reached through the project's own links.
- Take the asset that matches your operating system and architecture, and prefer the release page over any mirror that rehosts the file.
- Keep your previous installer until the new version has completed a real print. Rolling back is a short job when the old file is still on your disk.
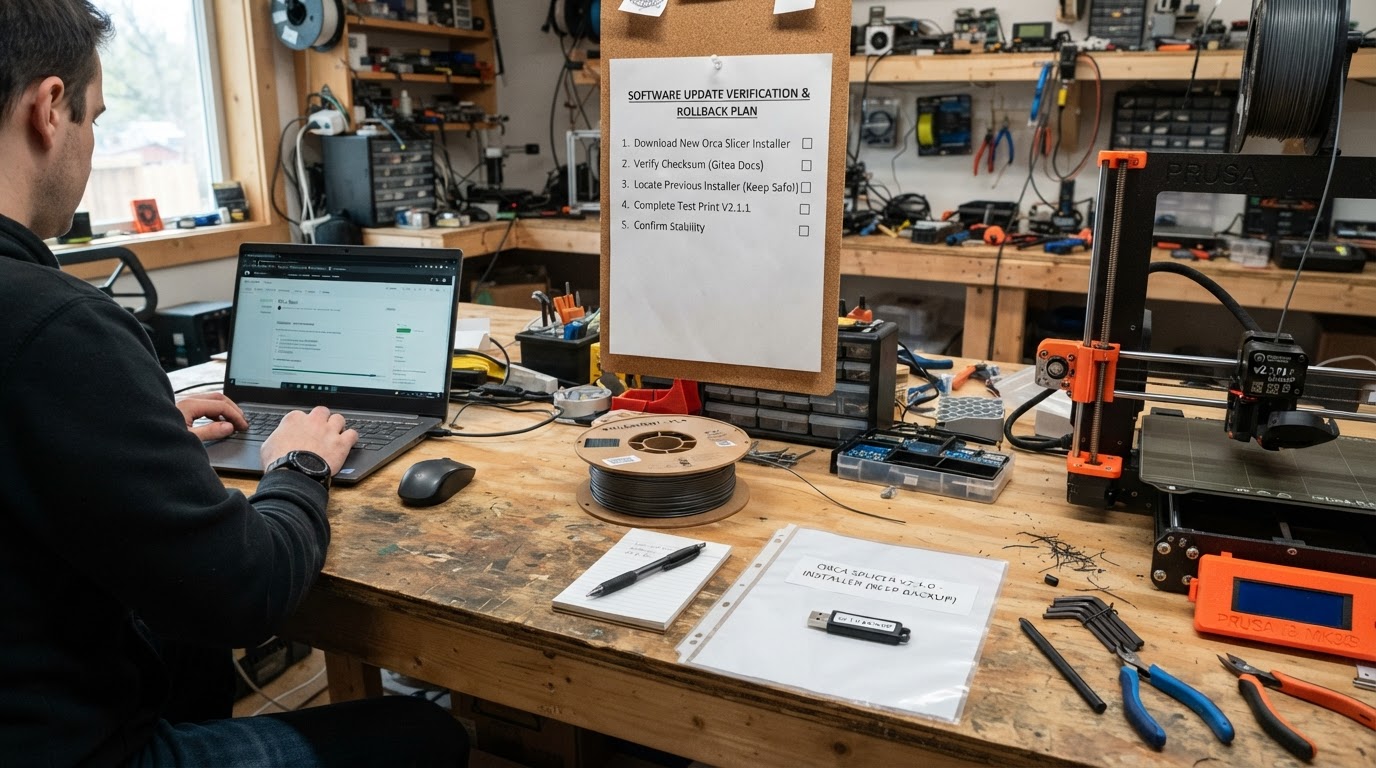
- Expect your operating system to warn about a freshly downloaded application. Read how the project documents that warning before you decide to bypass it, and never bypass it for a file whose origin you could not verify.
- Skip the pre-release channel unless you need a fix that has not reached stable, or you can afford a failed print.
None of that is specific to one operating system. The pattern — official link, project release page, matching asset, printed test — works the same whether you print from Windows, macOS or Linux, and it is the same pattern we use when we write our own guides.
Common questions
Is orcaslicer.net the official OrcaSlicer site? No. This is an independent guide hub. The project's own website and repository are the official sources, and they are the only places that define what official means here. We point readers at the project's material rather than rehosting it.
Does a high star count mean a repository is official? No. Stars measure attention, not ownership. Confirm the owner and the link path from the project itself.
Should I use a nightly build? Only when stable is missing something you need, or when you are deliberately testing. Nightlies are where regressions appear first.
Where should I report a bug? In the upstream issue tracker, with the details listed above. If you installed a fork, report it to that fork instead.
Can I trust a page that hosts the installer itself? Treat any installer that is not on the project's own release page as unverified. Page design is not provenance, and a mirror can go stale or be modified after it was published.