What the Top Surface Pattern Setting Changes
In Orca Slicer, top_surface_pattern and bottom_surface_pattern set the pattern of the outermost shell surface. With more than one shell layer, only the outer layer follows your surface choice; the layers beneath use the Internal Solid Infill Pattern, so a pattern change can alter a visible face without changing the internal structure you picked for strength.
The pattern does not set shell thickness either. Shell layers and shell thickness stay separate, and the slicer adds solid layers when your thickness needs more material than the layer count provides.
Rectilinear, Monotonic and Concentric by Path Appearance
Rectilinear lays parallel straight lines across the surface. On a top face it reads as a linear, combed texture; each line ends before the next begins, so inspect those line ends and the step across in the preview.
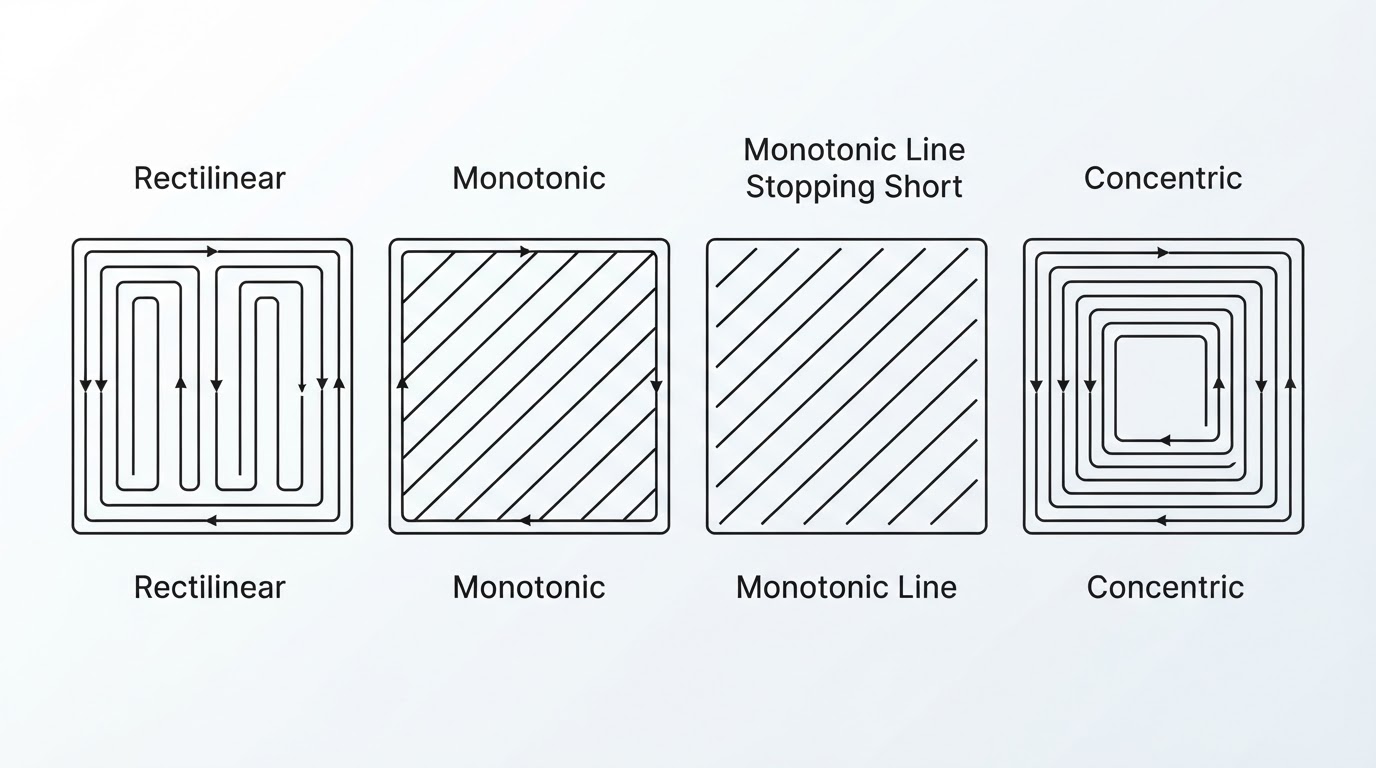
Monotonic uses the same straight-line layout, but adjacent extrusion paths are ordered and connected in a consistent sequence for a more uniform visible result. That describes path order and connection, not a promise that every physical line or move travels the same direction. The pattern reference calls it rectilinear in a uniform direction for a smoother visual surface, the intended ordering effect rather than a guaranteed finish.
Monotonic line keeps that ordered layout but changes how paths connect to the perimeter: the reference says it avoids overlapping the perimeter, reducing excess material at joints. That is a path-order distinction, not a fixed gap, so do not expect the fill to stop a set distance short of the wall. The reference also notes possible visible seams and longer print time; treat them as documented possibilities, not guarantees.
Concentric fills the area with progressively smaller copies of the outer contour. Round outlines echo the shape; on a rectangular plaque the loops repeat the corners, so check how the center resolves.
Match the Pattern to the Visible Face
Shortlist by the visible face, then confirm paths in the sliced preview.
Pattern | What the top surface toolpath shows | Useful when |
|---|---|---|
Rectilinear | Parallel straight lines; each line ends before the next begins | Flat rectangular faces that suit a simple linear fill |
Monotonic | Parallel lines in an ordered, connected sequence | You want consistent path order on the face |
Monotonic line | Ordered lines that avoid overlapping the perimeter | You want fill kept off the perimeter |
Concentric | Shrinking loops that follow the outline | Round or curved outlines that echo the loop shape |
None of these rows is a strength, finish or speed ranking; any such comparison would be a separate controlled test.
Change the Visible Skin Without Changing Infill
Orca Slicer keeps sparse infill and surface pattern in separate settings. Open the top and bottom shells group in the build you run, then change Top surface pattern. Leave Sparse infill pattern alone: the official shell documentation calls the surface pattern an outer shell setting, while sparse infill fills the space beneath the shells. The pattern reference confirms what each option lays down, while the guide to OrcaSlicer infill patterns keeps the part-first infill decision separate. Available options and their labels vary by build, so check the names in the version you have installed.
Top surface density is not the pattern: 100% is solid, while lower values leave a sparse surface for grip or appearance, so the visible texture mixes pattern and gaps. Ironing is a separate low-flow pass that re-melts the top lines; the ironing calibration workflow treats its flow and speed as values to test on your own machine.
Check the Final Top Layer in Preview
Slice once and step to the last top layer, not a similar intermediate layer. In the path view, confirm the pattern direction, where the line ends and perimeter connections fall, that the skin reaches the walls without gaps, and that the layer below is solid where the visible face needs support.
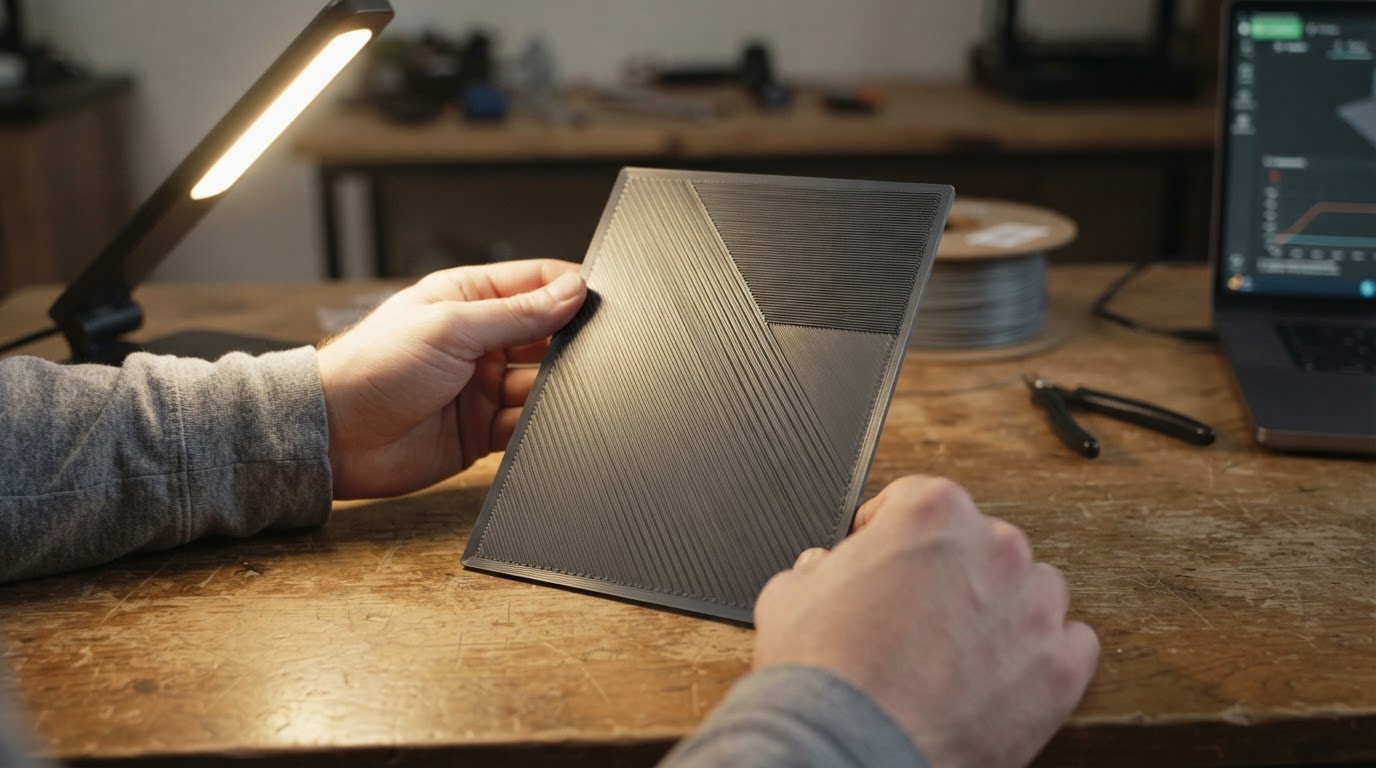
The preview shows paths, not finish: it cannot show how the surface looks under raking light or how a seam catches light. Print the part and inspect the actual top face for that. If the preview disagrees, change one setting and slice again. Keep speed, flow and temperature at your calibrated profile values: no pattern supplies a universal best value, and a pattern change is no substitute for filament calibration.
Choose by the Face You Will Actually See
Pick by the face outline and the path behavior you want: concentric for curves, monotonic for consistent line order, monotonic line to keep the fill off the perimeter, and rectilinear for a simple linear fill. Then verify the outermost layer in the preview and, if finish matters, on a printed sample.


